
New bonds are solid as previous enemies come up, reborn and hellbent on untold destruction. On July 1, Season 9: Sins of the Horadrim enables you to wield highly effective Horadric Spellcraft and unearth the secrets and techniques of the previous in a brand new Seasonal Questline. Unearth and cleanse Blood Relics infused with Astaroth’s corruption to staunch his malevolent return to Sanctuary. This replace additionally brings everlasting updates to Nightmare Dungeons for each Seasonal and Everlasting Realms, together with new Horadric Strongroom micro-dungeons, endgame Escalating Nightmares, and new Nightmare Dungeon affixes.
Thanks to everybody who participated within the 2.3.0 Public Check Realm (PTR). We’ve included suggestions from the PTR all through this text. Extra adjustments made because the PTR’s conclusion are highlighted in blue.
Codex
Search Penance within the Seasonal Questline
Customise Highly effective Horadric Spells
Craft Potent Horadric Jewels
Discover Horadric Strongrooms
Survive the Escalating Nightmares
Astaroth Reignited
Everlasting Nightmare Dungeon Updates
Earn New Distinctive Objects
Carve By the Sins of the Horadrim Reliquary
Unlock Rewards from the Season Journey
Purchase Fabled Threads from Tejal’s Store
Improve the Carnage with NVIDIA DLSS 4
Neighborhood Guides for Sins of the Horadrim
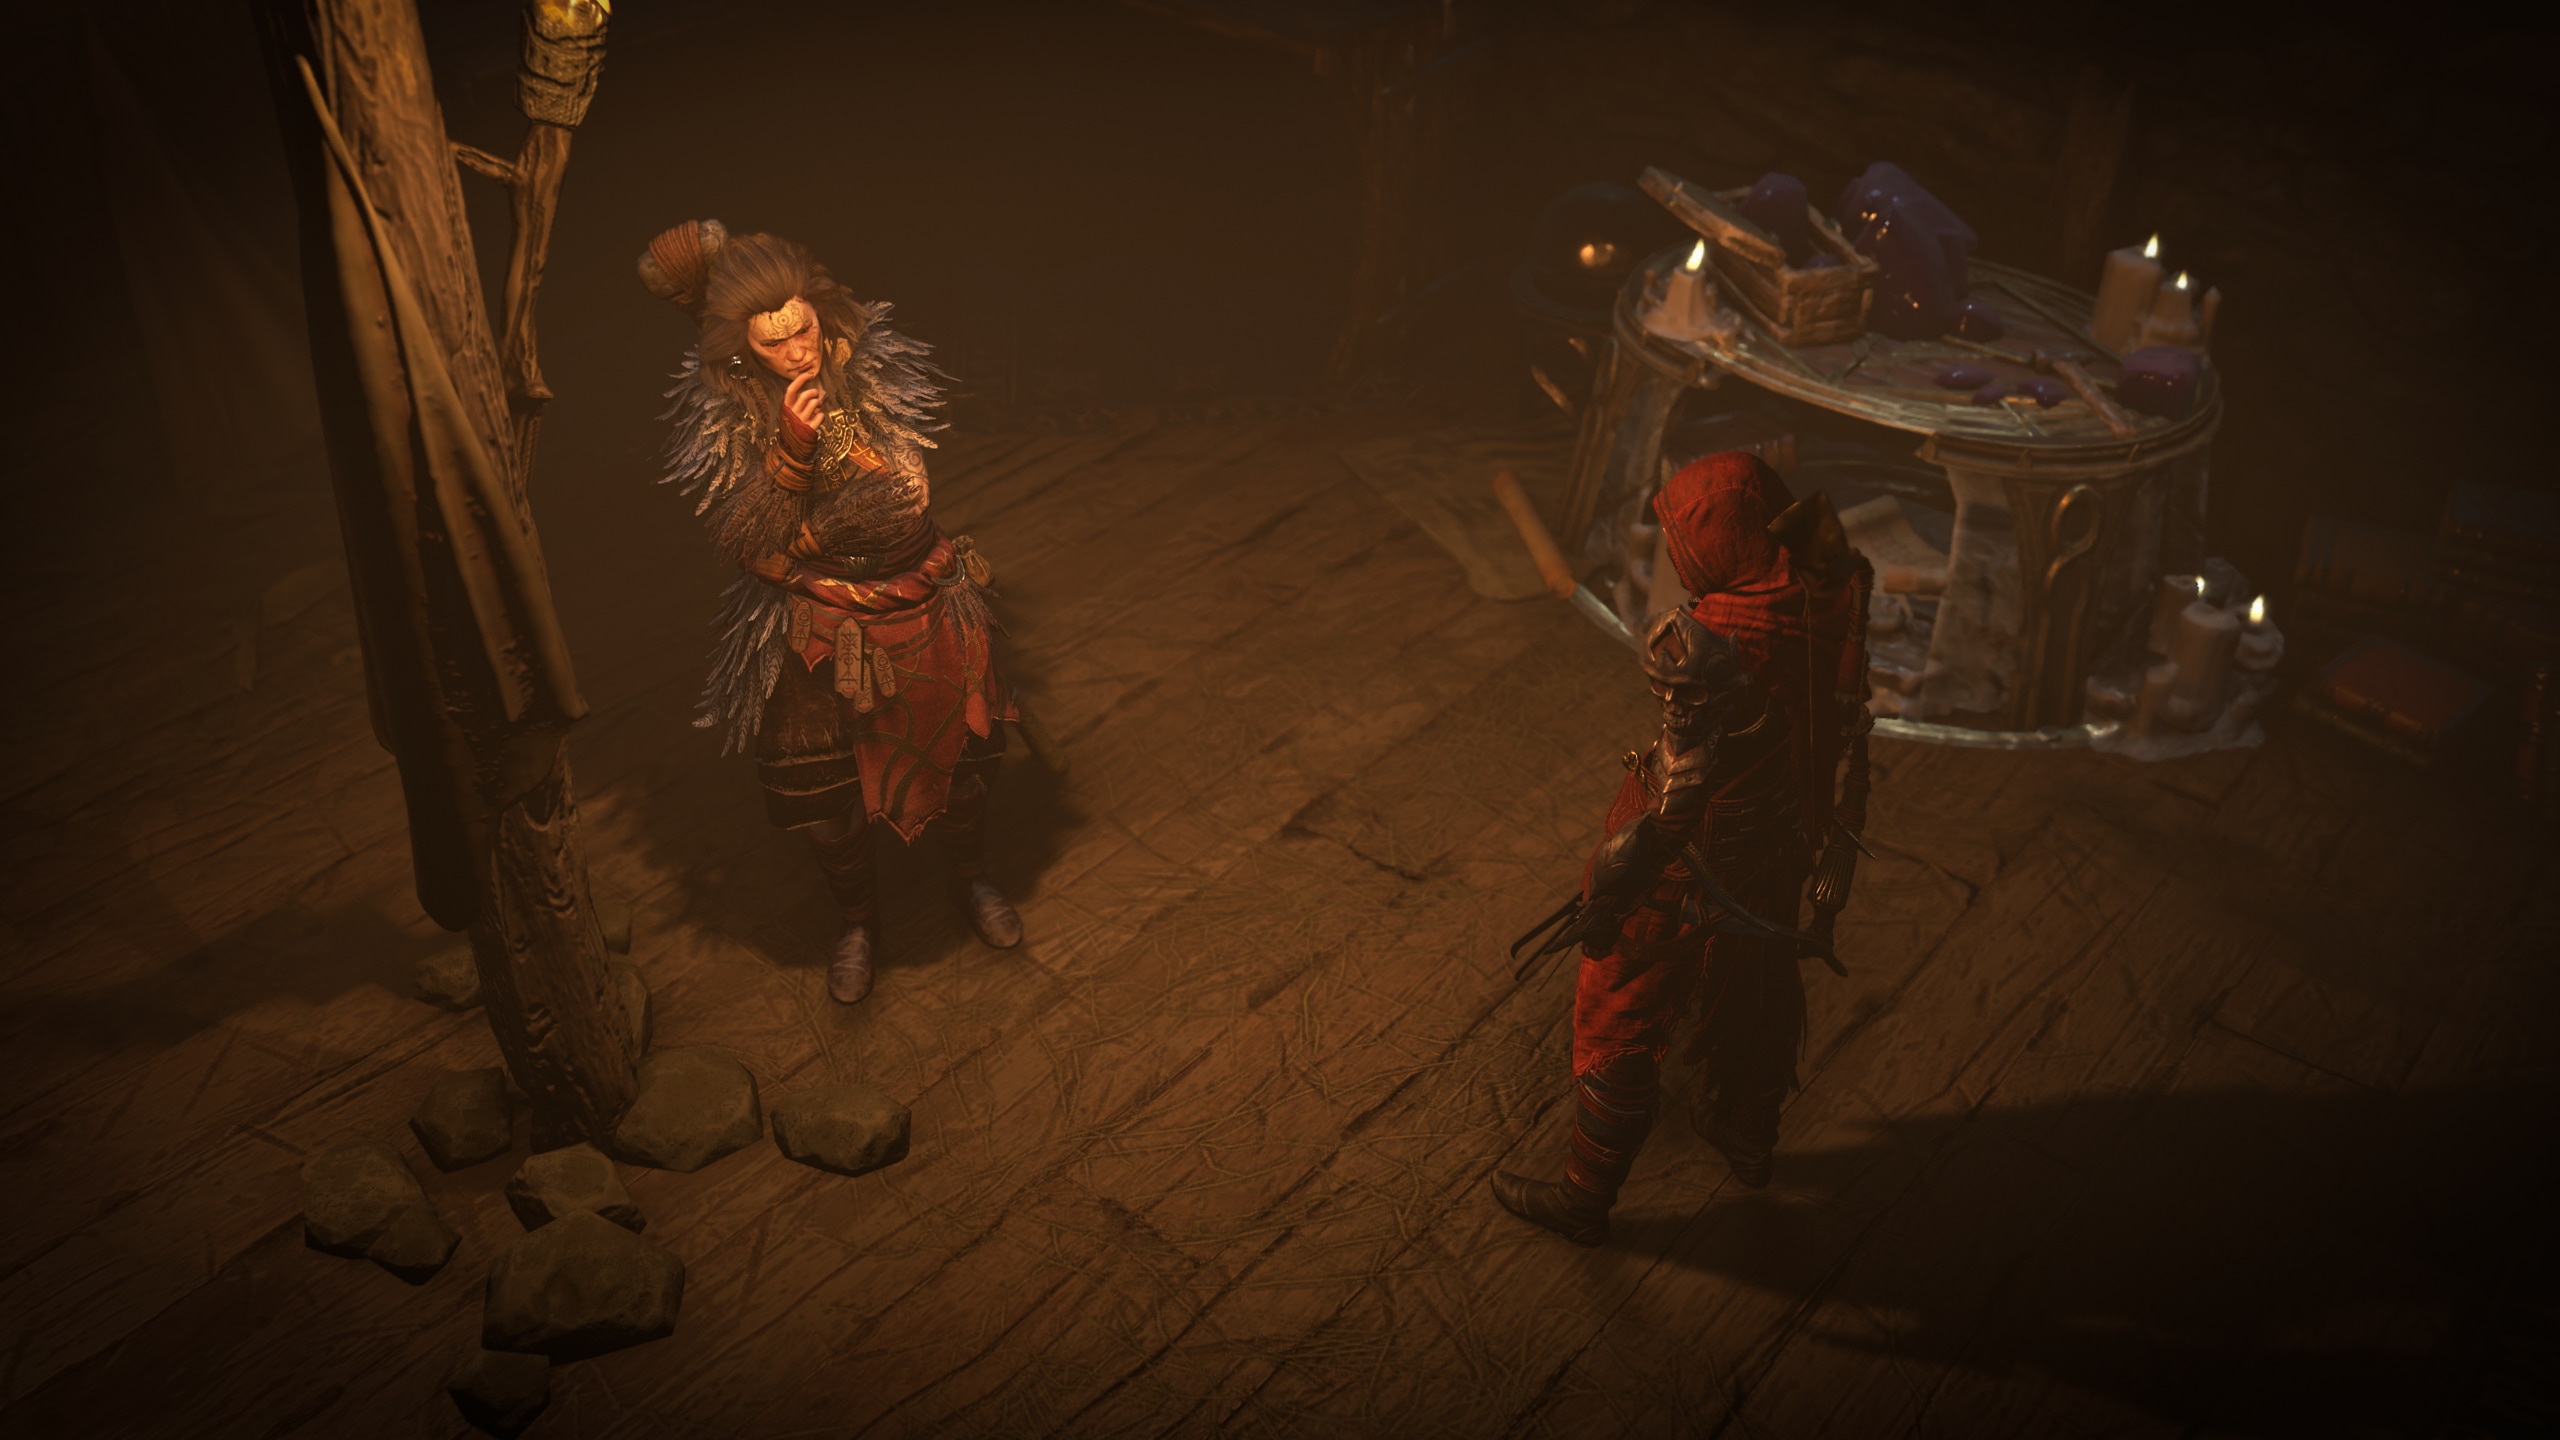
Search Penance within the Seasonal Questline
All bonds that maintain robust are eternally topic to the entropy of the universe; they crack and fragment, finally unleashing no matter horrors lay inside. Season 9: Sins of the Horadrim takes you to Cerrigar, the place you’ll meet the Druid Bryona. Bryona should deal with choices made by Donan—the Horadric Mage accountable for sealing away Astaroth upon his defeat—that now threaten to as soon as once more endanger her house and her folks.
It’s your process to find and purge the blood relics influenced with Astaroth’s blood earlier than they fall into demonic arms.
To start the The Embers But Smolder questline, discover Bryona in Cerrigar, northwest of the Waypoint. You should have additionally accomplished Diablo IV’s base recreation marketing campaign and created a brand new character on the Seasonal Realm.
Throughout the Seasonal Questline, you’ll uncover the key to unlocking Horadric Strongrooms and delve additional into these archives of this as soon as sacred order. You’ll additionally acquire entry to the Horadric Focus in Cerrigar. This highly effective machine of the Horadrim is the place you possibly can test your Seasonal Status (Horadric Information) and earn rewards from the Seasonal Status Observe.
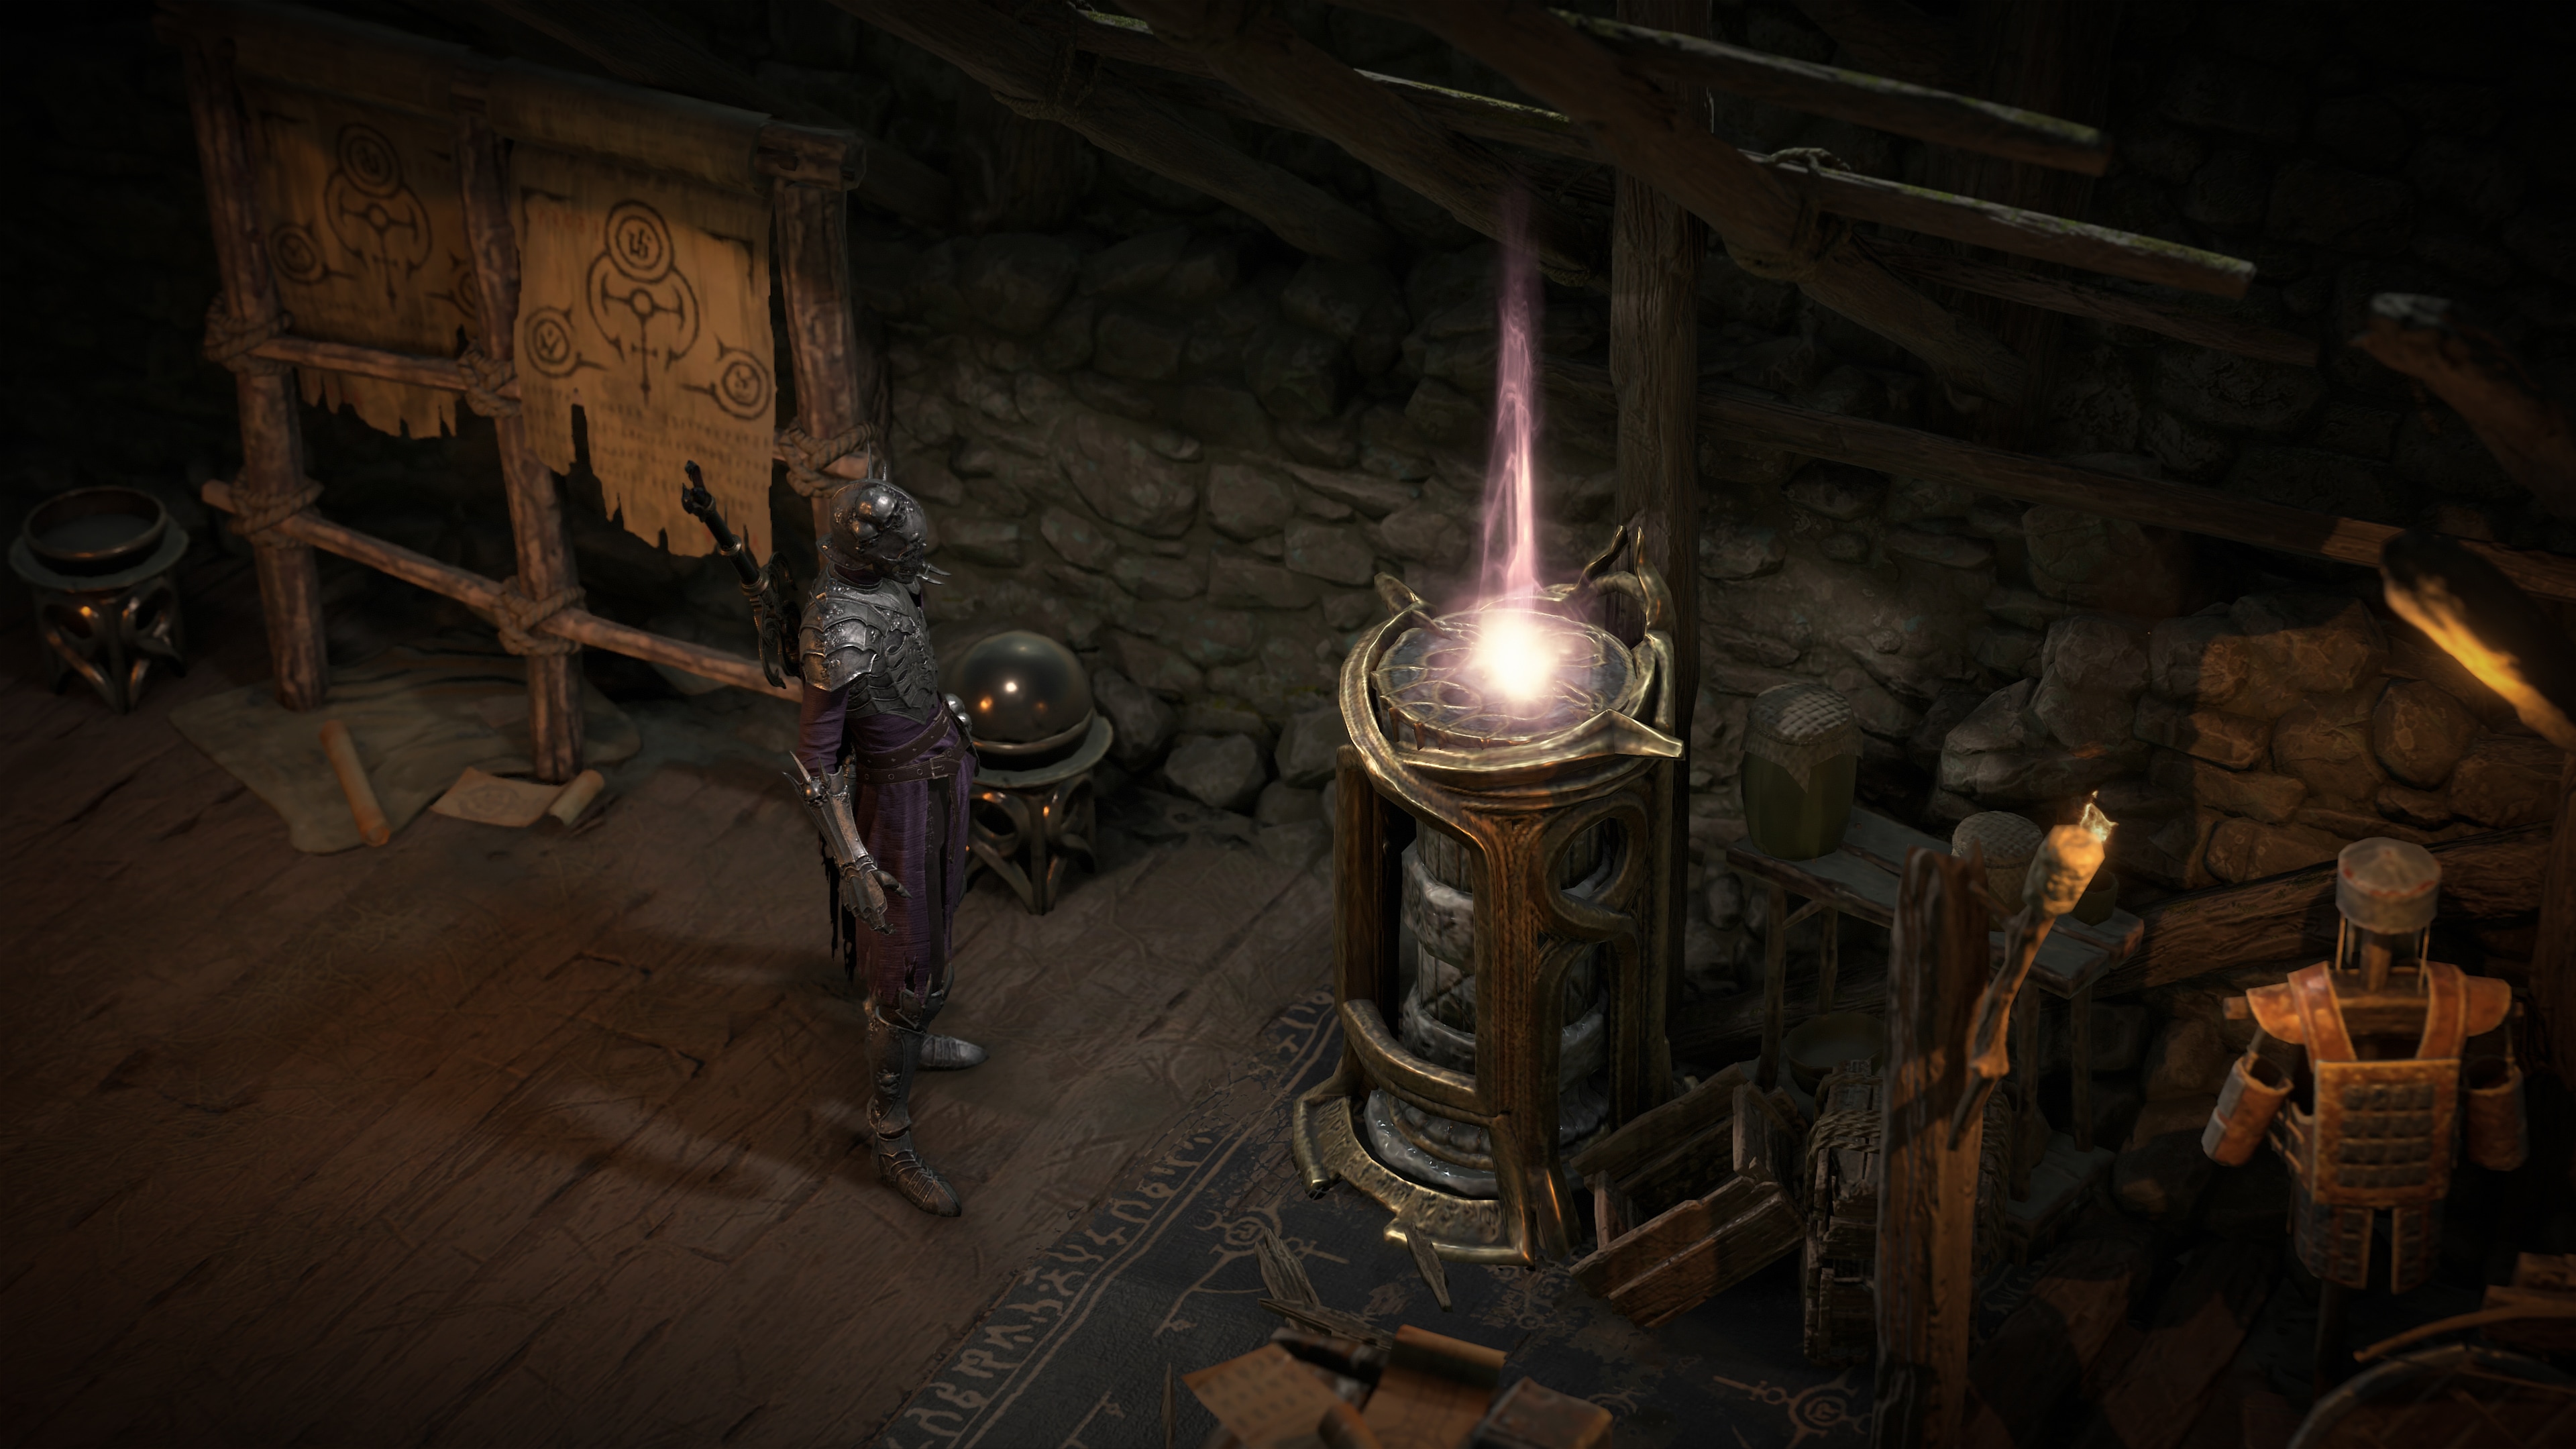
Horadric Information might be earned on the Seasonal Realm by slaying Mummified Horadrim in Strongrooms, Elite Enemies and Bosses. Be aware that Lair Bosses additionally grant Horadric Knowlege, however you have to unlock their respective Hoard upon their defeat to assert it.
Horadric Phials might be earned in Nightmare Dungeons, Nightmare Escalations, Horadric Strongrooms, and Lair Boss Horde Chests. These Phials can be utilized in change for Horadric Information on the Lapidary, and to craft Horadric Jewels.
This Questline additionally grants you entry to the Horadric Wayfinder, which lets you discover Horadric Strongrooms hidden inside Nightmare Dungeons.
Again to Prime
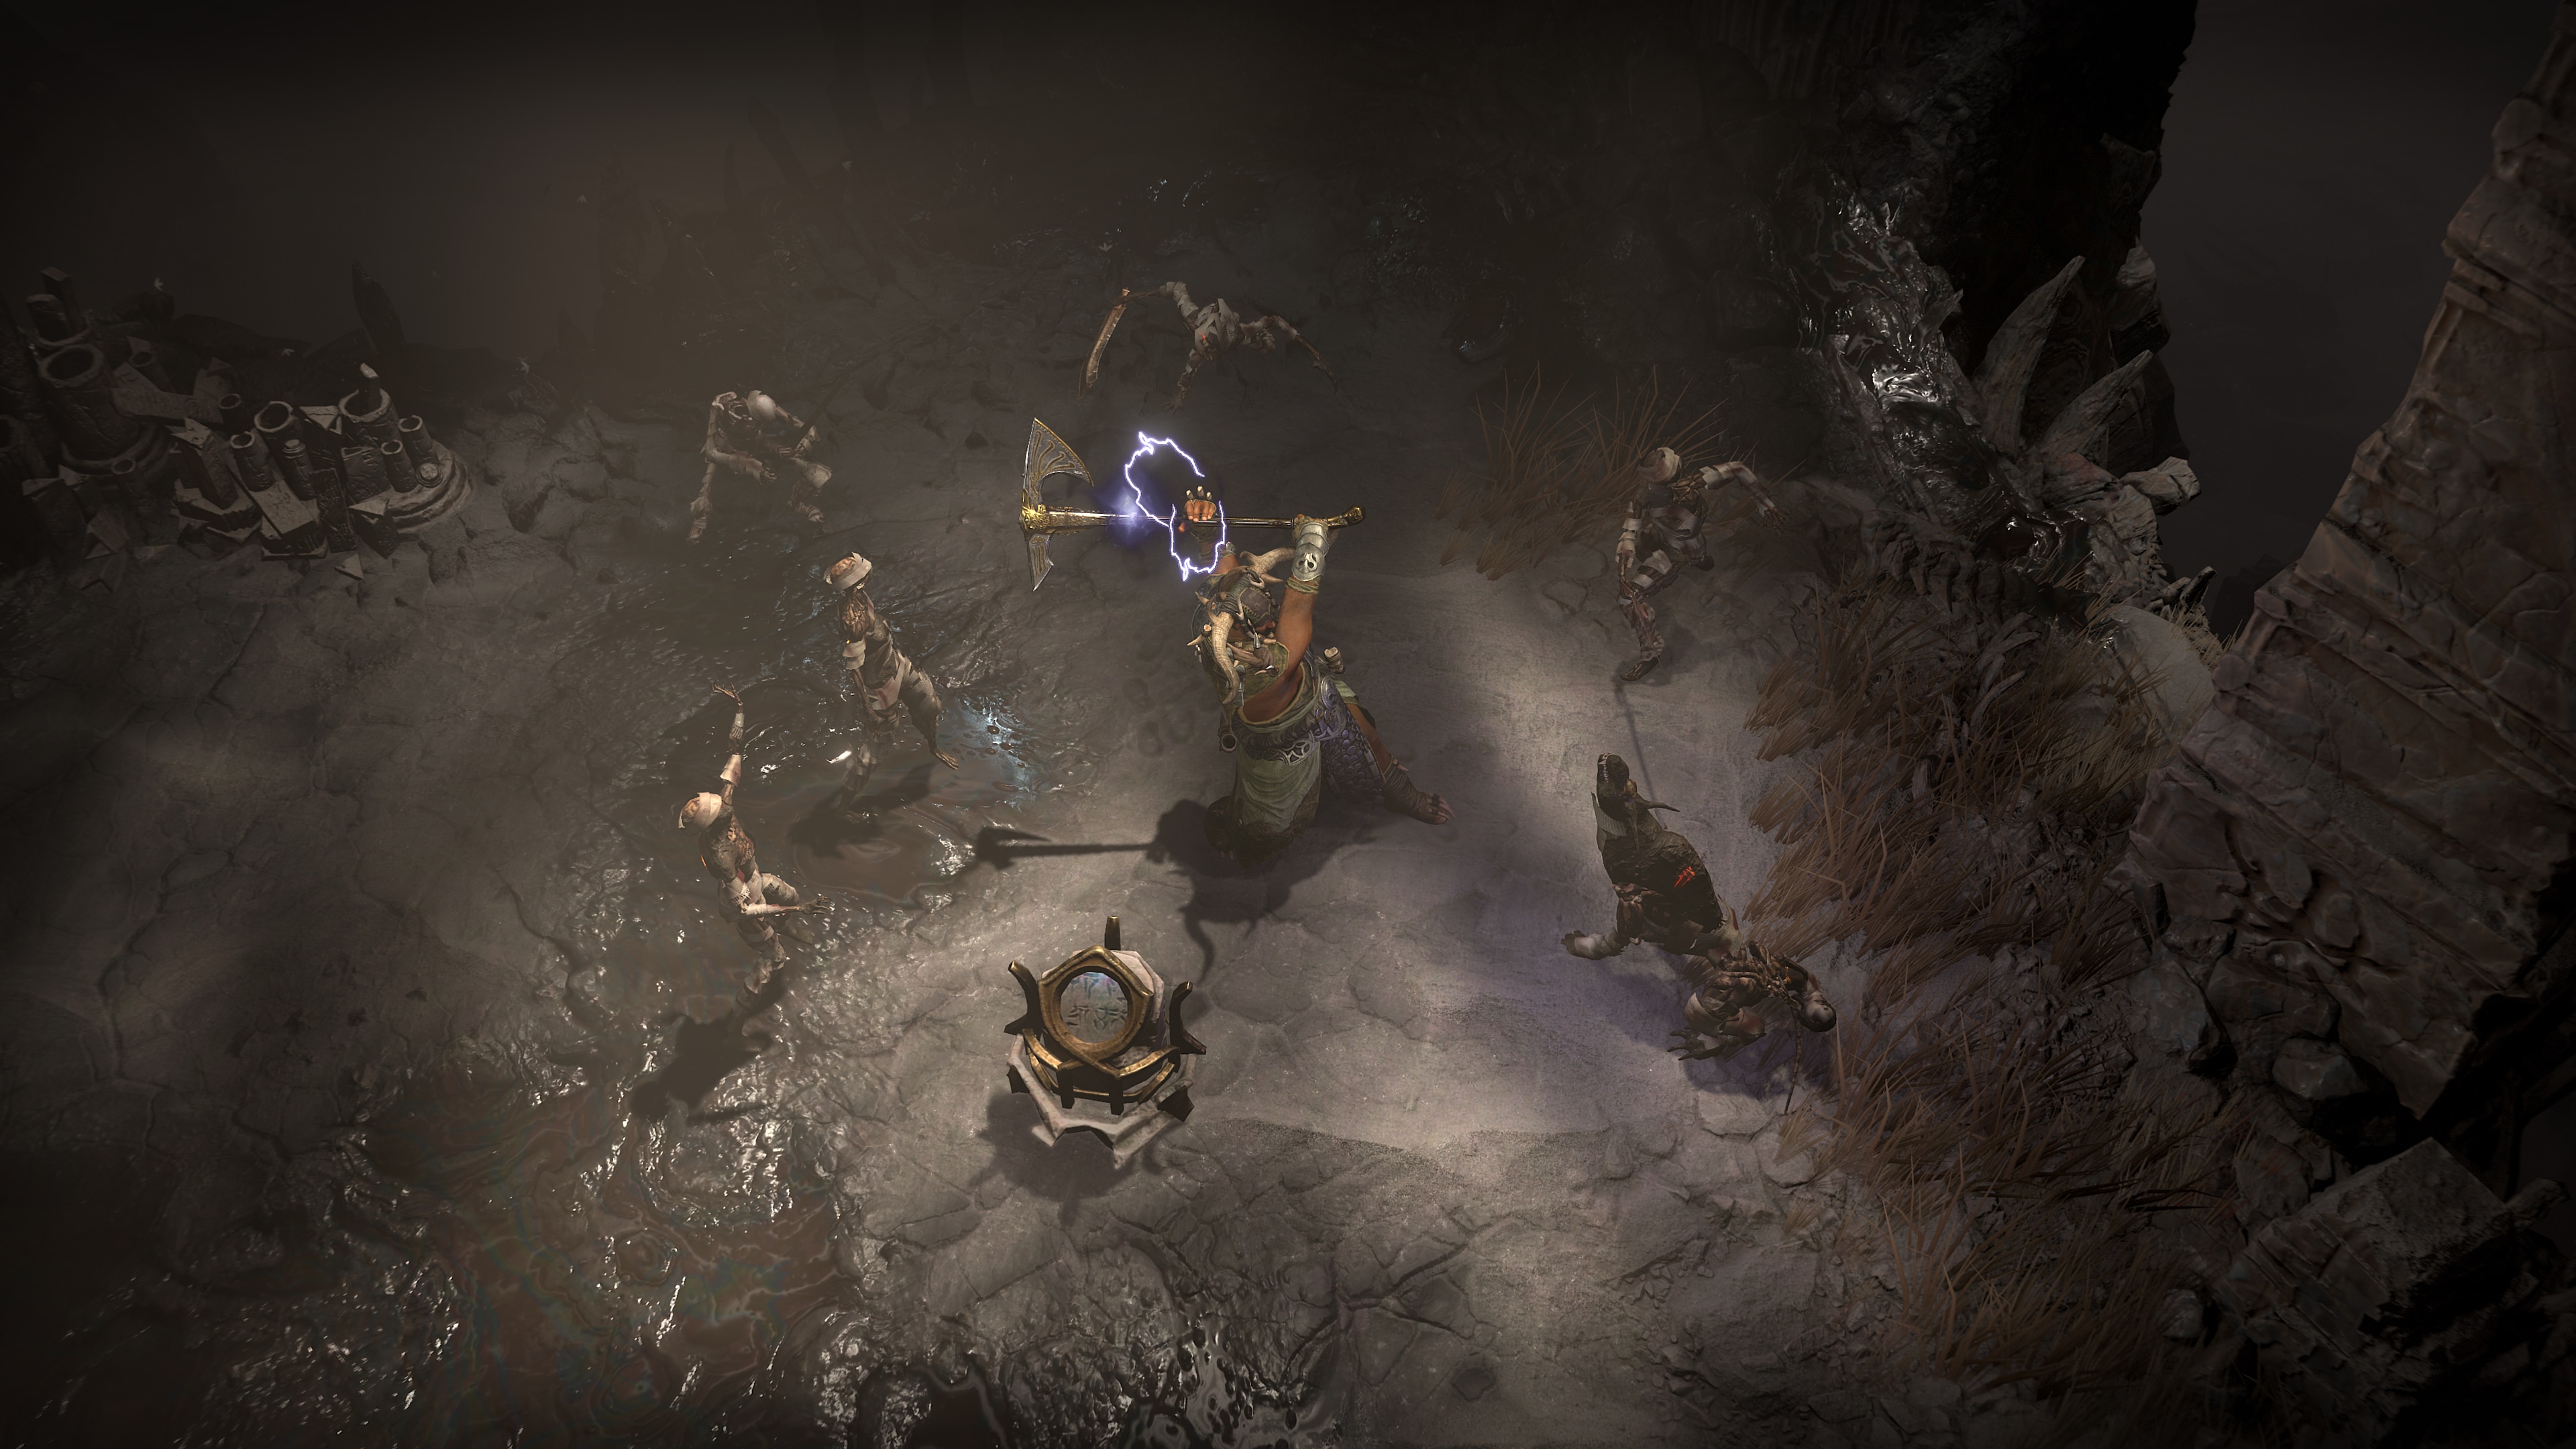
Customise Highly effective Horadric Spells
The secrets and techniques of the Horadrim are buried all through the world, laid plain for individuals who know not solely look, however see as effectively. Unearthing secrets and techniques which have lengthy since been locked away might reveal ghastly horrors, however can even grant untold energy to these daring sufficient to hunt them.
Season 9: Sins of the Horadrim introduces a brand new method to work together along with your powers, granting entry to highly effective Spellcrafting skills to create unimaginable new combos. By three key pillars, Horadric Spells gives novel methods to customise and construct energy at your fingertips. Hyperlink them to your skills and unleash devastating double assaults tailor-made to your playstyle.
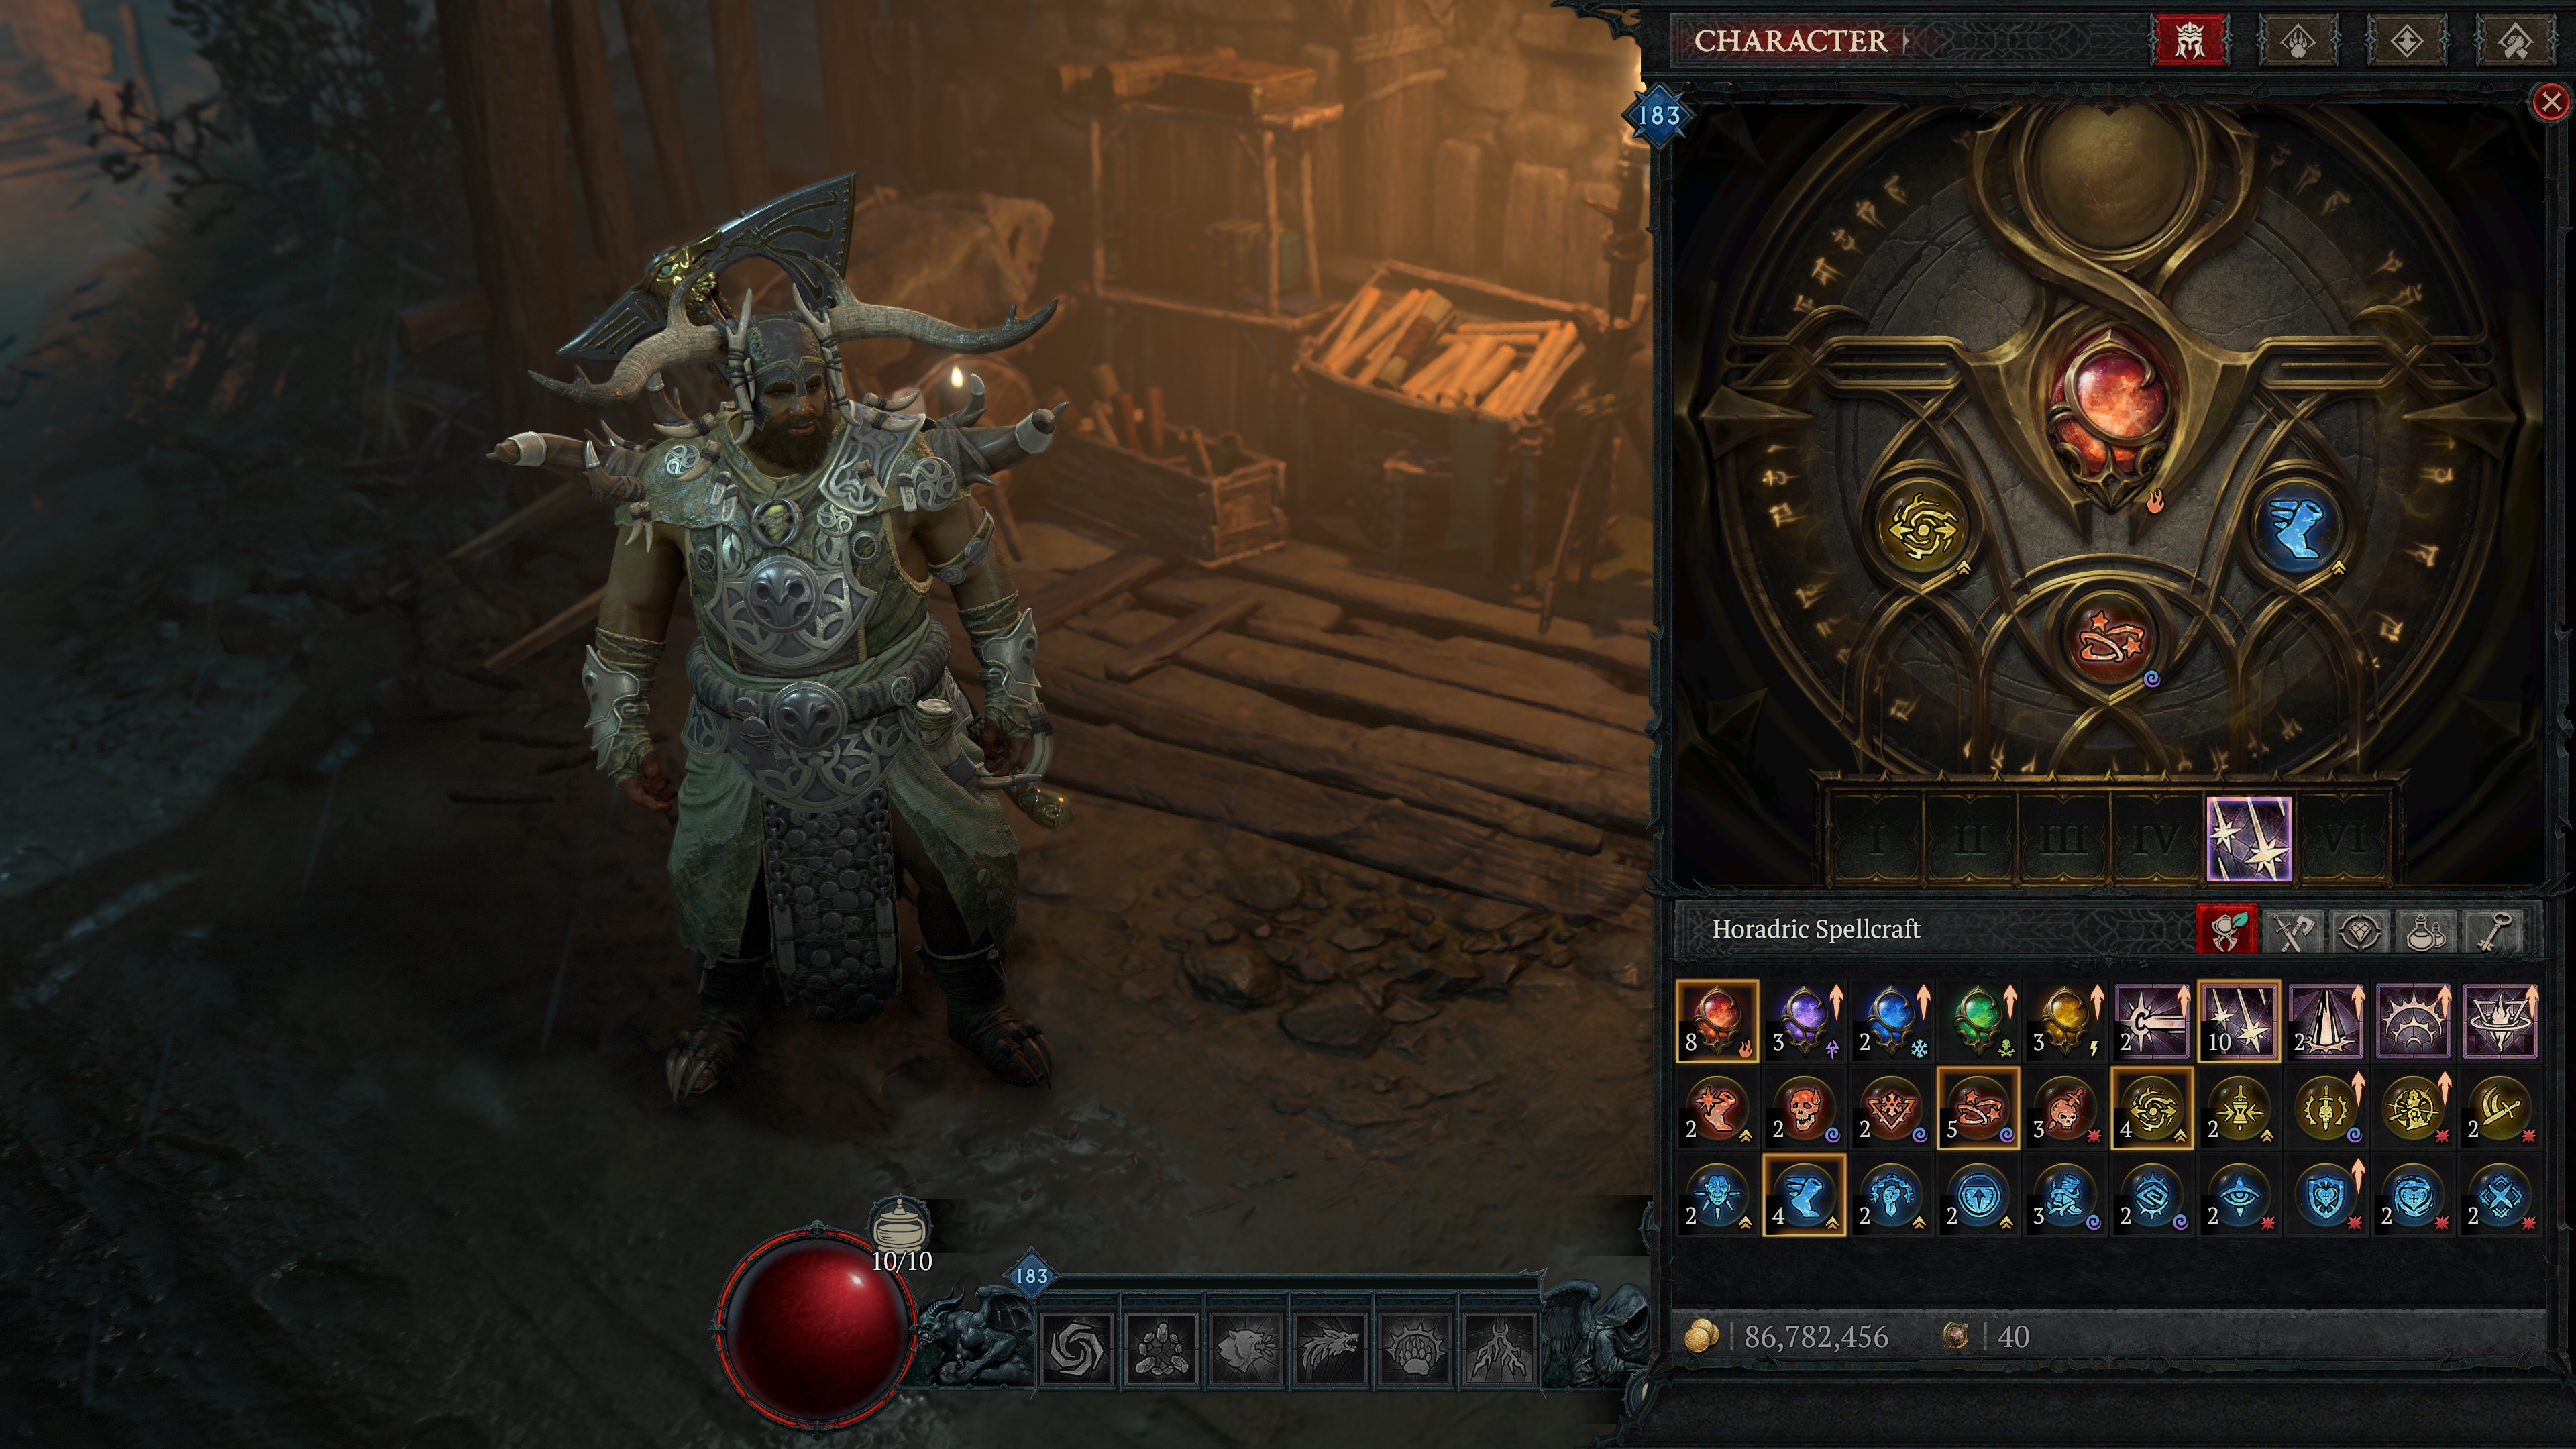
Three completely different potent parts mix to create these intense spells: Catalysts, Infusions, and Arcana.
Catalysts: the bottom energy of your spell
Infusions: modifies the kind of elemental harm your spell offers
Arcana: provides further results to the bottom energy of your spell
There are quite a few prospects by means of the completely different combos of Catalysts, Infusions and Arcana. To construct your Horadric Spell, you possibly can equip a major Catalyst, an Infusion to assist, and three Arcana to reinforce and construct your spell. Every factor contributes to your total spell, permitting you to tinker and uncover unimaginable outcomes. That is your likelihood to actually experiment and wield Horadric magic with untold potential.
Finishing your arsenal of Horadric Spellcraft is completed in a pair other ways. Achieve entry to Catalysts and Infusions by means of the Seasonal Questline, whereas Arcana will likely be discovered as a reward from finishing Horadric Strongrooms.
Catalysts
The primary supply of energy to your Horadric spell.
The muse of your spell, offering it kind and performance.
Catalysts have their very own Cooldown, Fortunate Hit, and Rank 10 Bonus.
Catalysts will activate off a selected Motion Bar Talent based mostly on the interface slot they’re positioned into.
Your Motion Bar Talent will glow with purple magic whereas your Catalyst is on the market to activate.
These might be custom-made additional with Infusions and Arcana.
Celestial Surge
Astral Magic
Awaken an Oracular Rune that Pulls In all surrounding enemies. A torrent of stars observe that randomly strike the world 20 occasions for harm every.
Cooldown: 15 seconds (11.2 seconds at Rank 20).
Fortunate Hit Probability: 30% 18%
Rank 10: Stars periodically fall round you and are assured to crash round a Close by enemy for a similar harm.
Disintegrate
Arcane Magic
Kind an Arcane Conductor that emits a persistent beam between itself and also you, dealing a gradual blitz of injury over 8 seconds.
Cooldown: 10 seconds (5.3 at Rank 20).
Fortunate Hit Probability: 9%
Rank 10: Enemies throughout the beam are Slowed by 50%.
Propulsion
Arcane Magic
Generate a Mana Blast that delivers harm and Knocks Again all foes. Enemies that collide take one other harm.
Cooldown: 9 8 seconds (4.3 3 at Rank 20).
Fortunate Hit Probability: 15%.
Rank 10: The Knock Again is gargantuan and enemies slammed into terrain by it kind a Lesser Mana Blast the primary time it occurs to them.
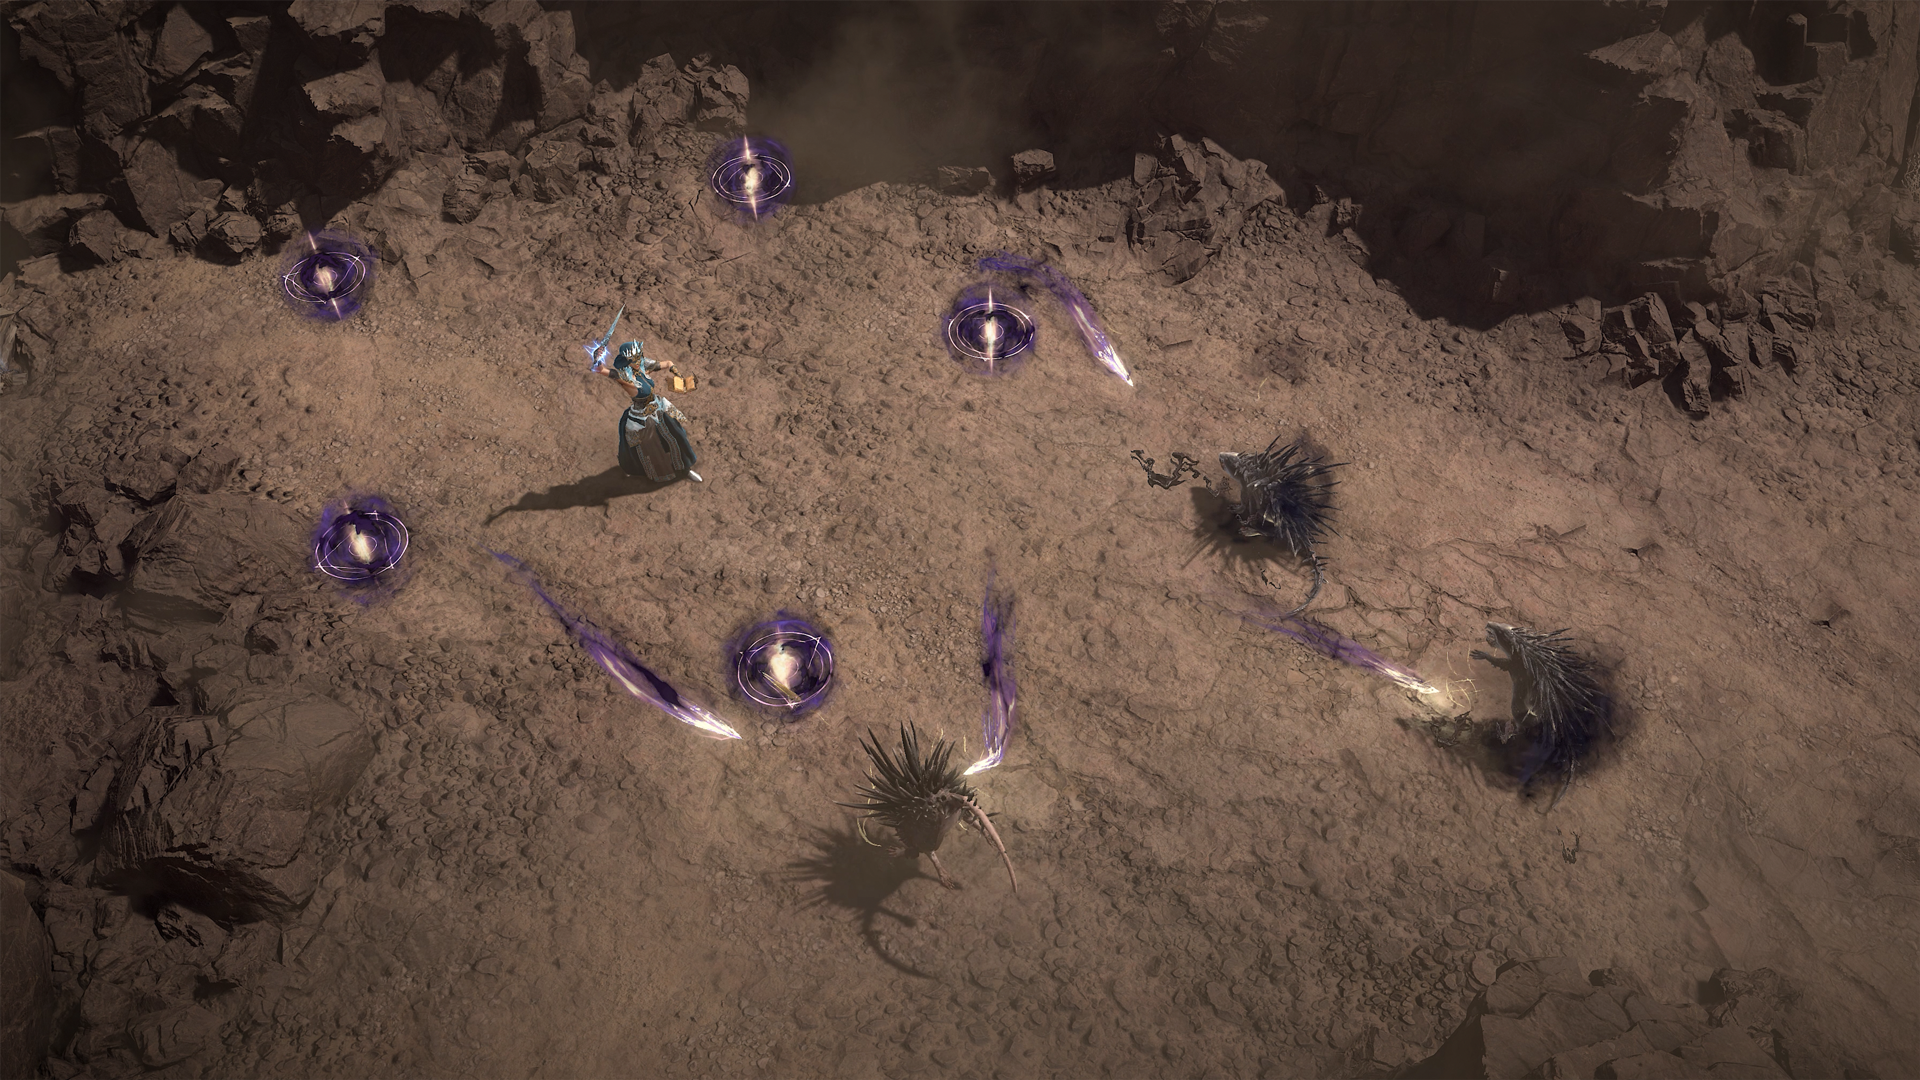
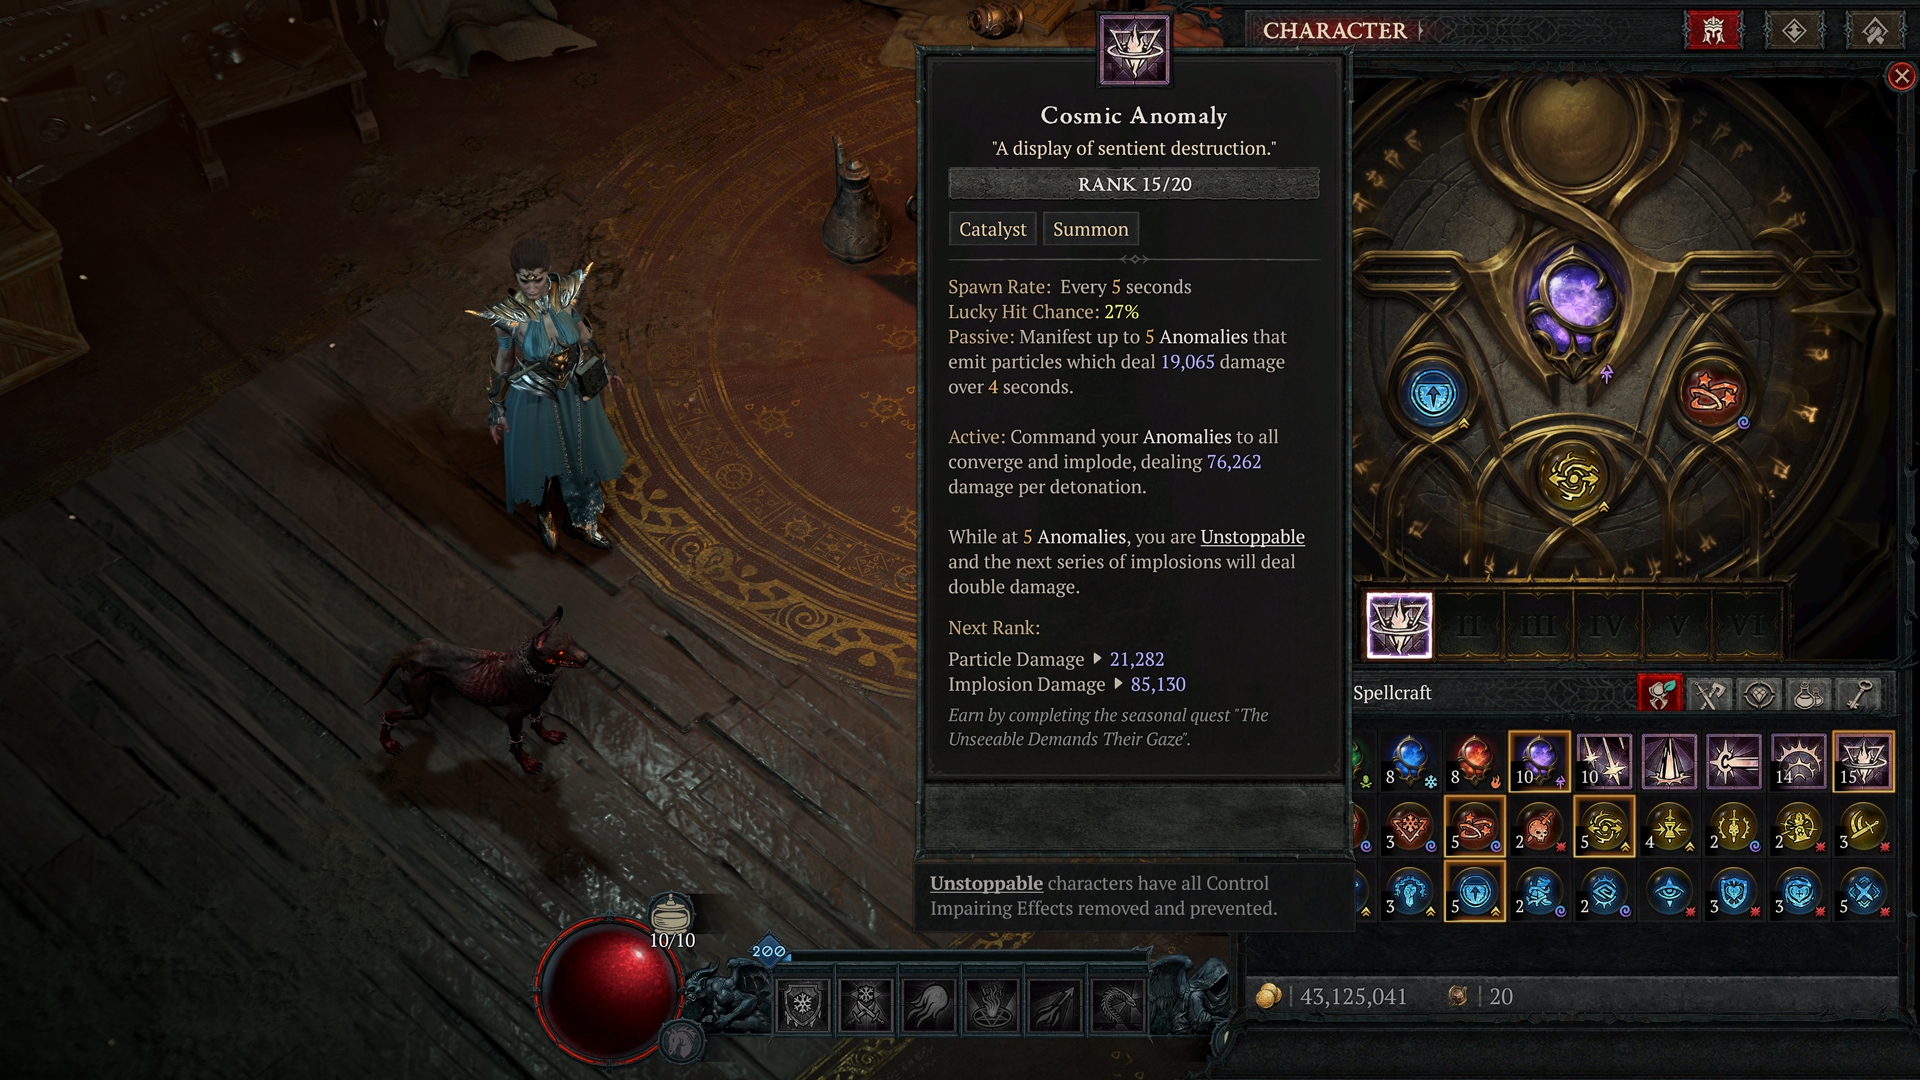
Cosmic Anomaly
Astral Magic
Passive: Manifest as much as 5 Anomalies that emit particles which deal harm over 4 seconds.
Lively: Command your Anomalies to converge and implode, dealing harm per detonation.
Spawn Charge: Each 5 seconds.
Fortunate Hit Probability: 20%
Rank 10: Whereas at 5 Anomalies, you might be Unstoppable and the subsequent implosion will deal double harm.
Astral Pillar
Astral Magic
Form an Ethereal Column that Taunts for 3.0 seconds. Piercing waves circulate from it and deal harm, till you create one other one or transfer too distant.
Cooldown: 7 seconds.
Fortunate Hit Probability: 12%
Rank 10: The Taunted enemies turn into Susceptible and transfer quicker.

Infusions
These incantations imbue your Catalyst with energy and magic.
Modifies the kind of harm or damage-over-time that your Catalyst offers.
After levelling to Rank 5, every Infusion positive aspects its personal bonus that permits your Catalyst to deactivate particular monster affixes.
Smoldering Ember
Your Spell Catalyst now offers Hearth and or Burning harm.
Bonus: It destroys enemy constructions and has a ten% likelihood to ignite the bottom beneath enemies, dealing 150% 450% Burning harm over 5 seconds. Whereas geared up, your Hearth Injury Bonus is the same as that of your highest Injury Sort Bonus.
Rank 5: Deactivates monster Chilling Winds results for five 8 seconds.
Nebulous Extract
Your Spell Catalyst now offers Shadow and or Corrupting harm.
Bonus: Enemies hit by it deal 5-10% diminished harm for 7 seconds. Whereas geared up, your Shadow Injury Bonus is the same as that of your highest Injury Sort Bonus.
Rank 5: Deactivates monster Summoner results for five 8 seconds.
Glacial Nimbus
Your Spell Catalyst now offers Chilly and or Frostbiting harm.
Bonus: Enemies broken by it are Chilled for 15-25%. This impact occurs as soon as per enemy each 1 second. Whereas geared up, your Chilly Injury Bonus is the same as that of your highest Injury Sort Bonus.
Rank 5: Deactivates monster Explosive results for five 8 seconds.
Corrosive Vapor
Your Spell Catalyst now offers Poison and or Poisoning harm.
Bonus: Enemies broken by it take 150% 320% Poisoning harm over 4 seconds. This impact can solely occur on every enemy each 3 seconds. Whereas geared up, your Poison Injury Bonus is the same as that of your highest Injury Sort Bonus.
Rank 5: Deactivates monster Vampiric results for five 8 seconds.
Thunderous Particle
Your Spell Catalyst now offers Lightning and or Sparking harm.
Bonus: Enemies broken by it arc 150% 320% Lightning harm to a surrounding enemy. This impact can solely occur on every enemy each 3 seconds. Whereas geared up, your Lightning Injury Bonus is the same as that of your highest Injury Sort Bonus.
Rank 5: Deactivates monster Suppressor results for five 8 seconds.
Arcana
Equip as much as three completely different Arcana to switch your Catalyst in some ways.
There are 3 tiers of Rarity for Arcana: Magic, Uncommon, and Legendary.
Legendary Arcana alter their results based mostly on the Catalyst they’re sure to. Uncover the depth and complexity as you delve by means of the chances.
Include Particular spell tags that may be relied on to additional modify your spell. Many highly effective Horadric Jewels relate to those tags, unimaginable combos await.
Magic
Tendrilous Bundle
Fortunate Hit: Injury out of your Catalyst has as much as a 35% likelihood to Immobilize for five seconds (+5% every rank).
Tranquil Stone
Invoking your Catalyst grants Unstoppable for 3 seconds each time it prompts (+0.4 every rank).
Shifting Powder
Your Catalyst will increase your Motion Velocity by 30% throughout its impact and for five extra seconds after it ends (+8% every rank).
Luminous Gem
Your Catalyst will Daze enemies it damages for two seconds (+1 every rank).
Murky Essence
Invoking your Catalyst grants Stealth for two seconds each time it prompts (+0.4 every rank).
Invigorating Helix
As soon as per enemy each 5 seconds, harm out of your Catalyst will Fortify and Heal you for five% of your Most Life (+1% every rank).
Bottled Wind
Invoking your Catalyst grants a Barrier equal to 30% of your Most Life for 4 seconds. After it dissipates, its essence is bottled again up (+4% every rank).
Jagged Bramble
Fortunate Hit: Injury out of your Catalyst has as much as a 50% likelihood to deal 100% 150% of your Thorns harm (+30% every rank).
Reactive Ooze
After your Catalyst prompts, you acquire 5% Most Useful resource Era per second for the subsequent 10 seconds (+3% every rank).
Risky Crystal
After your Catalyst prompts, it grants 10% Resistance and Most Resistance to the Component of your Infusion for 10 seconds (+2% every rank).
Uncommon
Gleaming Conduit
The impact dimension of your Catalyst is elevated by 10% (+8% every rank).
Fractured Core
Your Catalyst deactivates monster Injury Resistance Aura results for two.5 seconds, however you’re taking 10% extra stacking harm for a similar time (+0.5 every rank).
Sapping Crux
Your Catalyst applies Susceptible for 3 seconds (+1 every rank).
Potent Alloy
Your Catalyst destroys enemy Limitations and Knocks them Down for 1.0 seconds after the removing (+0.8 every rank).
Sharpening Gizmo
Fortunate Hit: Injury out of your Catalyst has a 40%-80% 50% likelihood to deal 200% Bodily harm eat damage-over-time results and deal 100% of their harm immediately. Your Catalyst Fortunate Hit Probability is doubled. (+30% 8% every rank).
Legendary
Floaty Bobble
Your Catalyst positive aspects a specialised blink impact that grants Unhindered for two.0 seconds. (+0.4 every rank).
Floaty Bobble creates the next results for every Catalyst:
Celestial Surge: Blinks you to the middle of its Oracular Rune when it kinds and grants Unhindered.
Disintegrate: Blinks you to your goal however leaves its Arcane Conductor behind. You might be Unhindered whereas the beam is energetic and for two.0 seconds afterwards.
Propulsion: Blinks you to the middle of the blast and makes you Unhindered for two.0 seconds. The melee variant blinks you to the Knocked Again enemies.
Astral Pillar: Blinks you to your targeted vacation spot and grants Unhindered for two.0 seconds whereas dropping the flare at your earlier spot for ranged variants.
Cosmic Anomaly: Blinks you to its implosion, grants Unhindered, and cleanses all of your destructive results.
Nightmare Orb
Your Catalyst positive aspects a specialised Concern impact that lasts 4.0 seconds. (+0.4 every rank)
Nightmare Orb creates the next results for every Catalyst:
Celestial Surge: Stars Concern unaffected enemies for 4.0 seconds. After the Concern ends, there’s a 25% 50% likelihood for an additional star to fall.
Disintegrate: Fears unaffected enemies and offers 100% elevated harm to them whereas they’re Feared. for 4.0 seconds. Killing affected enemies restores 5% Most Life and Major Useful resource.
Propulsion: Removes enemy Susceptible results to Concern them. Whereas Feared, these enemies randomly kind Lesser Mana Blasts. to Concern unaffected enemies for 4.0 seconds. After the Concern ends, a Lesser Mana Blast is fashioned.
Astral Pillar: Each ninth wave Fears for 4.0 seconds. Enemies near it are Taunted and have their Concern eliminated. Photo voltaic Flare routinely Taunts and lures enemies which can be Feared.
Cosmic Anomaly: Anomalies Concern and apply an 80% 90% Gradual to unaffected enemies they arrive into contact with for 4 seconds.
Frigid Coronary heart
Your Catalyst positive aspects a specialised Freeze impact that lasts 3.0 seconds. (+0.4 every rank)
Frigid Coronary heart creates the next results for every Catalyst:
Celestial Surge: The Oracular Rune from Celestial Surge explodes and Freezes enemies. A second one kinds after the star strikes finish.
Disintegrate: Your Disintegrate beams Freeze all affected enemies for 3.0 seconds after you Evade and likewise grant 15% Dodge Probability for double that period.
Propulsion: Enemies that collide twice are Frozen for 3.0 seconds.
Astral Pillar: The flare Freezes surrounding enemies for 3.0 seconds when eliminated. Every Freeze will increase your Fortunate Hit Probability by 10% for five seconds, as much as 25%.
Cosmic Anomaly: Anomalies have a ten% 30% likelihood to protect themselves as a substitute of imploding and Freeze surrounding enemies.
Pressurized Steam
Your Catalyst positive aspects a specialised Stun impact that lasts 1.0 seconds (+0.4 every rank).
Pressurized Steam creates the next results for every Catalyst:
Celestial Surge: The celebs have a 25% likelihood to Stun and are assured to Critically Strike Shocked enemies.
Disintegrate: After being invoked, Disintegrate Stuns every enemy it damages one time. This Stun applies 100% extra Stagger to Bosses.
Propulsion: Enemies slammed into terrain by Propulsion are Shocked and have an opportunity to overlook their subsequent 2 assaults.
Astral Pillar: Waves have a 30% likelihood to Stun for 1.0 seconds and are assured to Overpower Shocked enemies.
Cosmic Anomaly: The particles out of your Anomalies deal their harm immediately and have a 25% likelihood to Stun.
Bloody Attraction
Your Catalyst positive aspects a specialised Execute impact for non-Boss enemies with 10% or much less Life. (+2% every rank)
Bloody Attraction creates the next results for every Catalyst:
Celestial Surge: The moon’s impression Executes non-Boss enemies with 10% or much less Life. Profitable Executions scale back your Cooldowns by 2 seconds.
Disintegrate: Non-Boss enemies with 10% or much less Life are instantly Executed. This threshold is doubled for non-Elite enemies.
Propulsion: The Mana Blast from Propulsion will Execute non-Boss enemies. with 10% or much less Life. Profitable Executions reset it grant 70% Motion Velocity for five seconds.
Astral Pillar: Will launch further waves in direction of Executable non-Boss enemies to Execute them.
Cosmic Anomaly: Executes non-Boss enemies with its implosion. Profitable Executions enhance your Assault Velocity by 20% for 8 seconds.
Again to Prime
Craft Potent Horadric Jewels
Identified for his or her unimaginable potential as Mages, the Horadrim possess the flexibility to refine stone into highly effective artifacts to assist them of their quest.
Upon reaching Torment I, Horadric Tomes can seem as rewards from accomplished Strongrooms. Horadric Tomes are consumable gadgets that provide the potential to craft socketable Horadric Jewels on the Horadric Lapidary. These highly effective gems grant quite a lot of alluring powers and results, from empowering your Horadric Spell, making enemies explode with elemental harm, and extra.
Head to the Horadric Lapdiary in Cerrigar to craft Horadric Jewels when you’ve realized the secrets and techniques to their making by means of Horadric Tomes. The primary Horadric Tome might be earned from the Horadric Information Seasonal Status board.
Horadric Jewels might be crafted utilizing Horadric Phials, Gem Fragments, and might be socketed in Amulets and each Ring slots.
Following the PTR, we have now added a wholly new Horadric Jewel to earn:
Willbreaker
Bodily harm you deal shatters enemies’ spirits, inflicting them to take 40%[x] extra Bodily harm for six seconds. This impact applies when first damaging a Boss or Elite, or when they’re affected by Crowd Management.
Developer’s Be aware: As this season presents intensive choices for elemental character builds, we wished to introduce this new Horadric Jewel so bodily builds have one thing to chase as effectively.
The next Horadric Jewels can be found:
Seal of Management
When you have two or extra Arcana from the College of Management geared up, acquire 45%[+] Management Period and 30%[+] Fortunate Hit Probability.
Seal of Energy
When you have two or extra Arcana from the College of Energy geared up, acquire 25%[+] Motion Velocity and 15%[+] Vital Strike Probability.
Seal of Denial
When you have two or extra Arcana from the College of Denial geared up, acquire 30%[x] extra Barrier, Fortify and Thorns.
Horadric Crest
For every Arcana from a singular College you have got geared up, acquire 5%[+] Injury Discount and 1%[+] Most Resistance to All Parts.
Reverie Horn
Reverie Horn
After you injure or kill an enemy, your Summons are empowered, rising bigger and dealing 50%[x] 30%[x] extra harm for 4 seconds.
Scornful Mild
You deal 20%[x] and take 10%[x] extra Elemental harm.
Tyrant Bane
After you deal harm over time to an enemy, they take 0.33%[x] extra harm over time from you eternally.
Liminal Echo
In the event you would take deadly harm, as a substitute stop that harm, invoke Propulsion, and turn into Invulnerable for 3 seconds. This could solely happen as soon as each 75 seconds.
Be aware: This Horadric Jewel not drops when enjoying in Hardcore.
Developer’s Be aware: It’s necessary to us as Builders to take care of the integrity and spirit of Hardcore. We welcome any suggestions concerning what which means to the group!
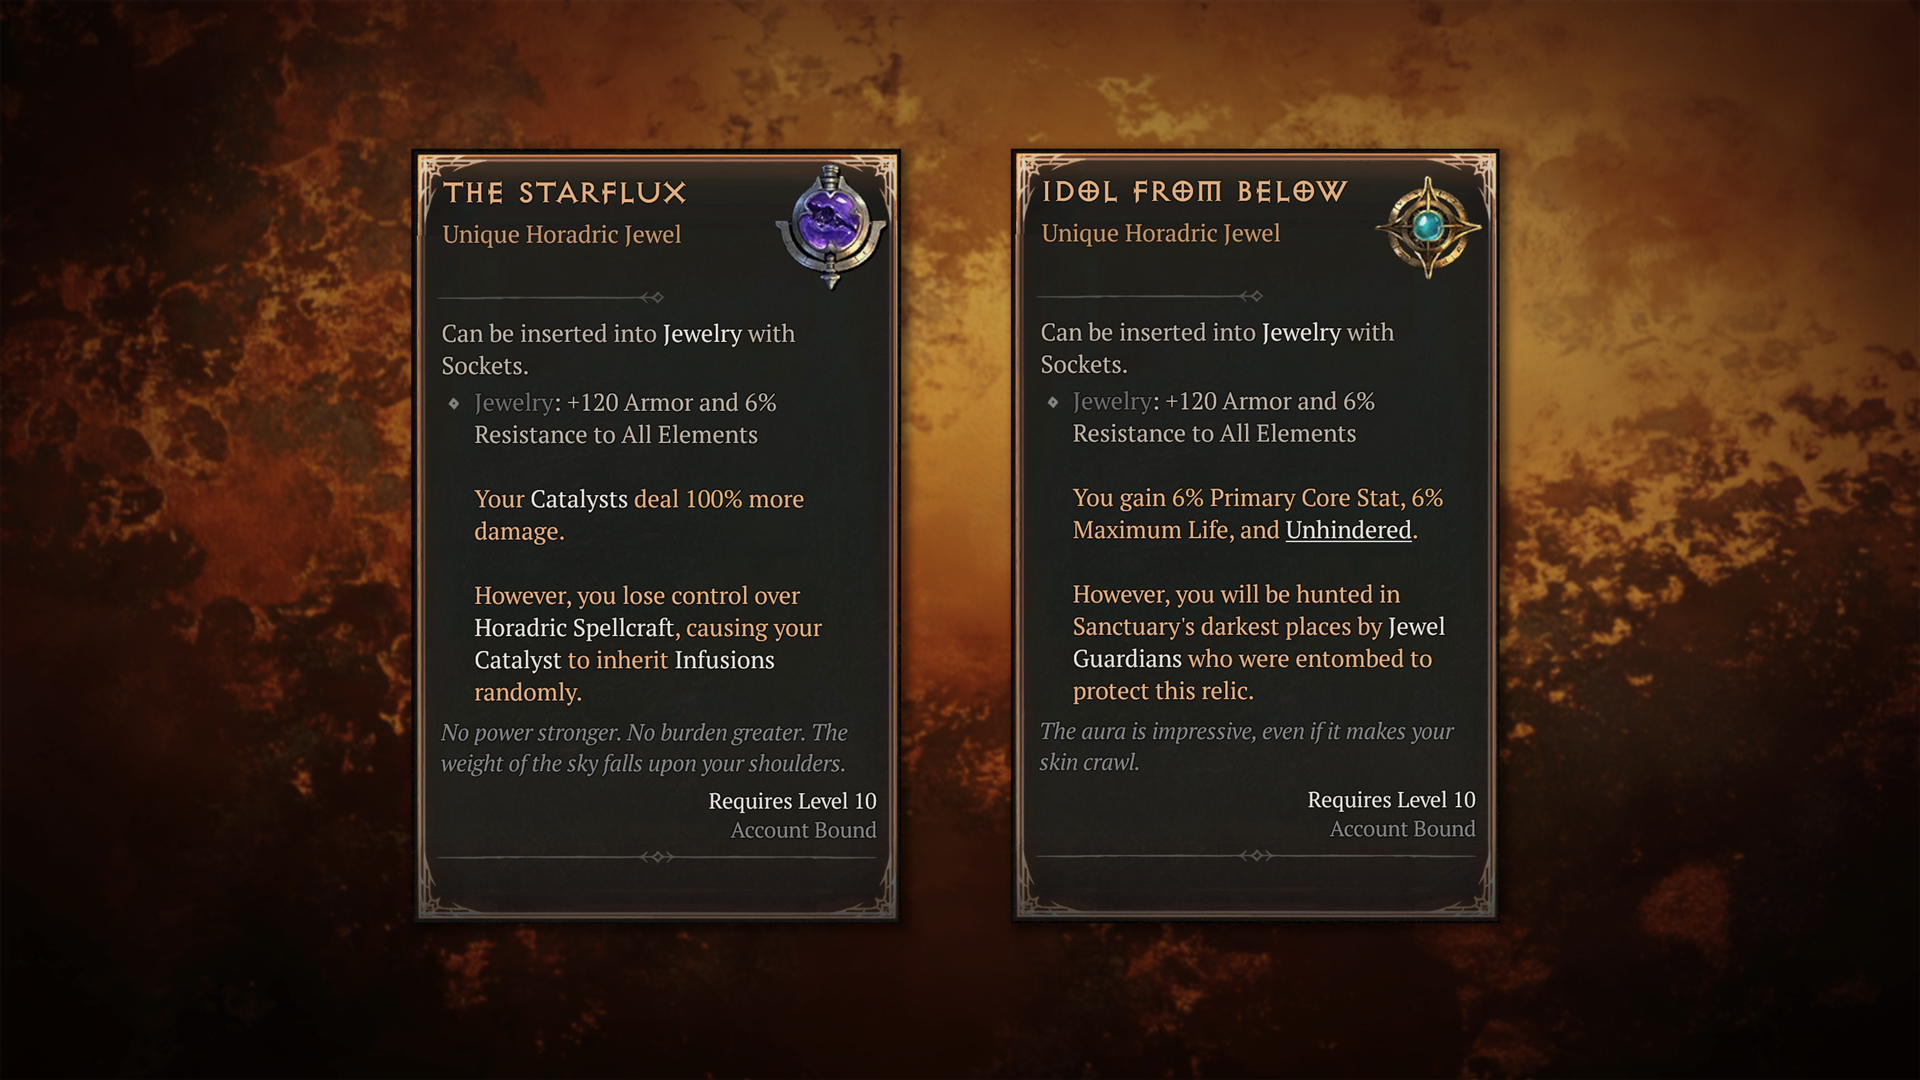
Idol From Under
You acquire 6%[x] main stat, 6%[x] 8%[x] most life and you might be all the time Unhindered. Nonetheless, you may be hunted in Sanctuary’s darkest locations by Jewel Guardians who have been entombed to guard this relic. Jewel Guardians generated by Idol from Under can not seem in Coaching Grounds or after a Dungeon’s goal has been accomplished. They now additionally spawn at specfici intervals versus two random occasions.
Myriad Stone
After you solid your Catalytic Talent, whether it is an Final, acquire 30%[+] Assault Velocity for 10 seconds.
Spark of Creation
After you solid your Catalytic Talent, acquire 5 10 Major Useful resource.
Luminate Eye
Your Catalytic Talent positive aspects 25%[+] Cooldown Discount.
Sensible Sigil
Your Infusions are 150%[x] stronger.
Elemental Model
Your Catalytic Talent offers 33% harm of your Infusion’s factor over 3 seconds. Fortunate Hit: Dealing harm of your Infusion’s factor has as much as a 33% likelihood to set off its secondary impact.
The Starflux
Your Catalysts deal 100%[x] extra harm. Nonetheless, you lose management over Horadric Spellcraft, inflicting your Catalysts to inherit Infusions randomly.
Again to Prime
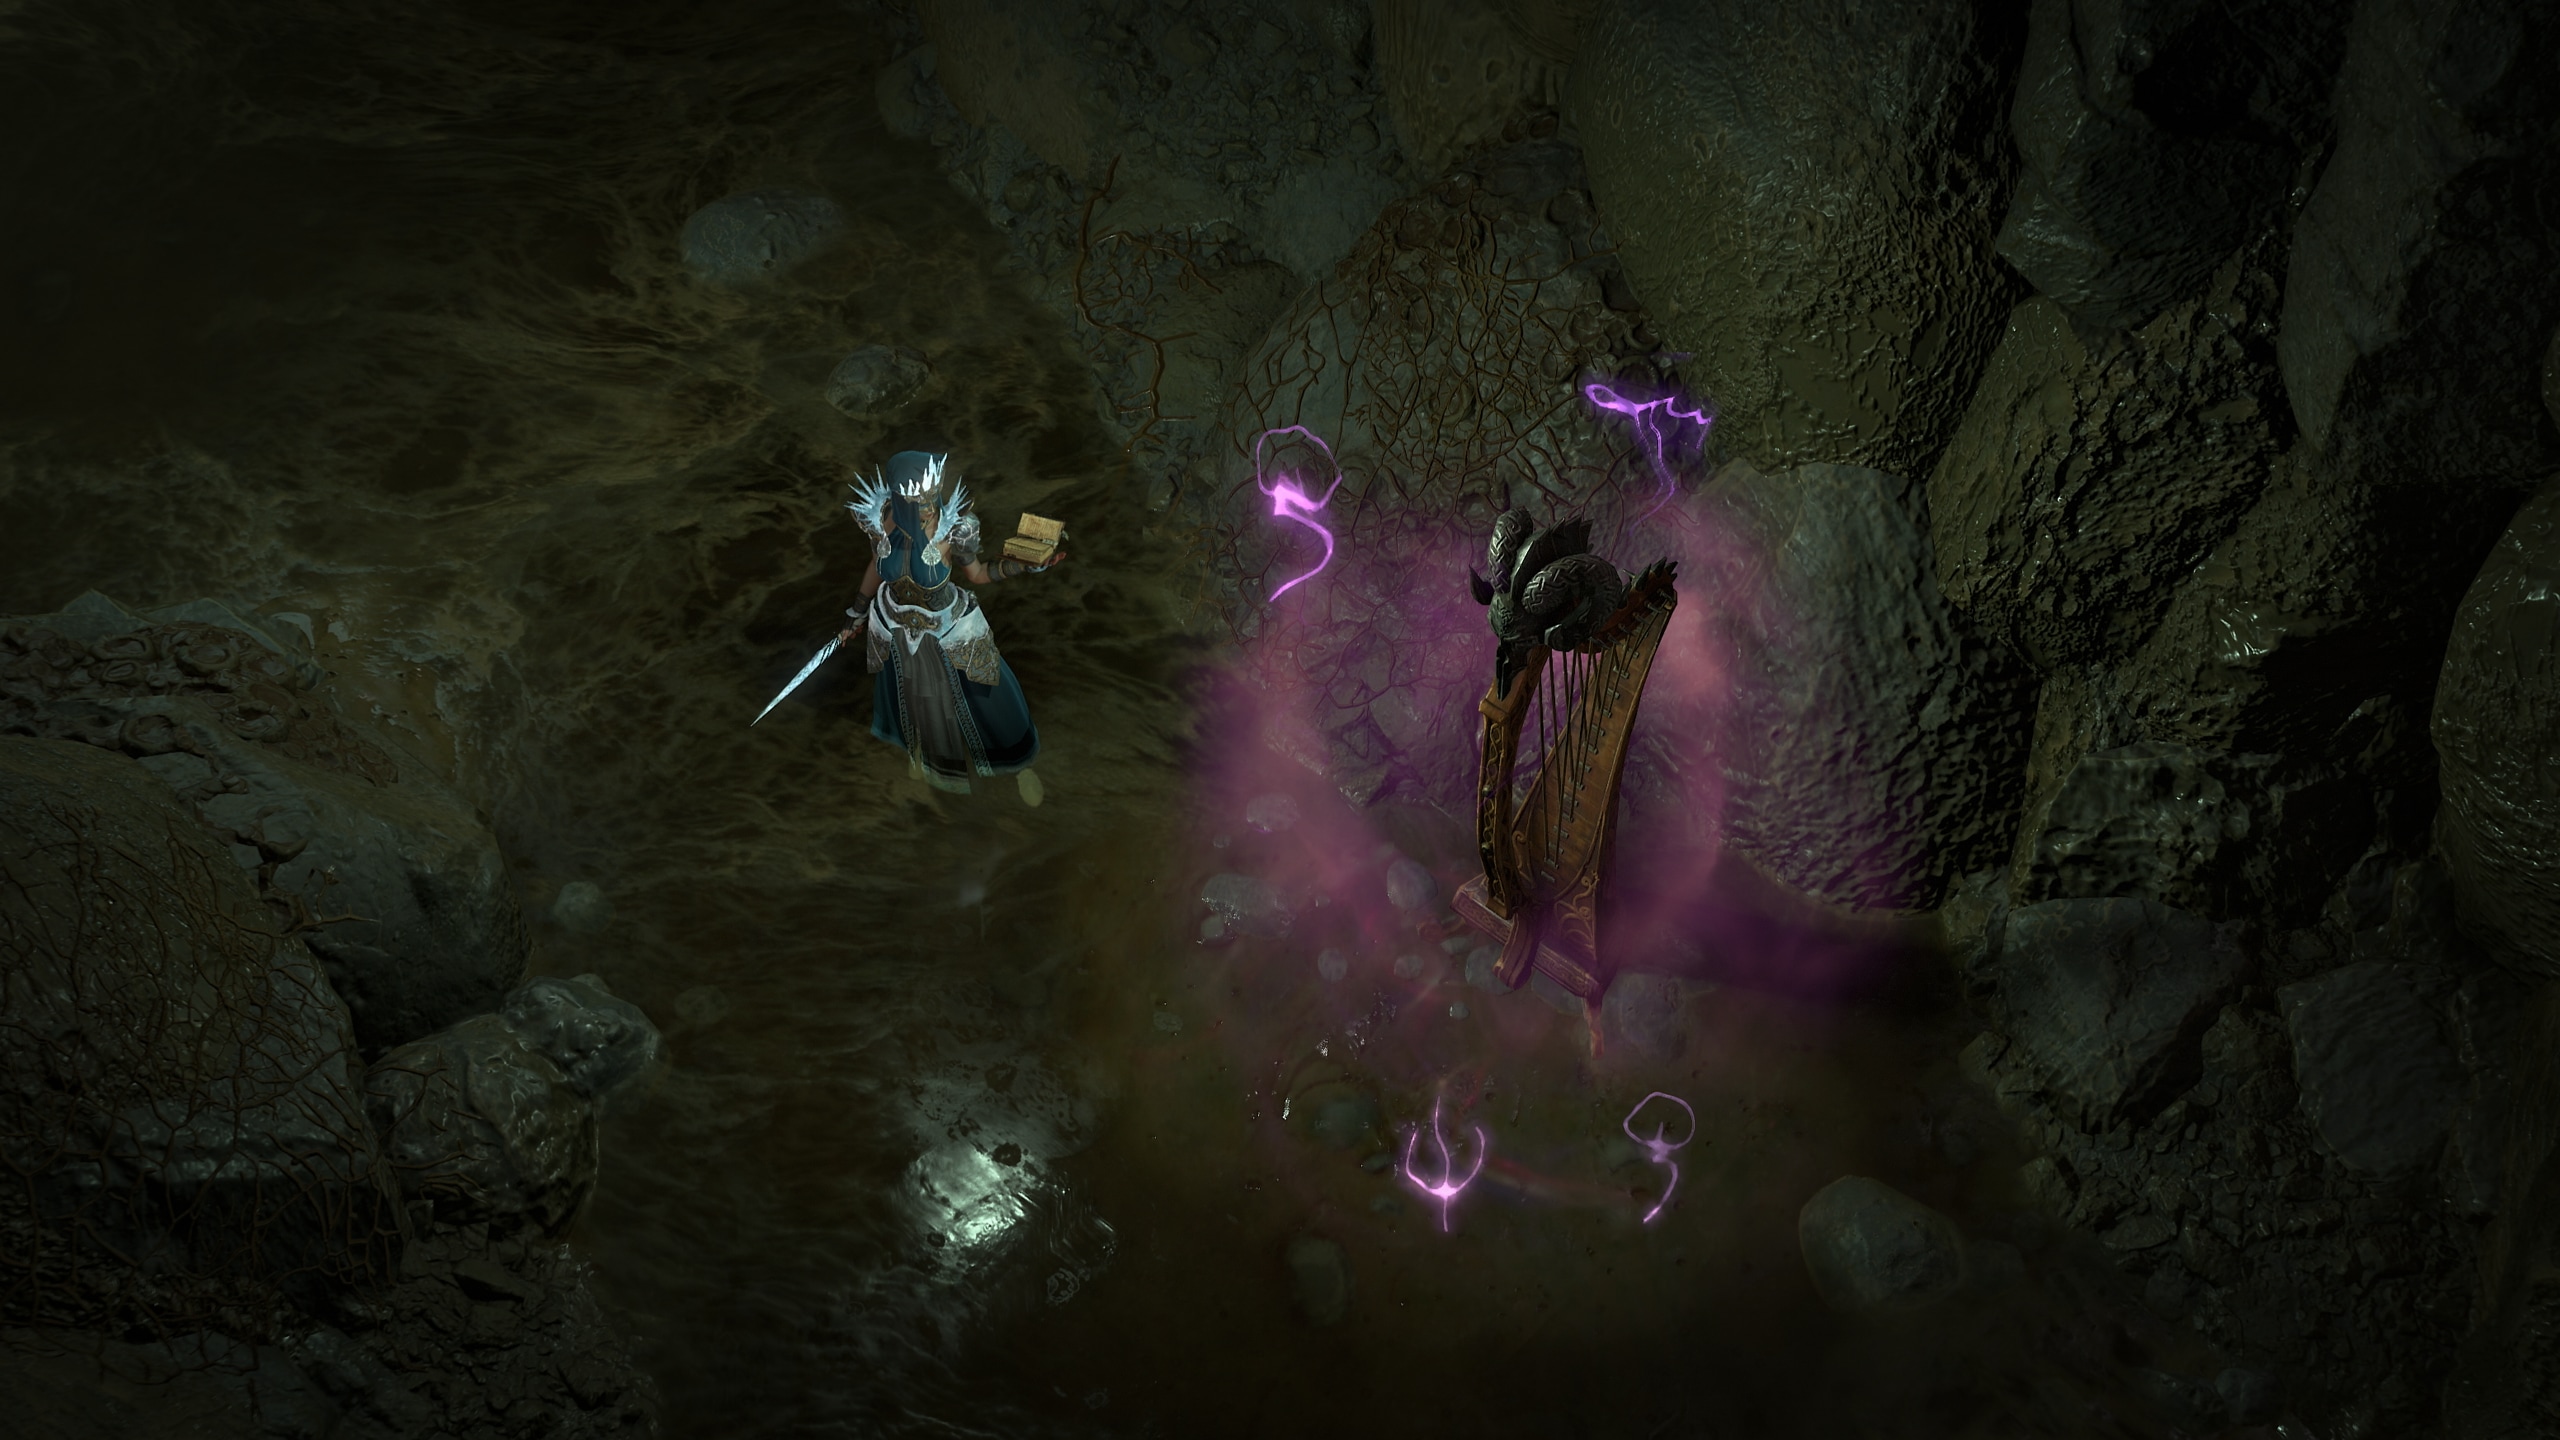
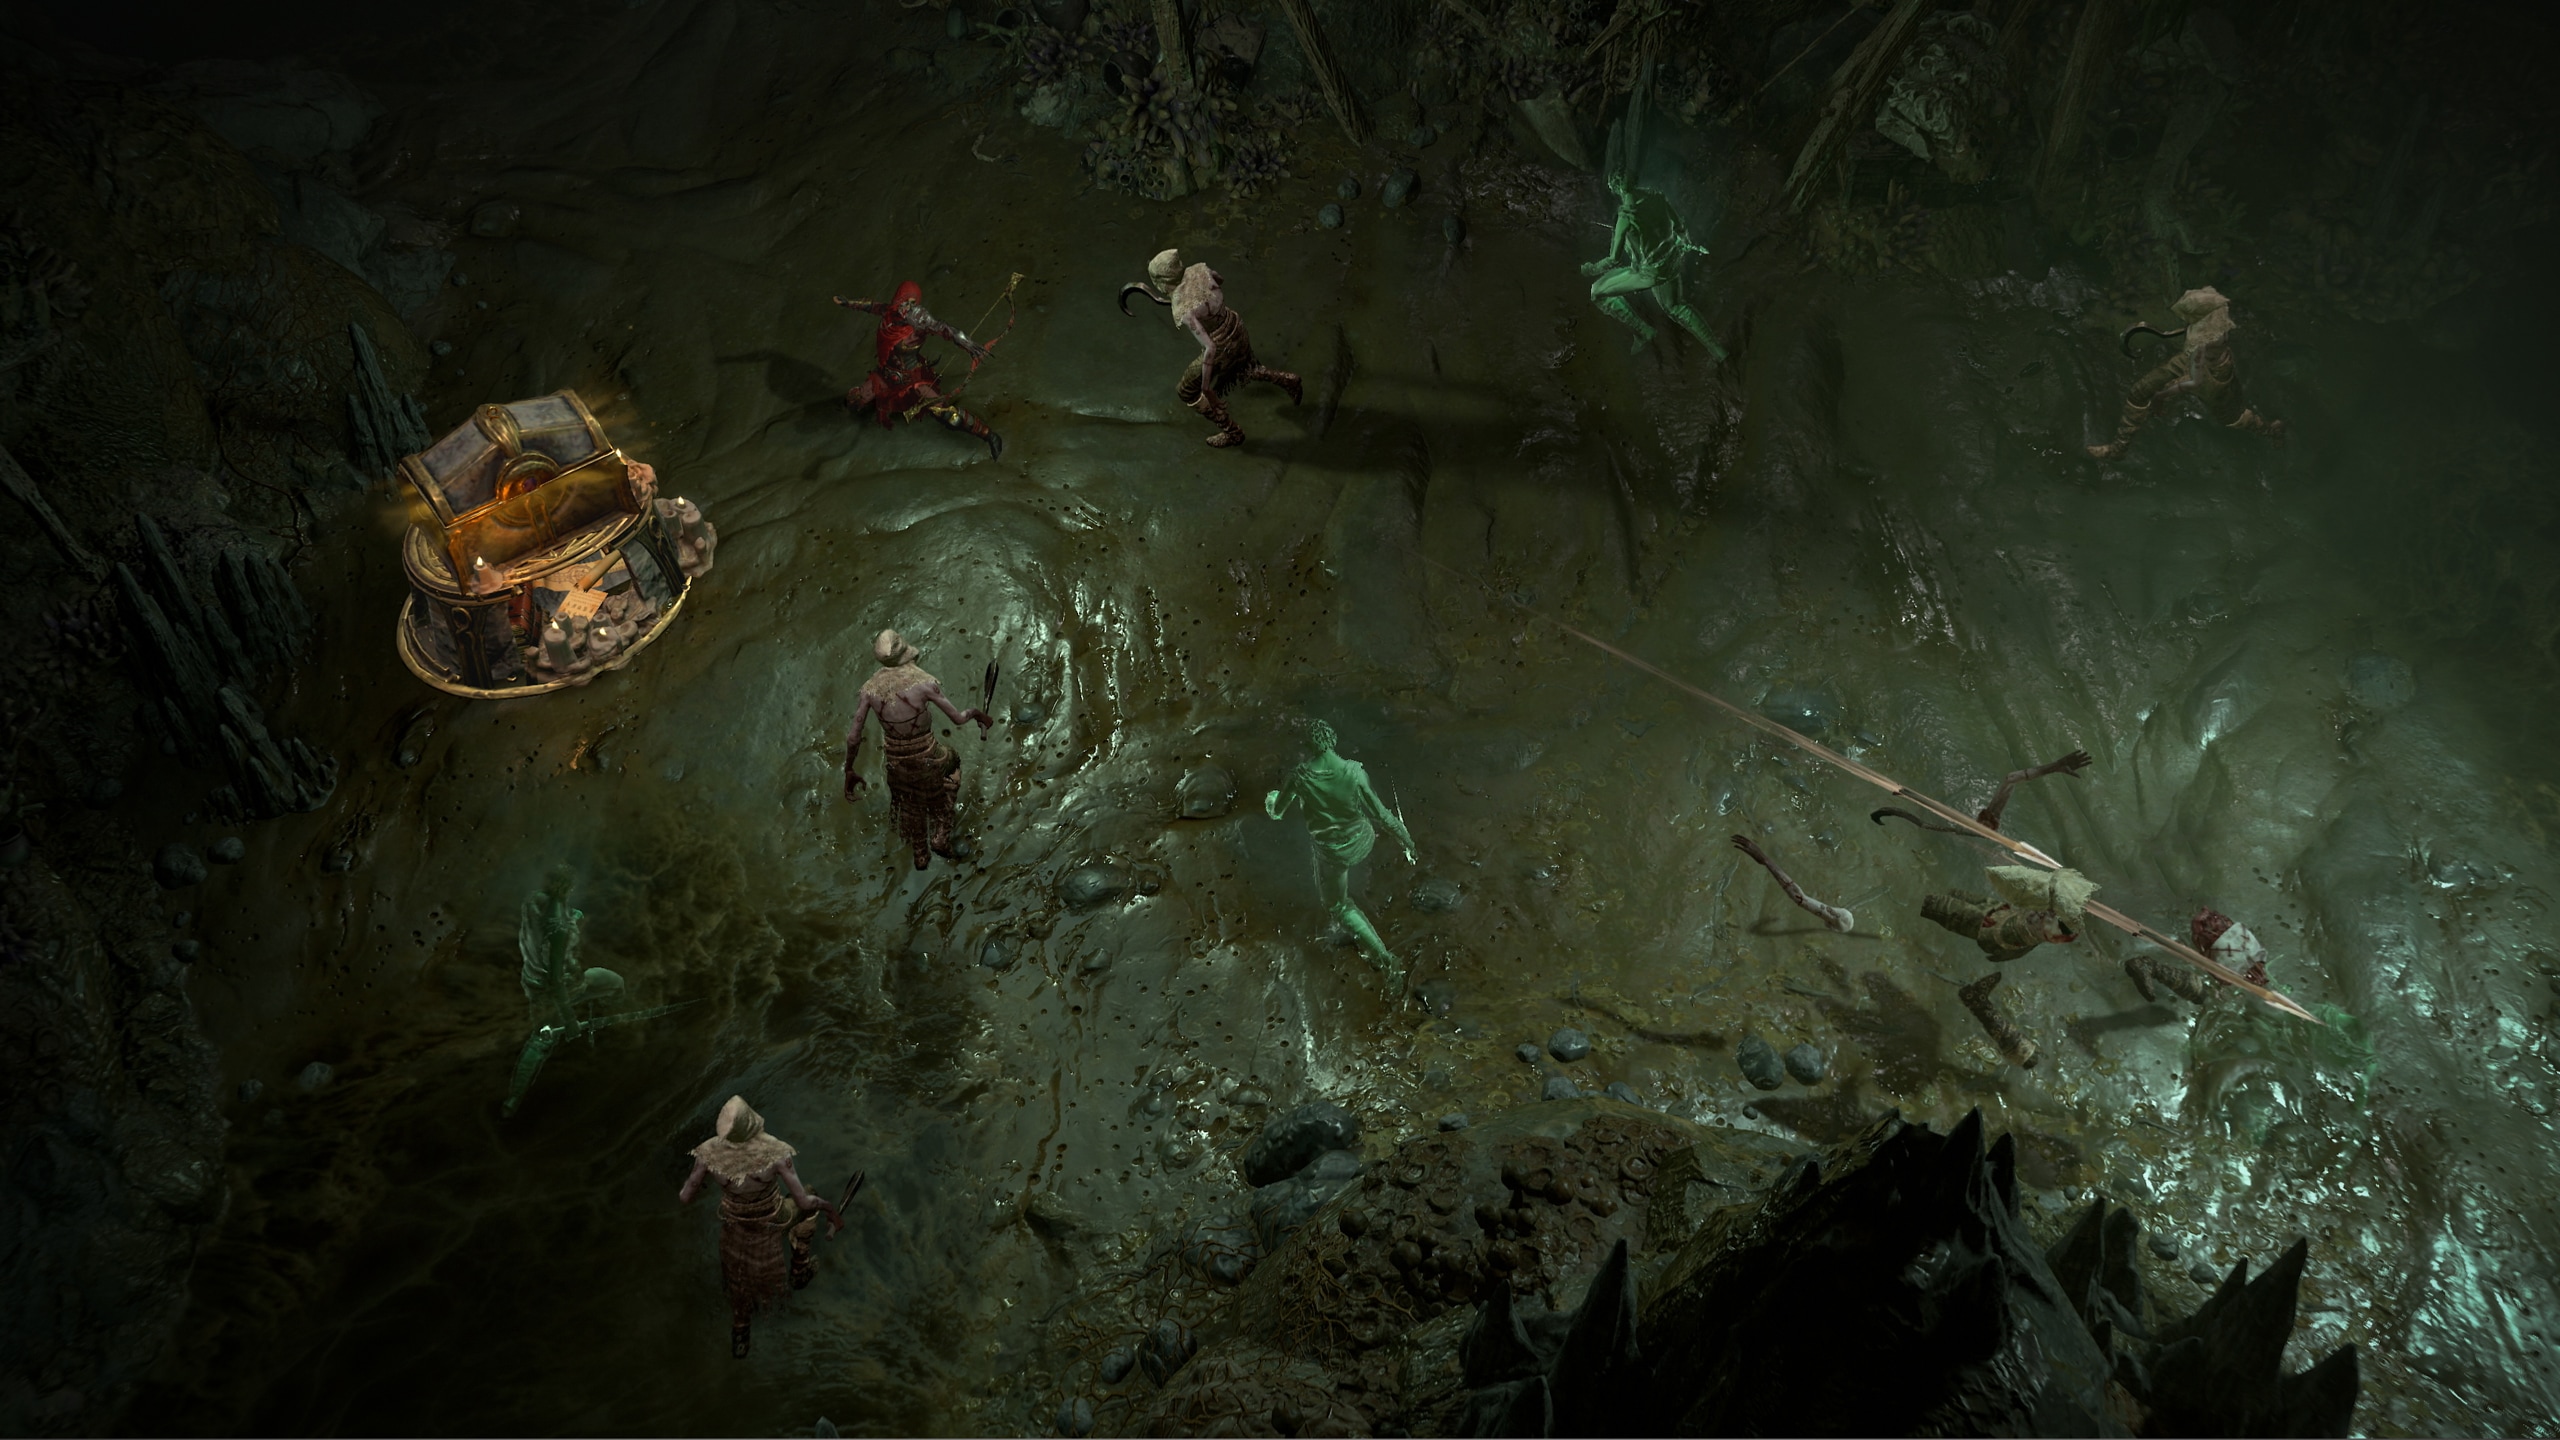
Discover Horadric Strongrooms

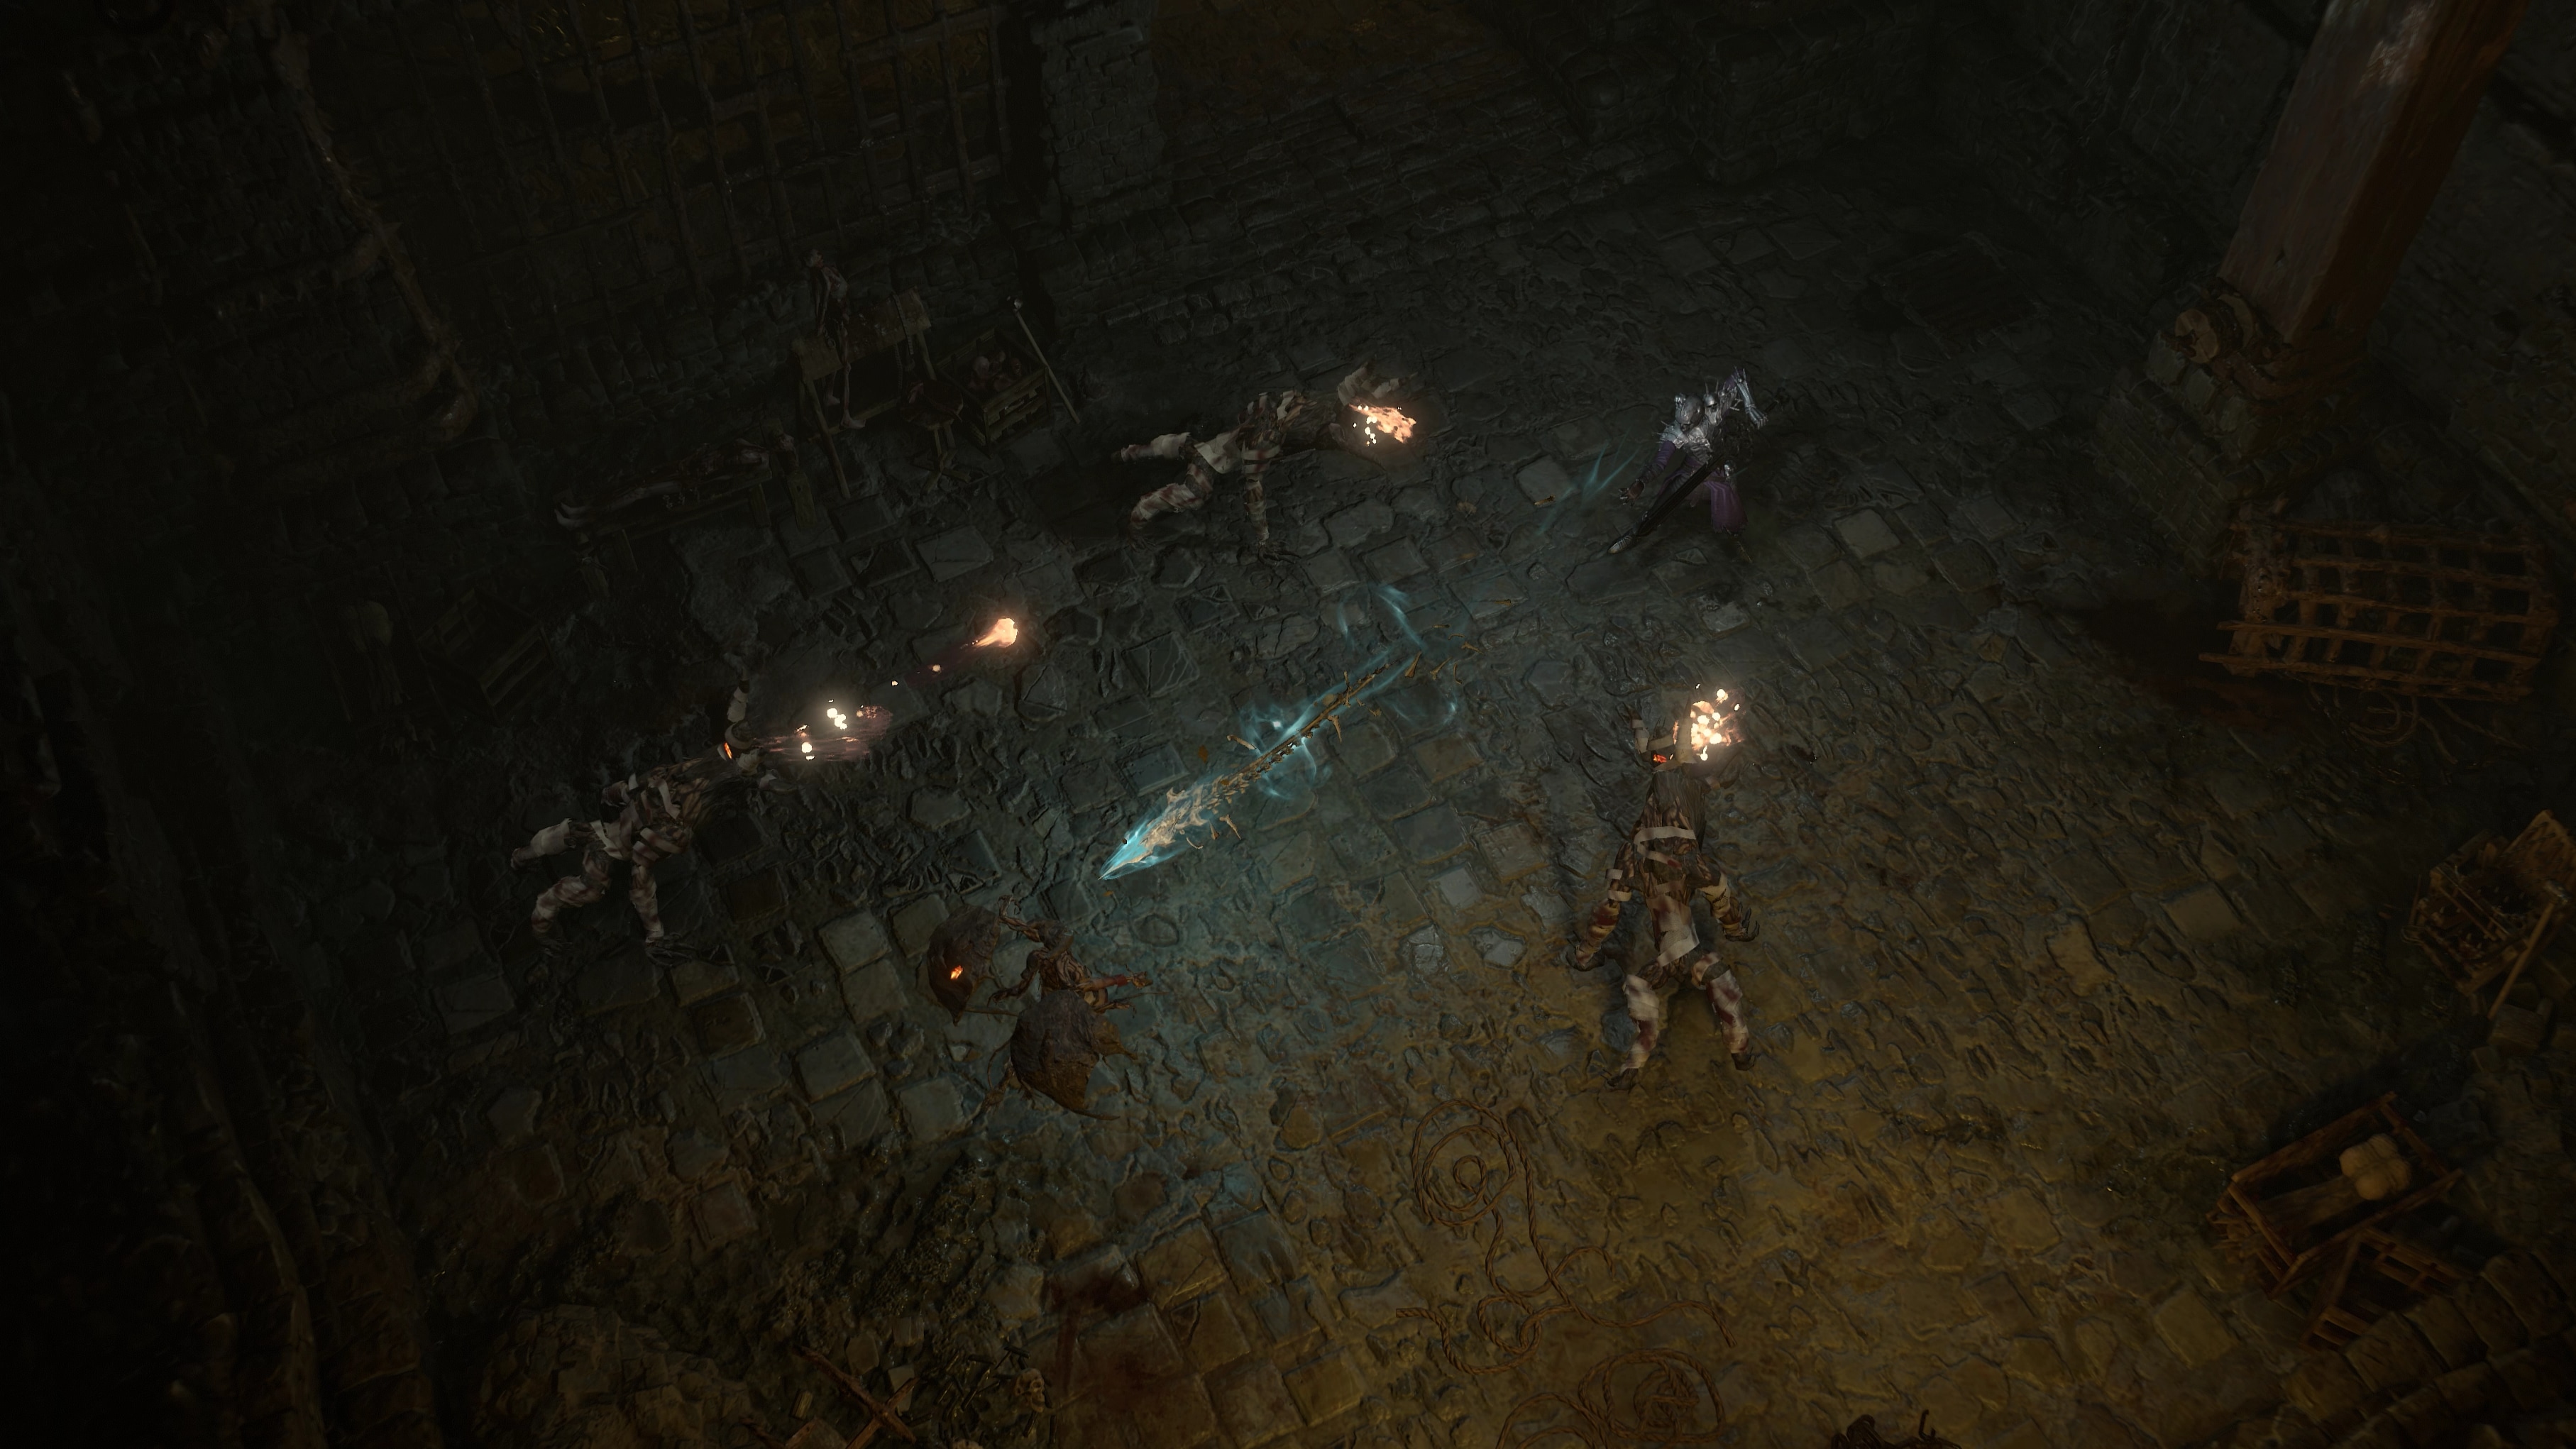
Hidden deep inside Nightmare Dungeons, members of this as soon as revered order left obscured Horadric Relics powered by the blood of an awesome enemy distant from the unworthy. Such Horadric Relics are protected inside Strongrooms, revealed to solely those that have the knowledge and braveness to unveil their superior potential.
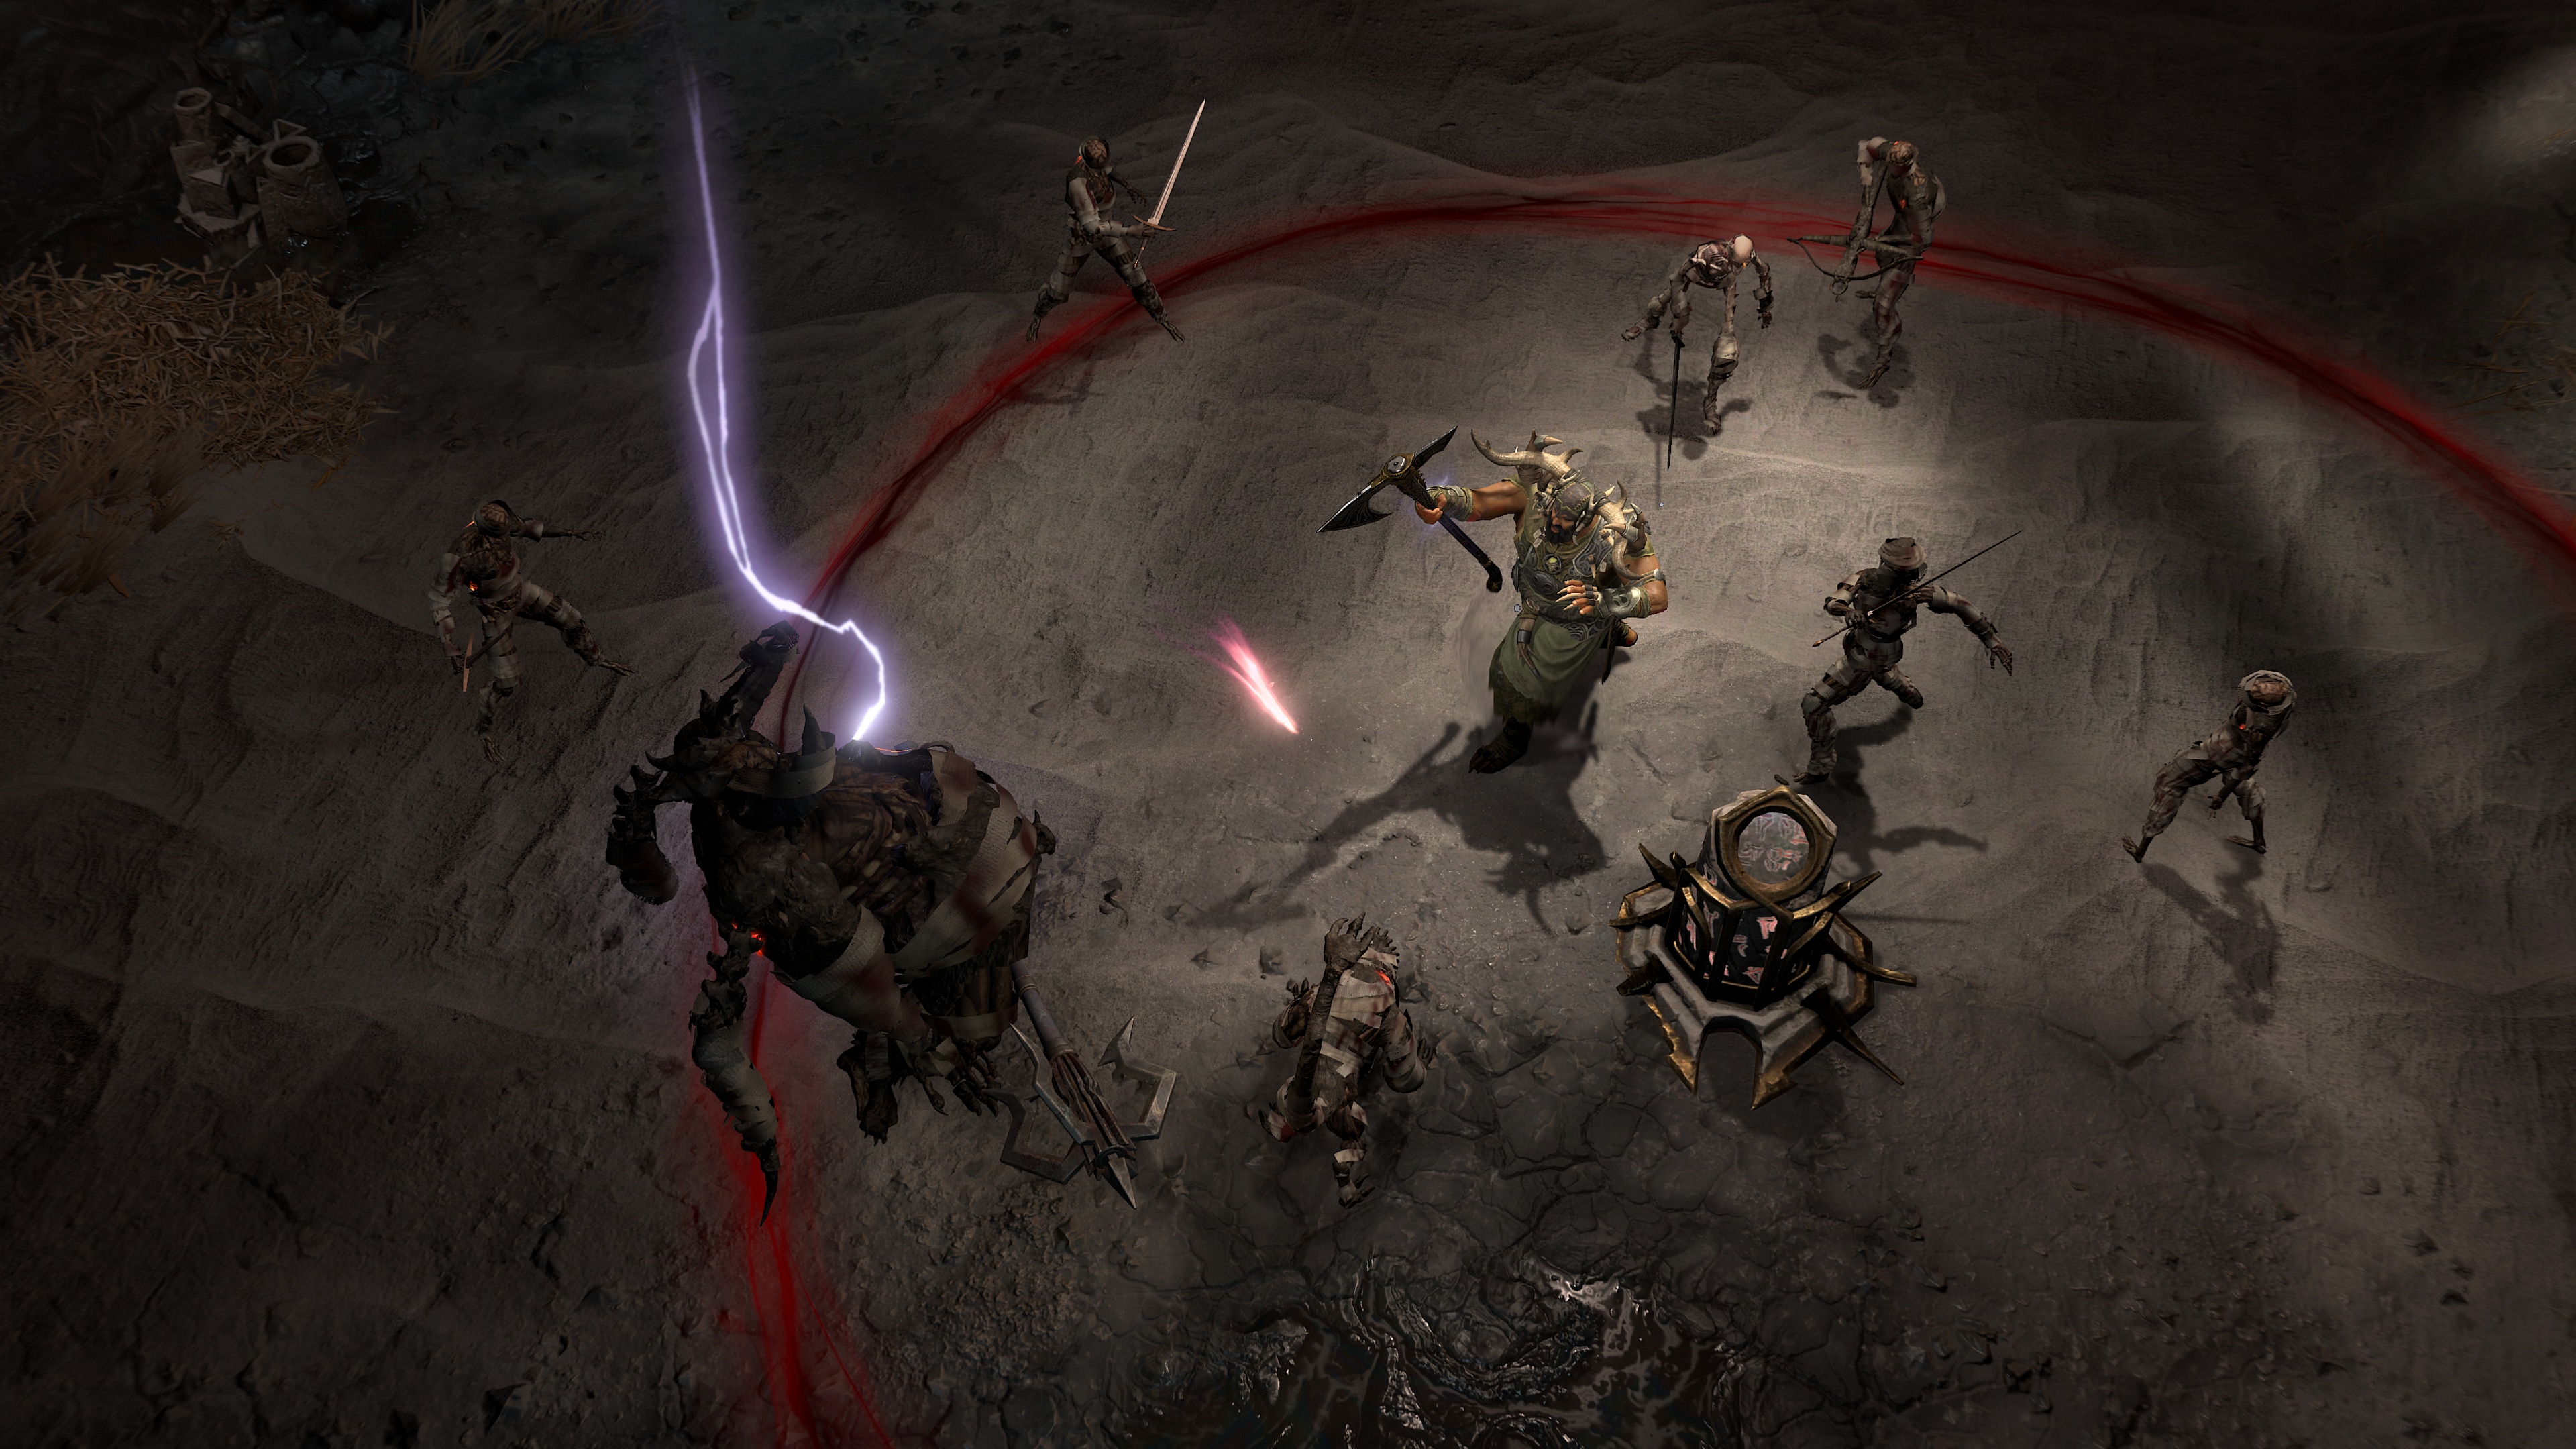
Discovered inside Nightmare Dungeons, Horadric Strongrooms are potent micro-dungeons that maintain highly effective rewards and new fearsome mummified enemies, delve into these uncommon Horadric tombs and struggle your manner out. Slay demons and satiate Horadric Pillars inside to bolster your potential to earn Horadric Attunement, which is utilized in change for illustrious rewards upon rising triumphant.
Obtained by means of the Seasonal Questline, use your Horadric Wayfinder to isolate these repositories of Horadric data. However beware, for there are unyielding mummified entities that may try and take your life in change for disturbing their endless sleep. As soon as the Strongroom is unsealed, there’ll solely be a restricted period of time to finish the Strongroom earlier than the Horadric Relics are sealed away once more eternally.
Hunt for Information: Discovering Strongrooms
There are a few methods to enhance your possibilities of discovering Horadric Strongrooms inside Nightmare Dungeons. The primary is by growing your issue degree or Torment Tier. The second, and stronger technique, is to search out and use a Nightmare Dungeon Sigil with an affix that ensures a Horadric Strongroom will seem.
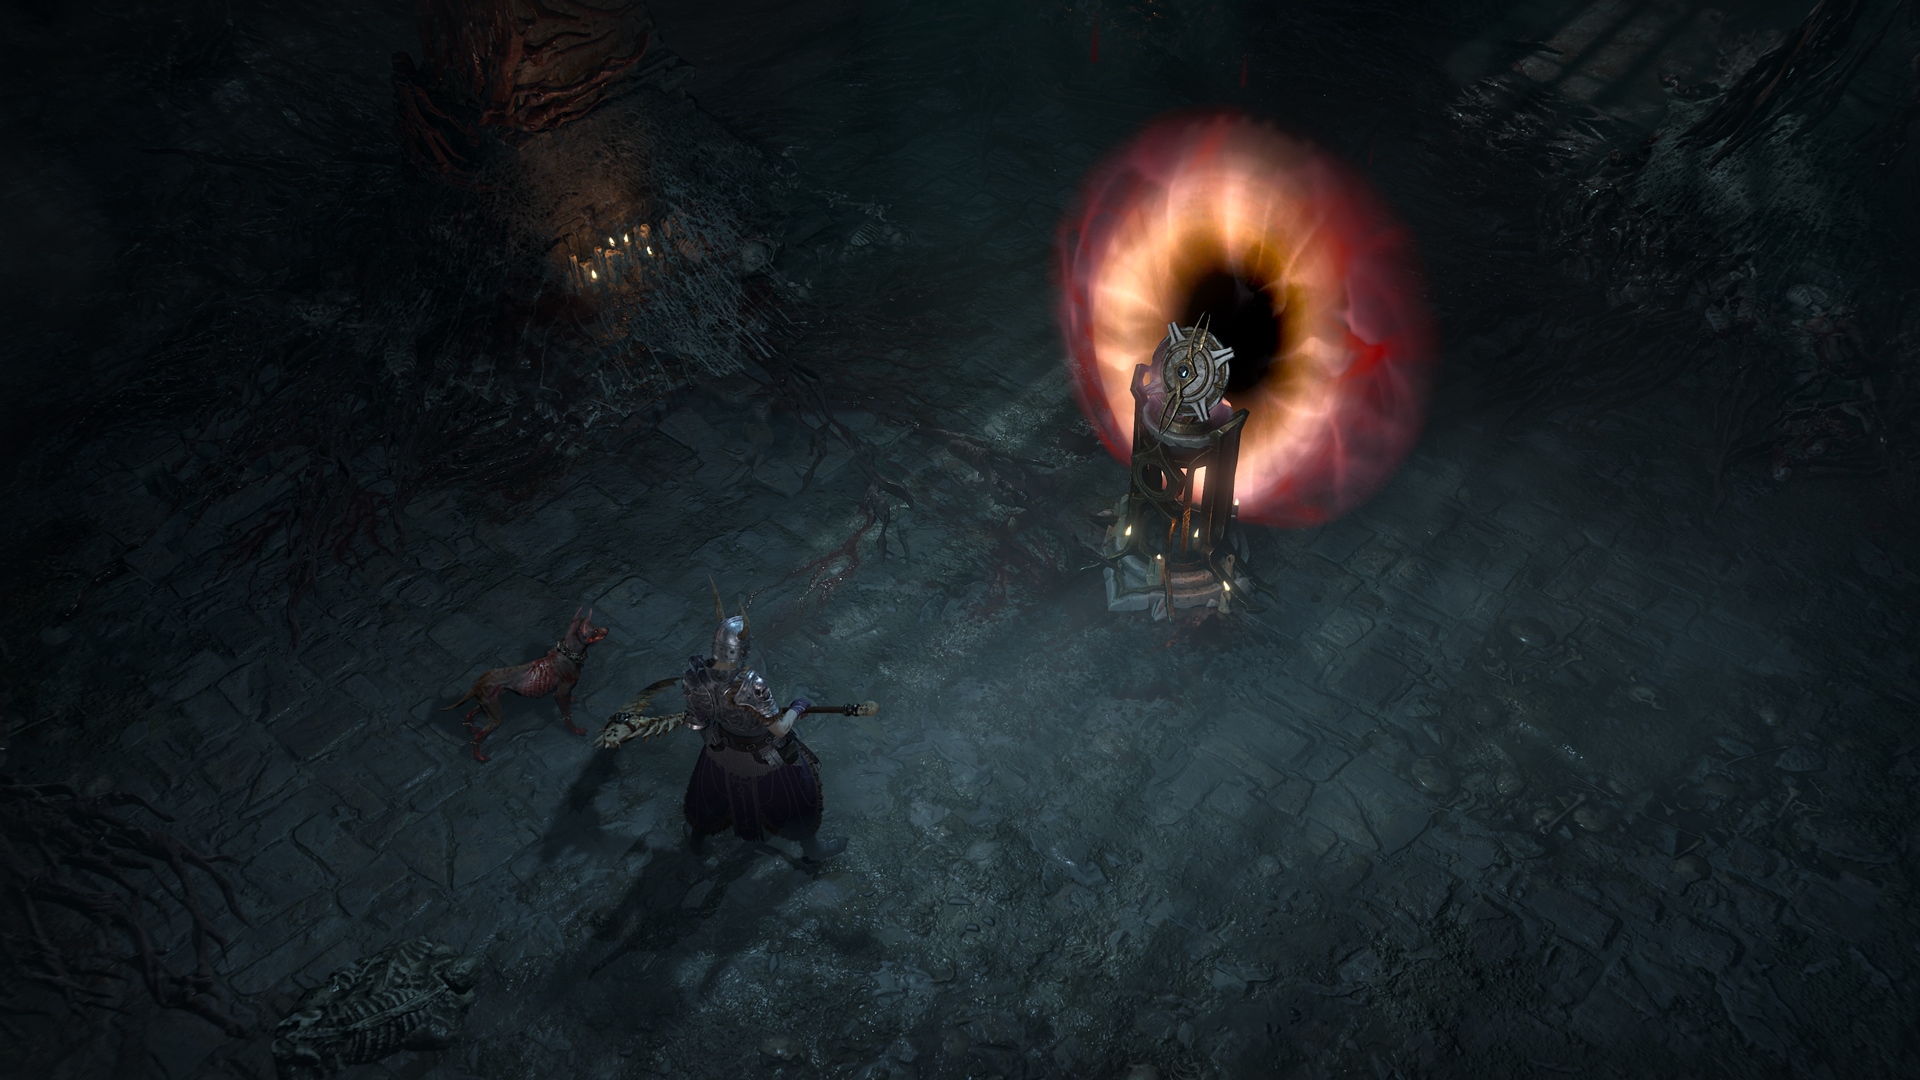
When you’ve entered a Nightmare Dungeon, observe the distinct flash emanating out of your Horadric Wayfinder that may lead you to a Horadric Gateway. When you find the Gateway, activating it is going to set off monsters to ambush your location. Defeat them, and a Horadric Portal will materialize to teleport you into the safeguarded Strongroom.
Struggle the Horrors Sealed Away
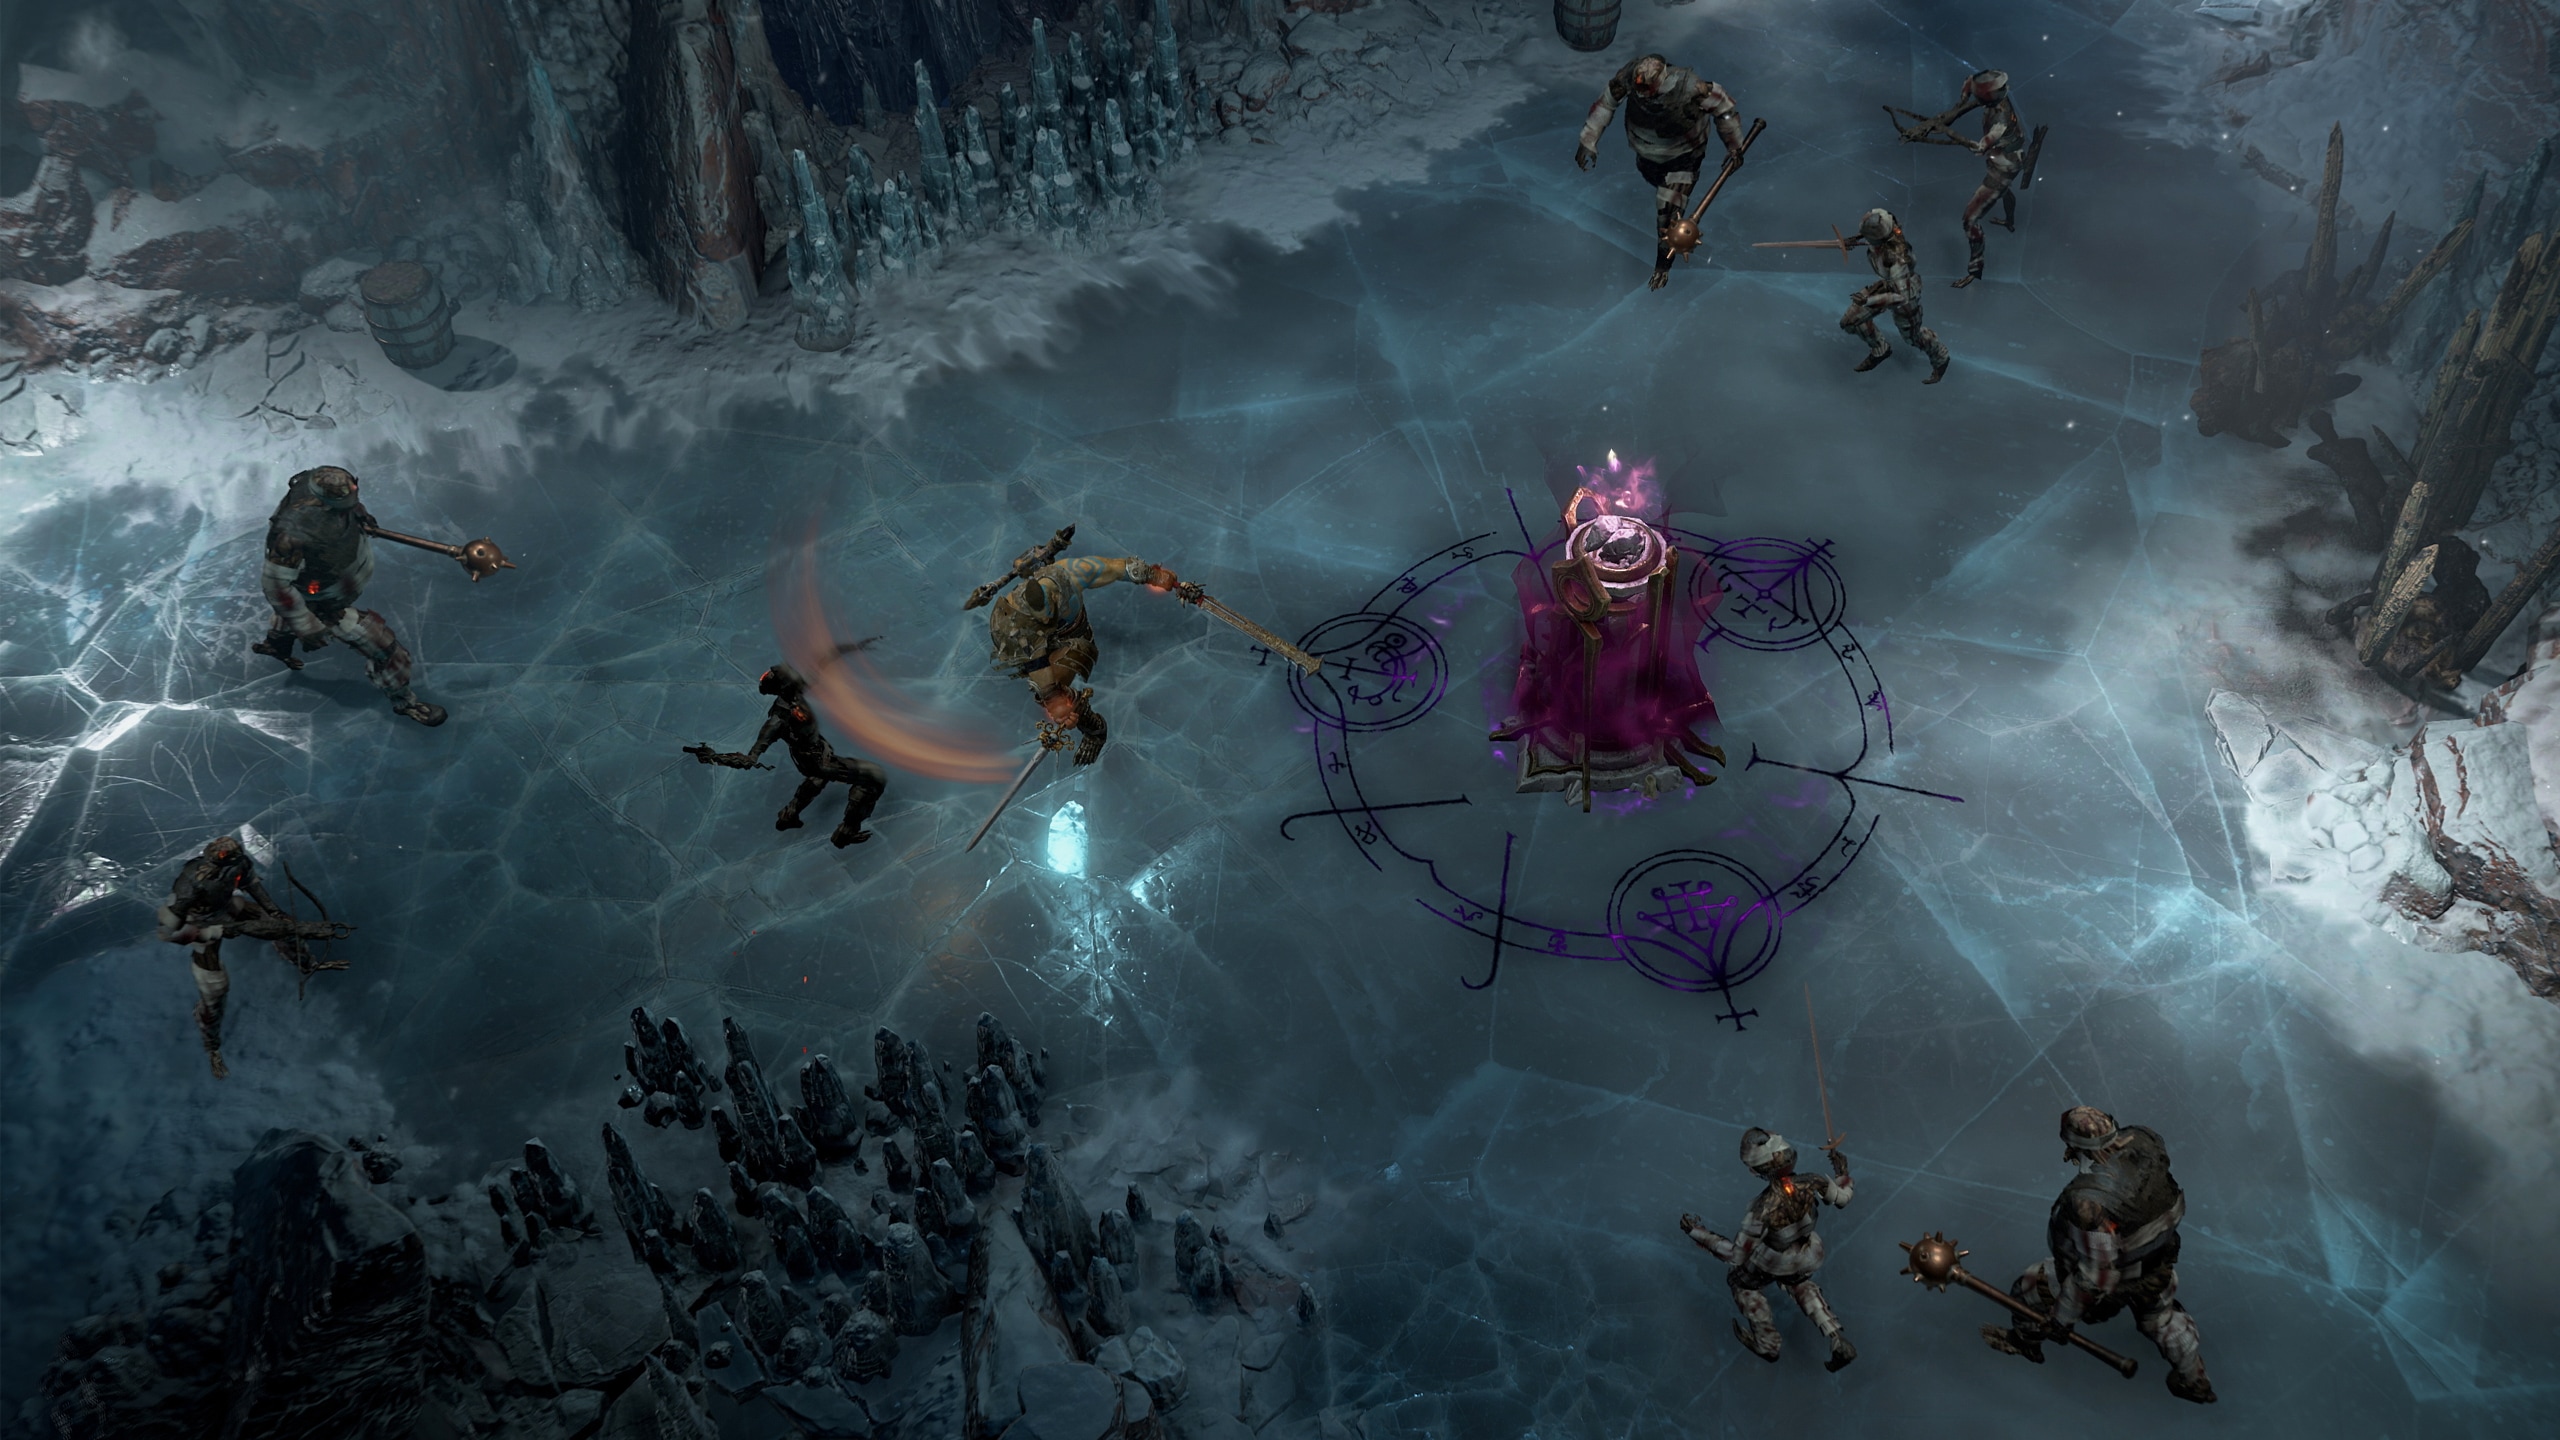
When you’ve stepped into the musty, iron-tinged confines of the Strongroom, you’ll have a couple of choices to make.
Provoke the Horadric Artifact Pillar and slay the enemies to finish the preliminary ritual. As soon as accomplished, you’ll be introduced with a choice of Horadric Statues that increase the Strongroom. A few of these Statues have held the bonds of their authentic intent, whereas others have been corrupted by Astaroth’s affect and pose important hazard with vastly elevated rewards.
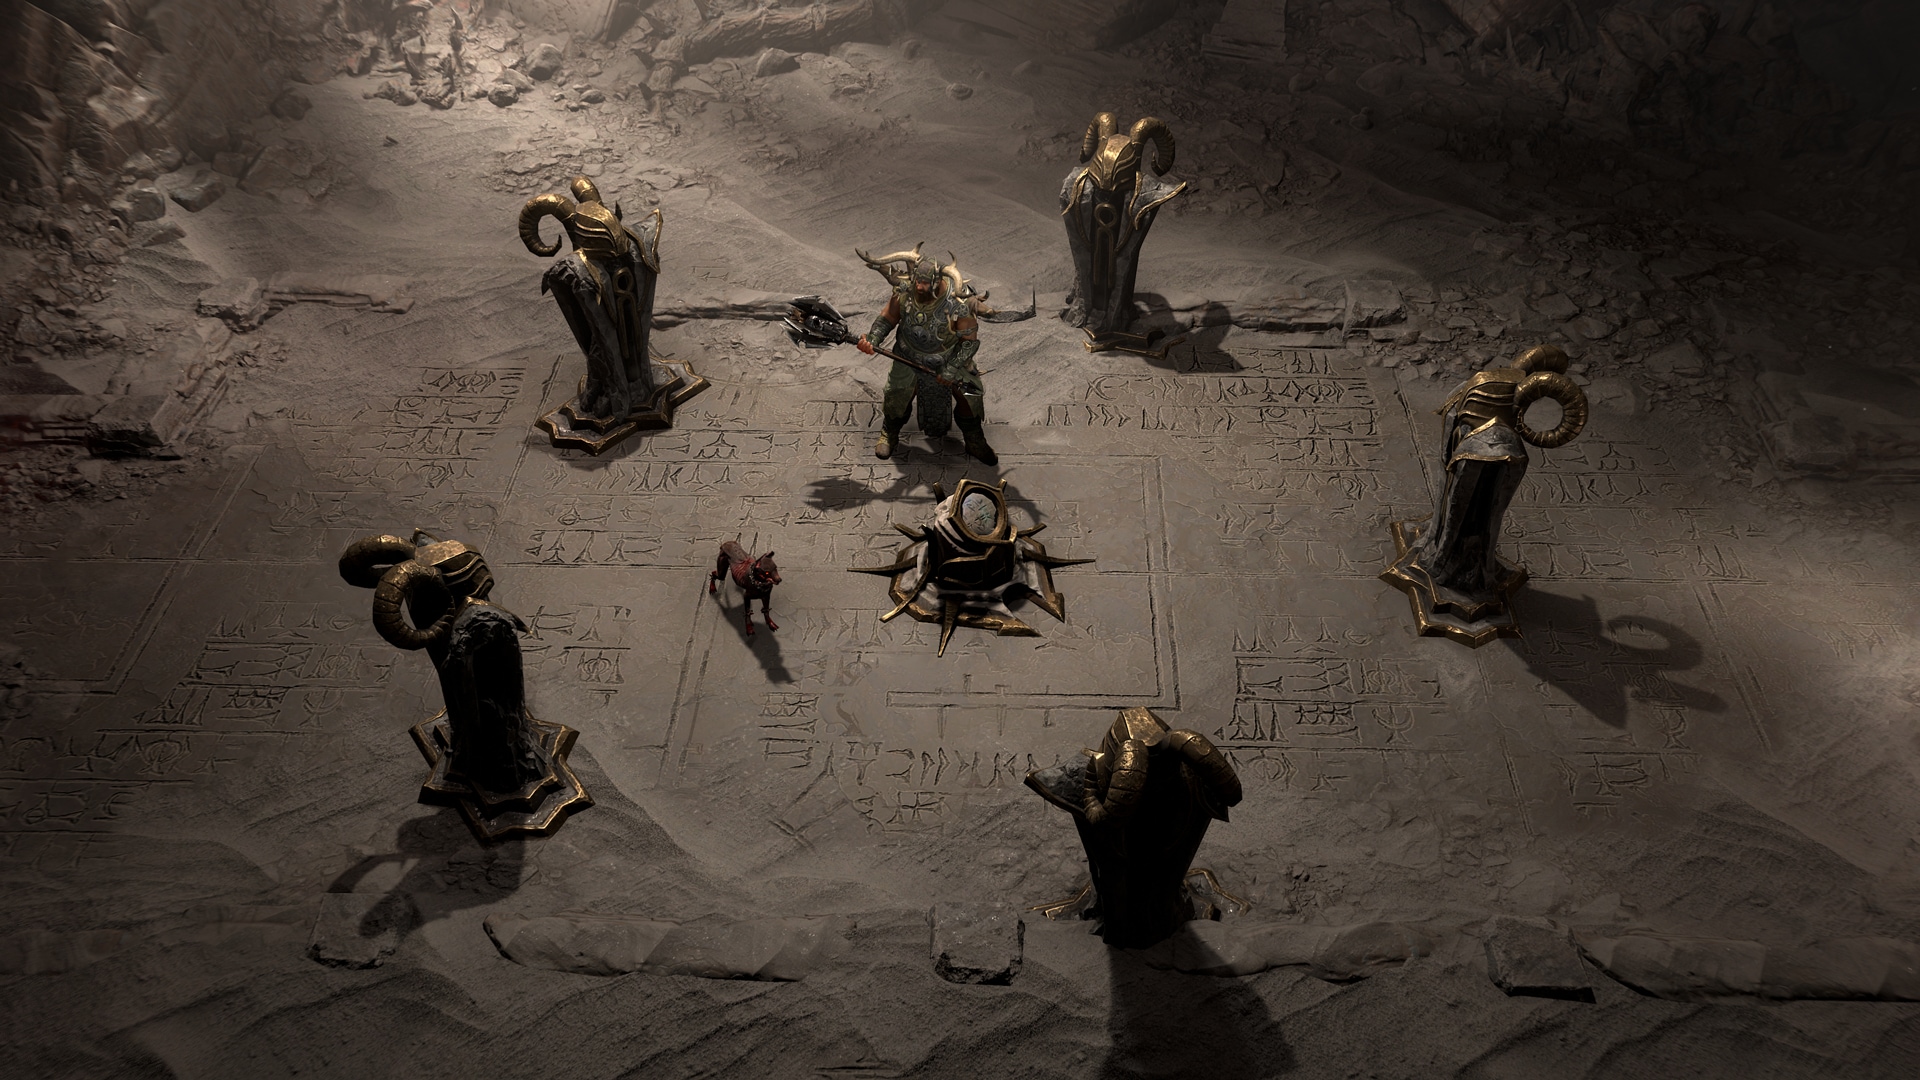
You’ll have to invoke these Horadric Statues to affect your Strongroom, so select properly. The variety of Statues it’s essential to choose and have accessible to select from will enhance when you attain Torment Tiers.
Inside the Strongroom, you’ll have 100 seconds to ramp up the carnage and earn as a lot Horadric Attunement doable. Keep close to the Pillars to fulfill their base wants, and take note the precise Horadric Pillars chosen previous to the run to maximise your Horadric Attunement. These Pillar Rituals might be accomplished in any order, and these Rituals now full extra shortly with a bigger radius to kill inside.
Upon Finishing every Pillar Ritual, all monster kills will grant +2 elevated Horadric Attunement for 15 seconds. Tread rigorously, for any deaths will take away time out of your Strongroom run.
Find Sacrifice Shrines throughout the Strongroom to assist your struggle, which spawns an ambush in your location. When the time runs out within the Strongroom, you’ll have to struggle one of many a number of potential bosses that may spawn to depart the Strongroom along with your Attunement in-hand. In the event you handle to max out your Horadric Attunement throughout your run, you’ll go on to the boss.
On defeating the ultimate boss, you’ll have the choice to pick out a Grand Horadric cache which scales its rewards based mostly off the quantity of Horadric Attunement earned throughout the Strongroom, incomes you highly effective rewards resembling Obducite. On leaving the Strongroom, you’ll even be given one of many following buffs for finishing the Strongroom, which is able to final till the top of your Nightmare Dungeon. Verify to see which one you’ve earned by checking the energetic buffs above your Motion bar.
Expertise
You acquire elevated Expertise from Monster Kills.
Status
You acquire elevated Horadric Favor from Monster Kills.
Obducite
You acquire elevated Obducite from Monster Kills on this dungeon.
Gold
You discover 25% extra gold.
Horadric Phials
Monsters on this dungeon can drop Horadric Phials.
Again to Prime
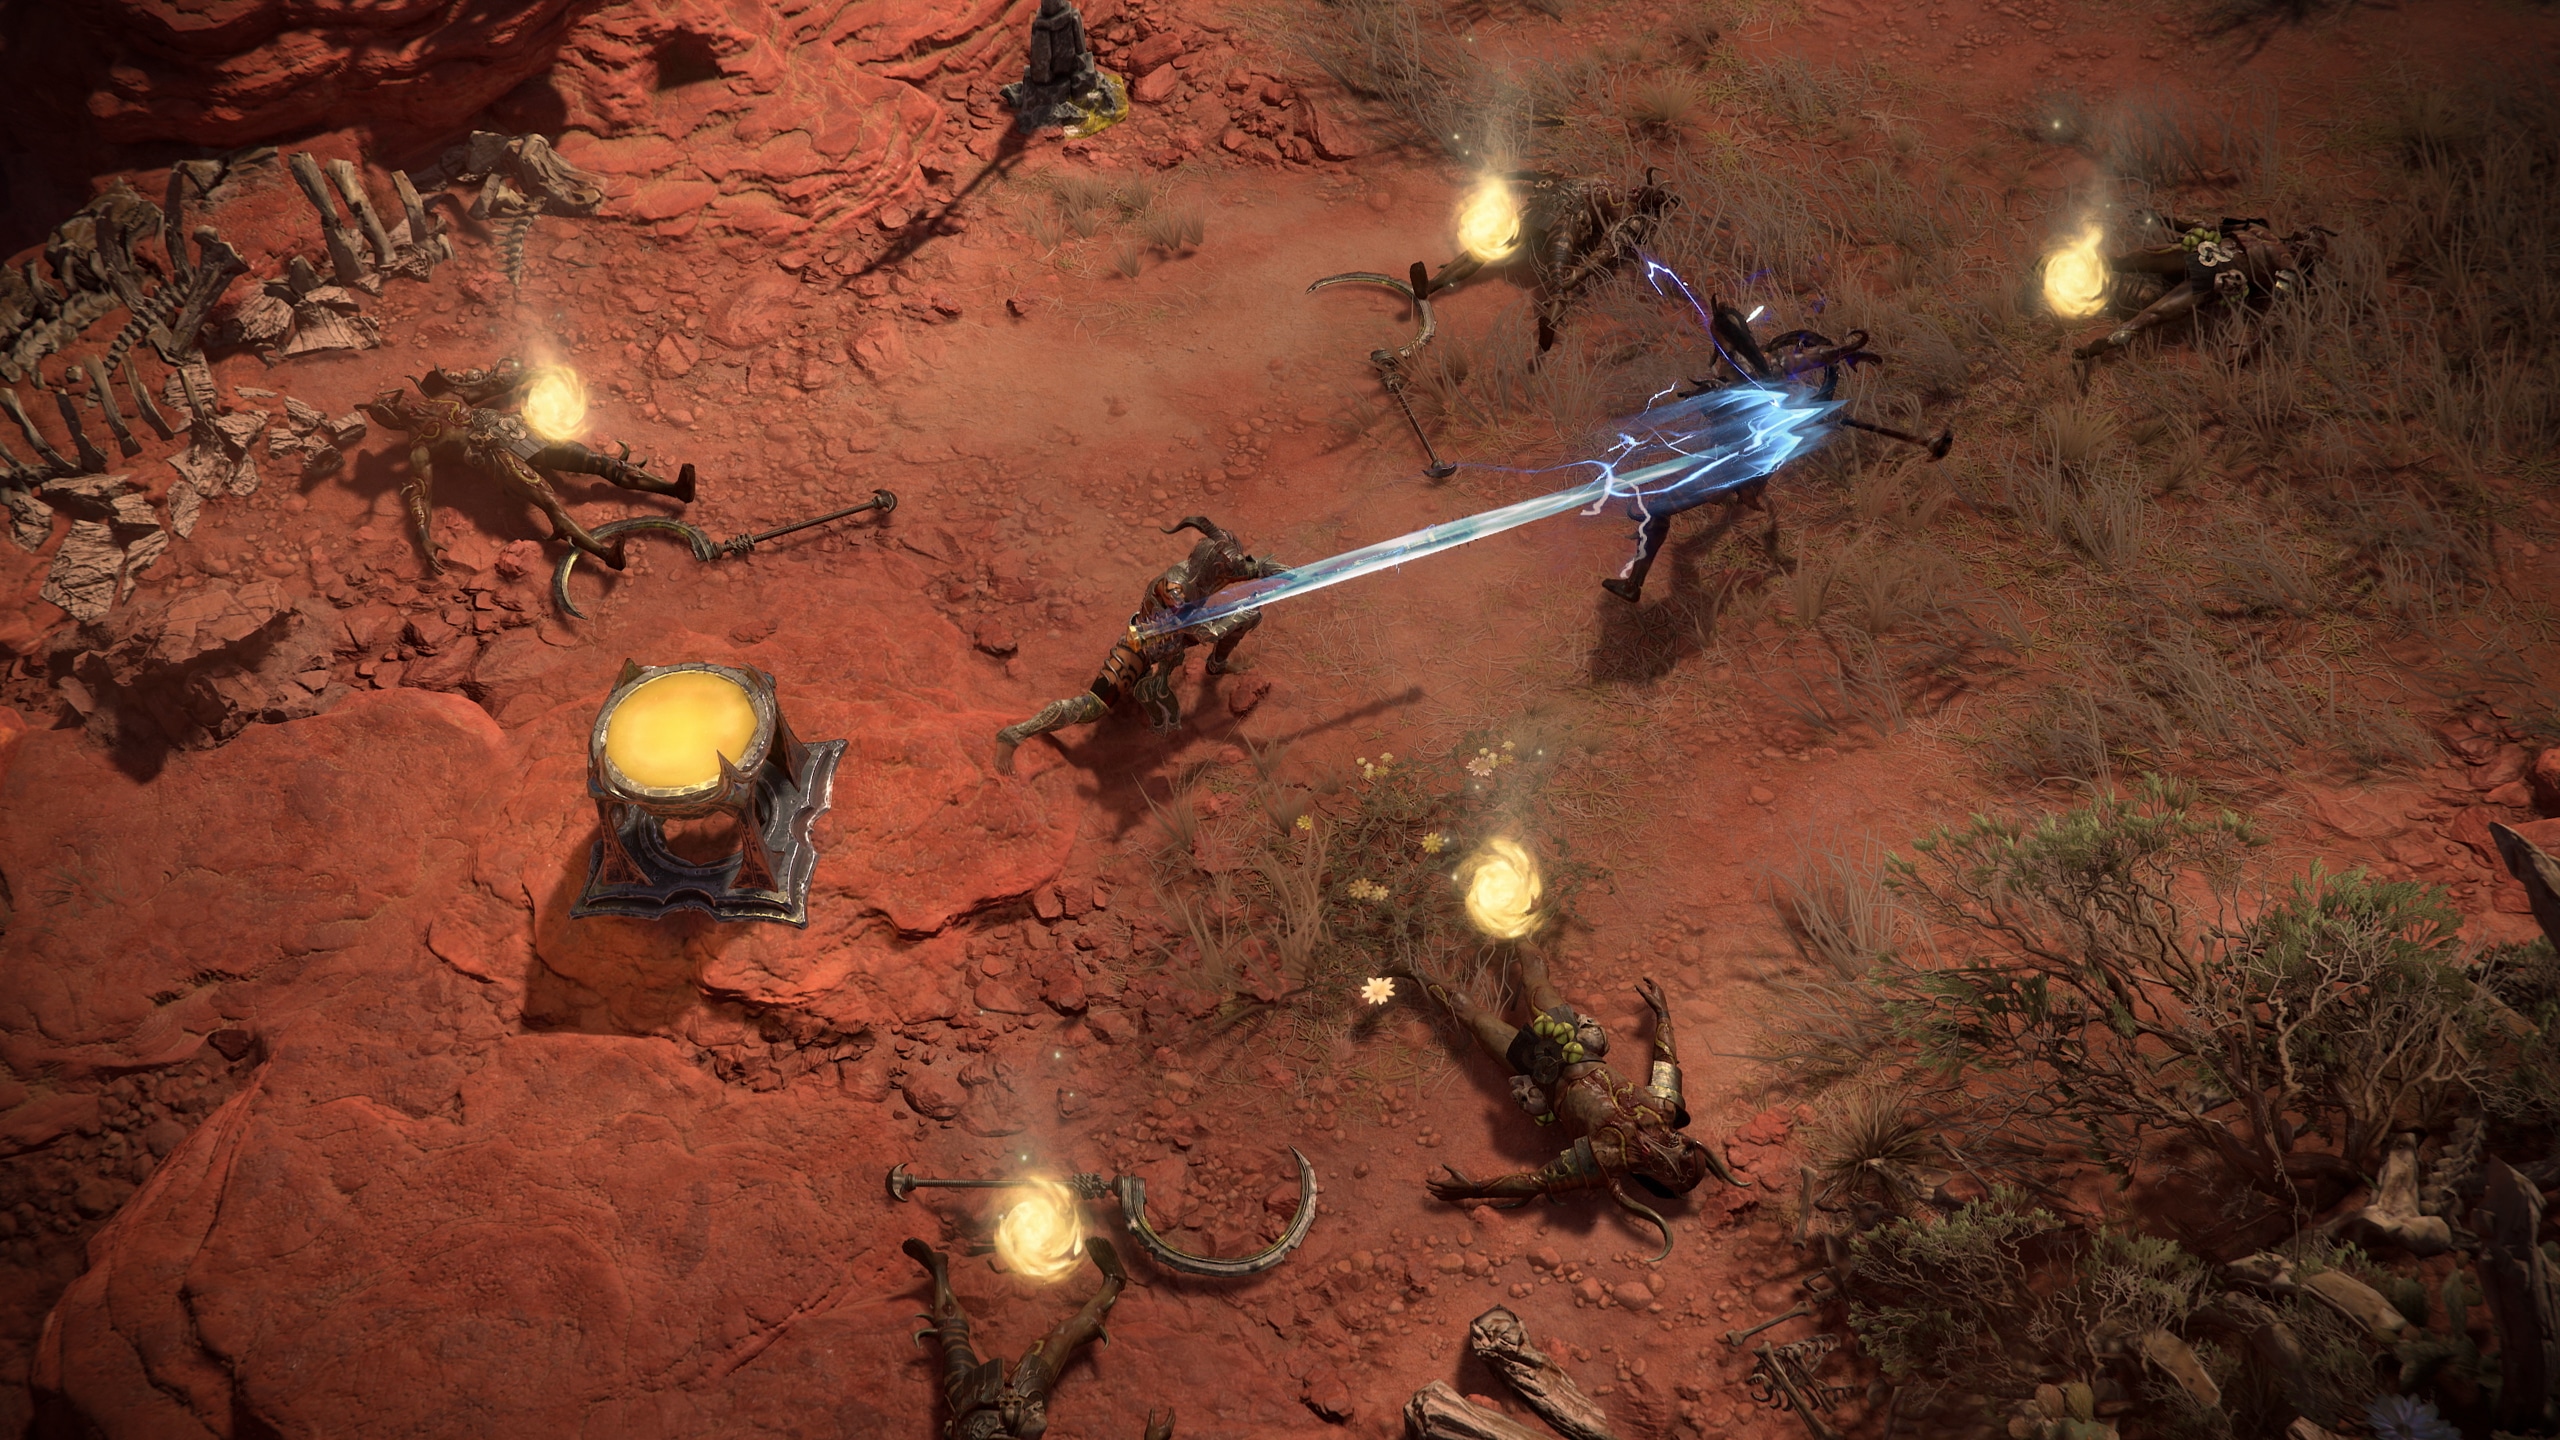
Survive the Escalating Nightmares
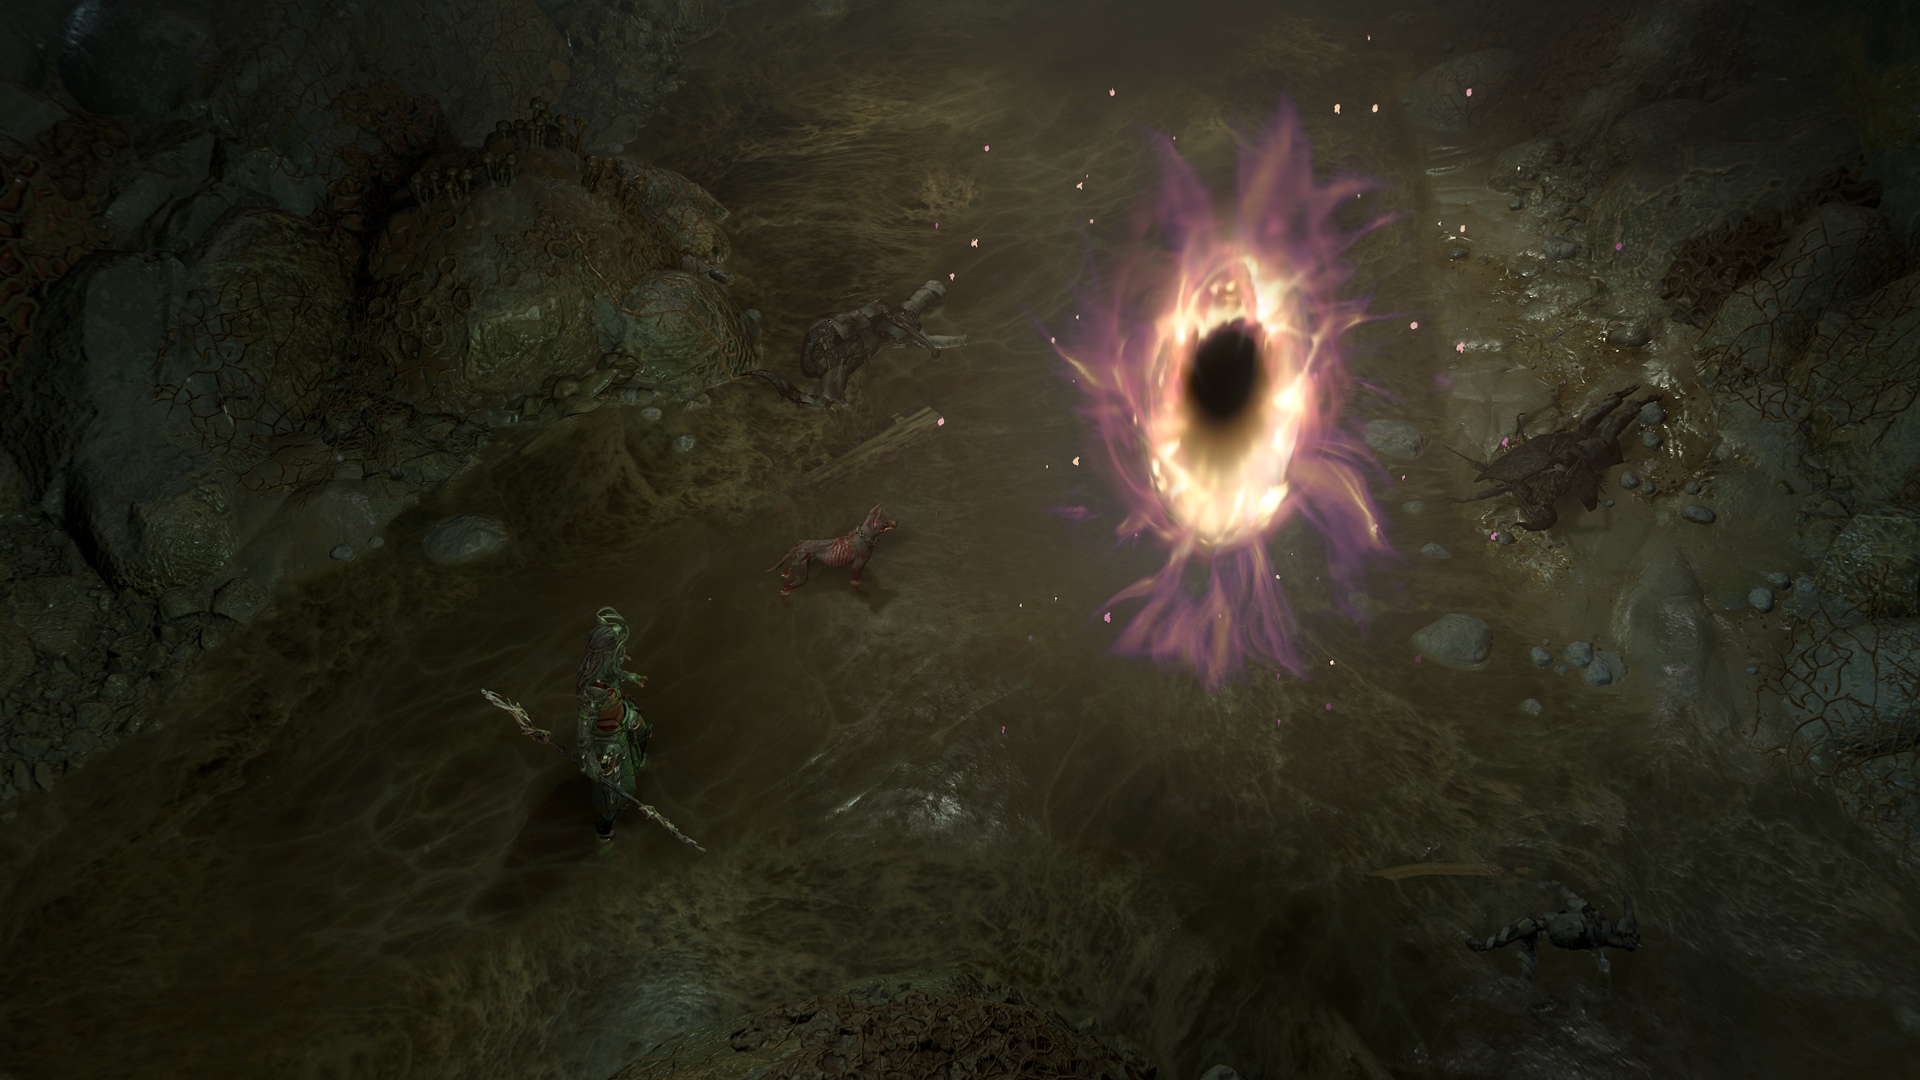
Nightmares have a manner of seeping into the marrow of your thoughts, sinking you deeper into the gaping despair of their maintain. In Season 9: Sins of the Horadrim, a brand new endgame problem beckons you to descend additional into the depths of agony for the last word take a look at.
Escalating Nightmares are a brand new endgame exercise that throws you into a sequence of three Nightmare dungeons. The nightmares escalate as you undergo every Dungeon, as every Nightmare Dungeons affix stacks onto the subsequent Dungeons as you proceed by means of in Torment Tiers. As the problem will increase, so do the rewards. Handle to struggle your manner by means of all three in Torment Tiers, and ready for you on the finish is a date with the Exalted model of Astaroth himself.
To start out an Escalating Nightmare, you’ll first want an Escalation Sigil which might be obtained as a reward from the Horadric Information Seasonal Status observe, or by means of Horadric caches granted from Strongrooms beginning in Torment I. Activating this dungeon sigil grants you entry to the primary Nightmare Dungeon within the chain.
On completion of the primary Nightmare Dungeon within the Escalation, a Horadric Portal will spawn which shows the affix info for the subsequent dungeon. In Pre-Torment issue tiers, finishing the final dungeon will end the Nightmare Escalation.
The warmth turns into much more intense in the event you dare to enter an Escalating Nightmare in Torment Tiers. Once you enter by means of every Nightmare Dungeon the monster issue scales, growing the problem the additional you slay by means of. Moreover, the affixes of the beforehand accomplished Nightmare Dungeons stack, main you to a last Nightmare Dungeon that comprises the affixes of all earlier Nightmare Dungeons.
In the event you begin the Escalating Nightmare in Torment I or above, on completion of the third sequential Nightmare Dungeon you’ll lastly be transported to Exalted Astaroth’s Lair.
Again to Prime
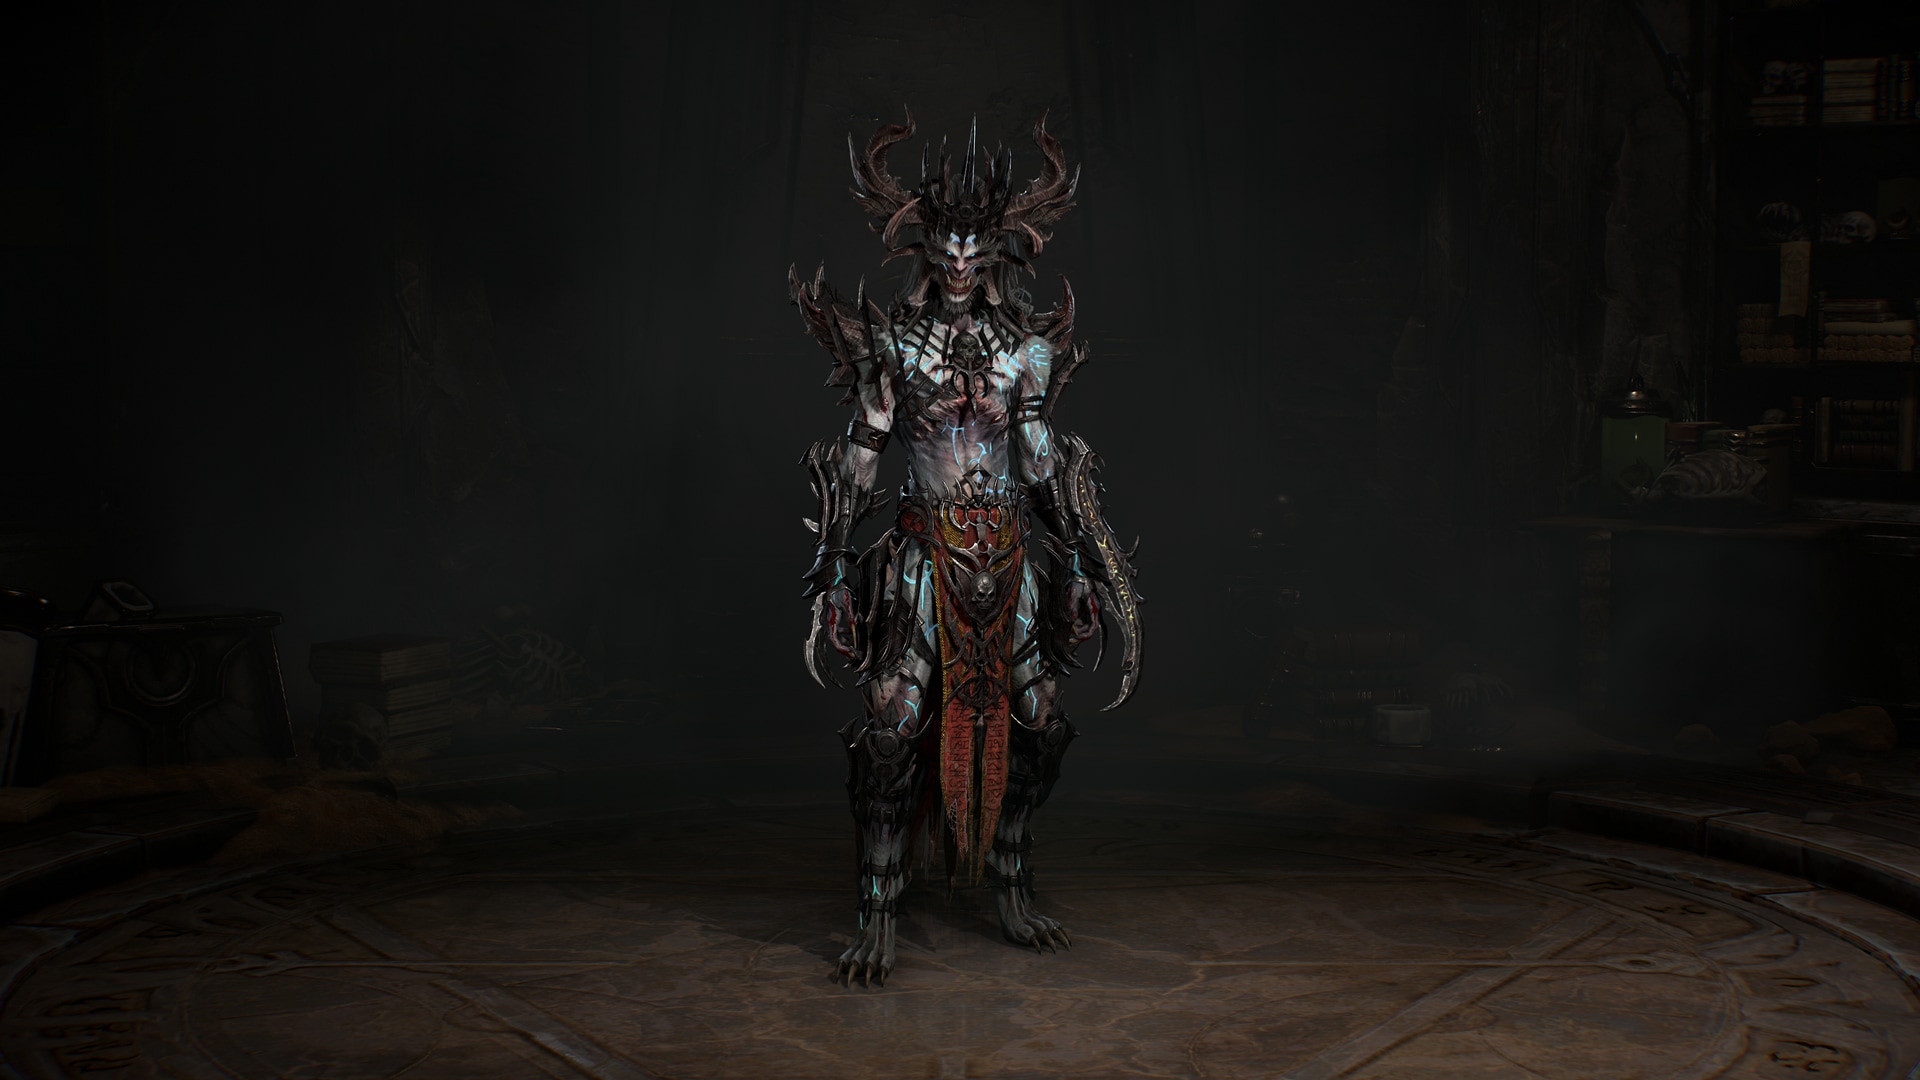
Astaroth Reignited
“He referred to as out for you…wept till his tears grew to become hearth.” – Astaroth, Diablo IV, Act II
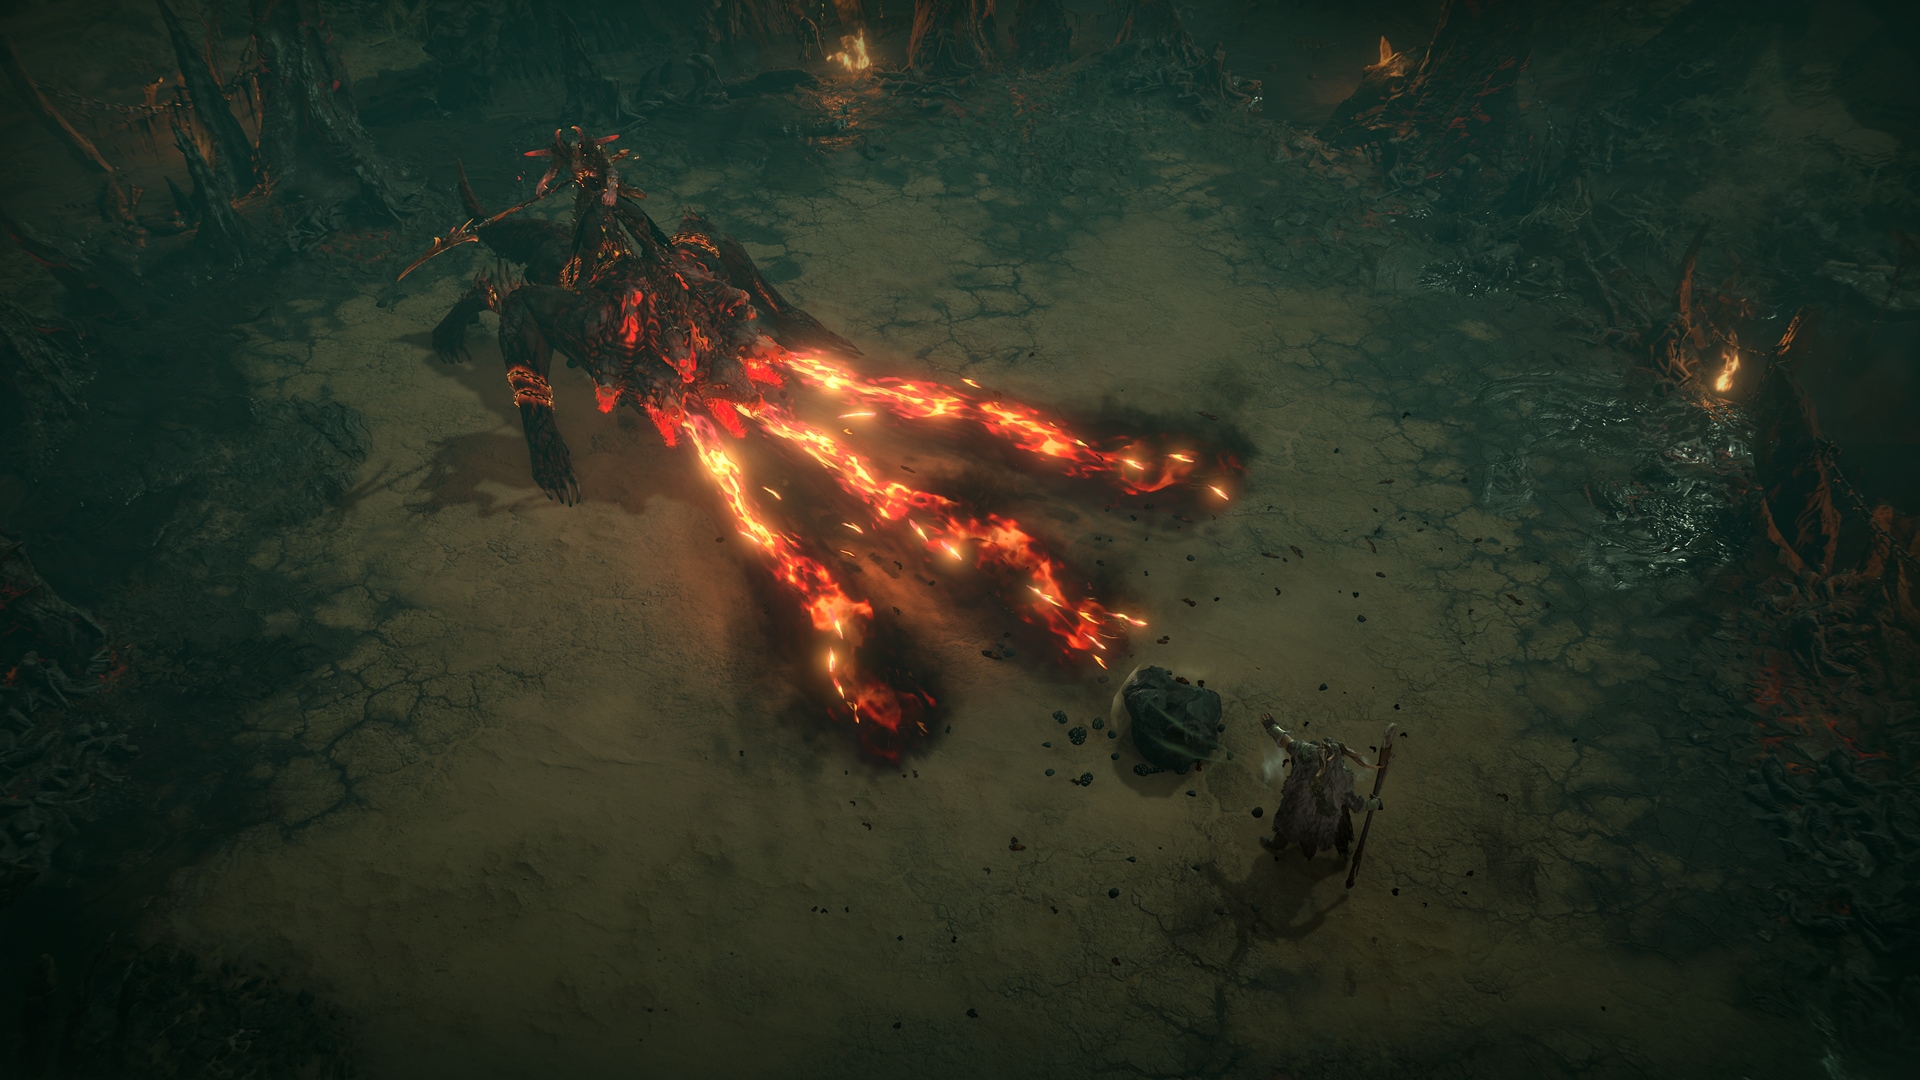
A well-known face awaits you on the finish of your Nightmare Escalation.
Face Astaroth and the monstrous Amalgam with a brand new, difficult twist. Because the battle unfolds, Astaroth will shed his mount, splitting into two terrifying bosses. Maneuver and be taught their new lethal combos to defeat Astaroth. This Astaroth Boss struggle might be doubtlessly modified by means of sure Nightmare Dungeon affixes, which dial up the warmth on his assaults.
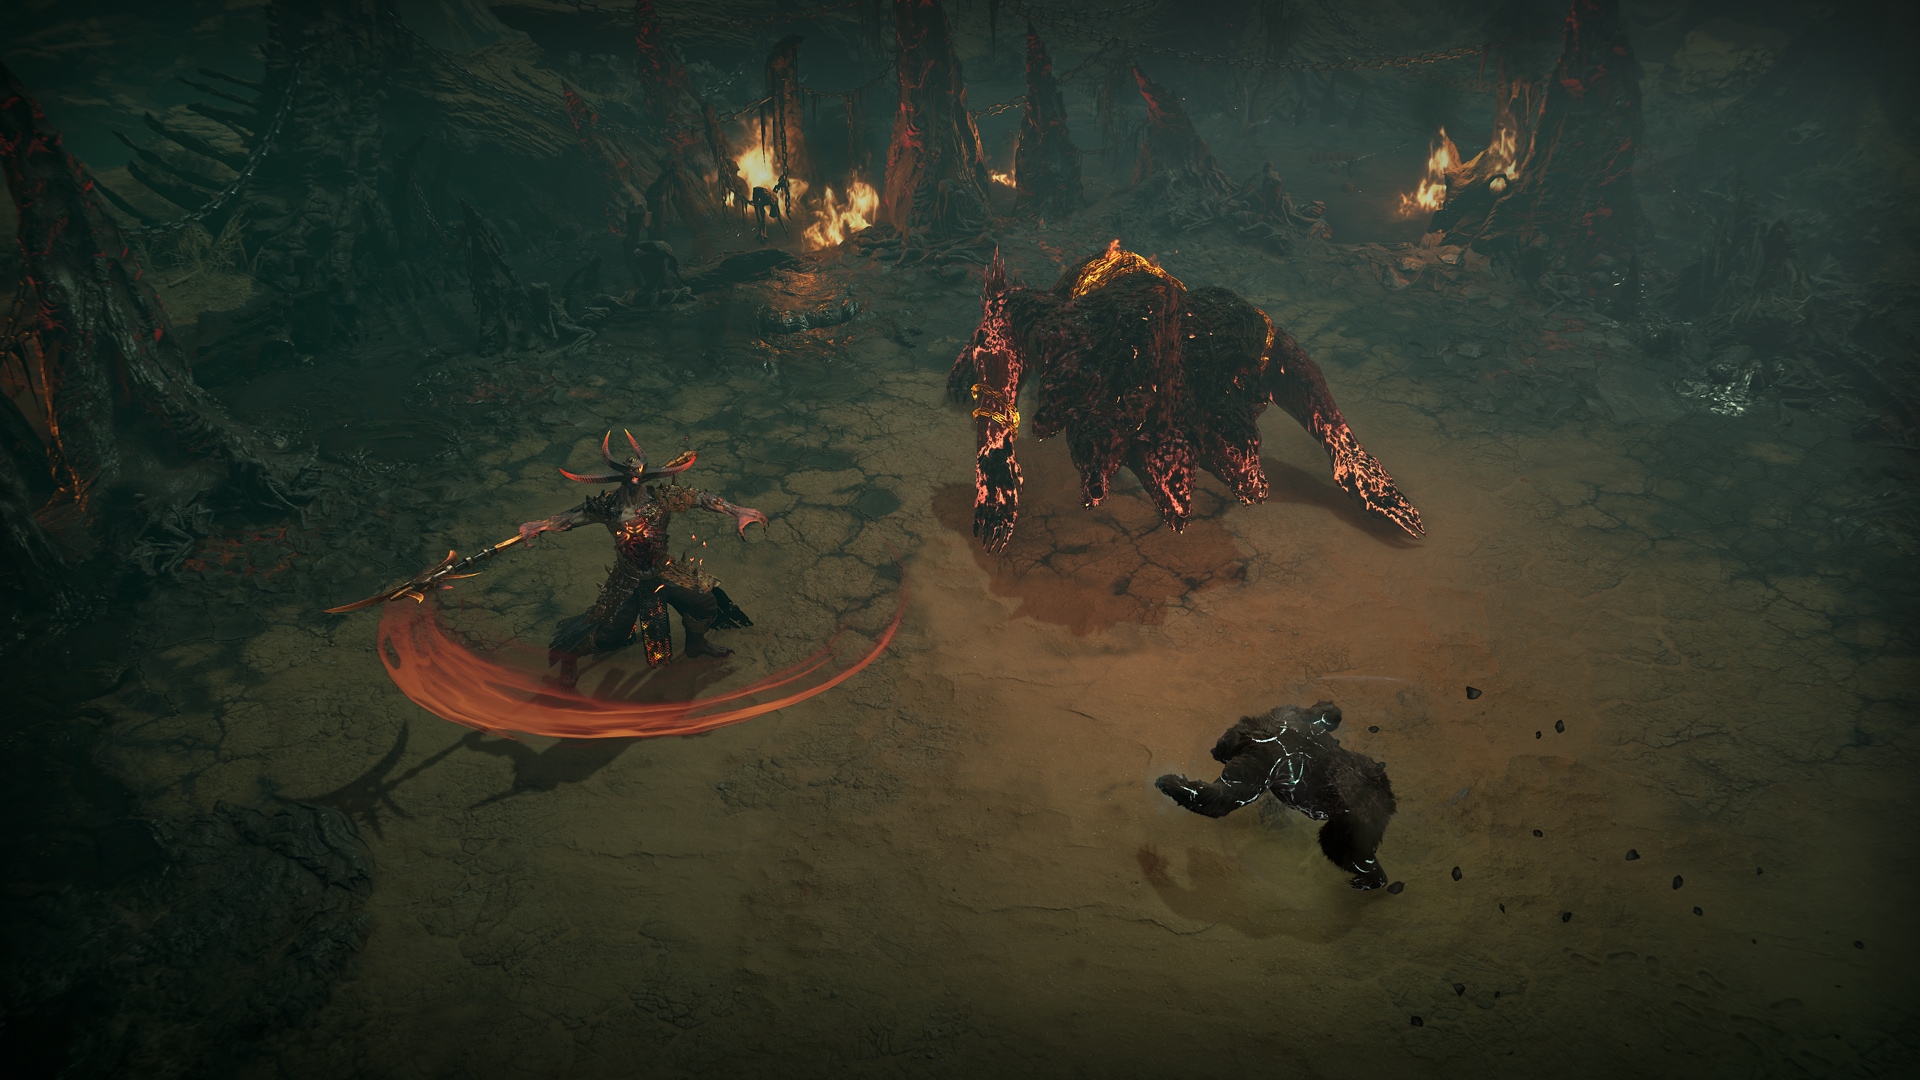
In the event you slay the Amalgam earlier than Astaroth, the hound of Hell goes right into a resurrection state however can’t be absolutely slayed whereas his Grasp nonetheless lives. After a short time, the Amalgam will get better and rise to rejoin the struggle. Slaying these two be a take a look at of your mettle on the battlefield, concern this acolyte of Mephisto and the harmful energy he wields.
Defeating Astaroth has a uncommon likelihood to drop a Horadric Jewel, slay the Charred Duke himself to try to earn certainly one of these highly effective instruments.
Again to Prime
Everlasting Nightmare Dungeon Updates
The Dungeons of Sanctuary typically sit idle, permitting the monstrous forces inside to slowly mutate, altering slowly to offer new horrors to slay by means of. In Season 9: Sins of the Horadrim, we’re shaking up Nightmare Dungeons in a number of ways in which have an effect on Sanctuary completely past this Season.
Everlasting Options to Stay Past Season 9
To verify what’s everlasting to the sport on July 1, here’s a breakdown.
Everlasting to each Seasonal and Everlasting Realms
Nightmare Dungeon Updates
Horadric Strongrooms
Escalating Nightmares
New Nightmare Dungeon affixes
High quality-of-Life: Mouse and Keyboard on Console
New Uniques for every Class
Unique to Season 9: Sins of the Horadrim
Seasonal Questline
Horadric Spellcraft
Horadric Jewels
Horadric Information Seasonal Status
Now you can activate Nightmare Sigils from inside Nightmare Dungeons as soon as the dungeon is full. You not have to exit the dungeon to enter a brand new Nightmare Dungeon. There isn’t a escape! In the event you desire.
New Nightmare Dungeon Affixes
Along with Strongrooms and Escalating Nightmares, a brand new set of affixes have been added to Nightmare Dungeons to make them extra rewarding. Every primary Nightmare Sigil will now embrace a optimistic affix from this refreshed and expanded pool of optimistic affixes.

Affix Sorts
Horadric Reserves
Spawns in loot chests with specialised rewards.
Rewards Gem Fragments, Gold, Obols, Seasonal Foreign money, Sources.
Tools Delve
Spawns in collectible gadgets which improve a cache of apparatus when discovered.
Rewards Weapons, Jewellery, Armor.
Energy Shrines
Spawns in further shrines of the required sort.
Spawns the next Shrines: Artillery, Blast Wave, Channeling, Deadly, Safety.
Miscellaneous
Forgotten Knowledge: Expertise may have an opportunity to spawn on kill, and an expertise effectively will spawn someplace within the dungeon.
Treasure Breach: Plenty of Treasure Goblins will invade the dungeon.
Horadric Strongroom: Assured Horadric Strongroom.
Again to Prime
Earn New Distinctive Objects
New highly effective Distinctive Objects enter the fray to amplify your potential to dispatch demons at fabled pace.
Barbarian
Hooves of the Mountain God (Distinctive Boots):
Affixes:
Inherent – Assaults Scale back Evades Cooldown by 2.5 Seconds
+17.5-23% Motion Velocity
+16-25% Primary Assault Velocity
+7-10 Fury Per Seconds
+2-3 Ranks to Belligerence
Cleave Radius 150 135
Distinctive Energy:
When reaching Most Fury, your Fury will quickly drain till you run out and all of your Primary abilities now cleave and deal 70-100%[x] elevated harm.
Druid
Rotting Lightbringer (Distinctive Two-Handed Weapon):
Affixes:
Inherent: 110% Injury to Poisoned enemies
18-22% 14-18% Willpower
406-550% 114-150% Poison Injury
26-35% Probability for Pulverize to Hit Twice
26-35% Useful resource Price Discount
Distinctive Powers:
If no puddle is round you, Pulverize kinds a puddle that ensures its personal Overpowers and offers 200-600% of its regular harm as Poisoning over 7 seconds. Pulverize causes all shut puddles to splash 20-60% of their complete harm inside their areas and round them. Pulverize radius enhance will have an effect on the scale of the puddle and its splashes. Each 10 seconds, Pulverize kinds a puddle that offers 200-400% of its harm as Poisoning harm over 6 seconds. Pulverizing the puddle splashes an extra 20-40% of the puddle’s complete harm throughout the space and round it.
Necromancer
The Hand of Naz (Distinctive Gloves):
Affixes:
77.5-100% Skeletal Mage Injury
10.5-15% Assault Velocity
+424-457 Most Life
+2-4 Skeletal Mage Mastery
Distinctive Powers:
Sacrificing each Skeletal Warriors and Golems grants an extra Skeletal Mage for every Minion sacrificed.
When a Skeletal Mage assaults enemies 25 occasions with out dying it upgrades to a Skeletal Arch-Mage.
Skeletal Arch-Mages teleport to security when attacked and their assaults often shatter on impression dealing 50-100% elevated harm to the goal and as much as 3 further targets. The time between assaults shattering has been diminished by 50%. Skeletal Arch-Mages now turn into unstoppable for 1 second after teleporting. Arch-Mage dimension barely elevated.
Rogue
Deathmask of Nirmitruq (Distinctive Helm):
Affixes:
+424-457 Most Life
+2-3 Talent ranks to Flurry
+16-25 Motion Velocity
+224-296 Armor
Distinctive Energy:
Now you can overexert your self whereas Casting Flurry, spending 8% 10% life when you do not have sufficient Power. Spending life to Forged Flurry will increase its harm by 50-70% 30-50% and your Assault Velocity by 50% for five seconds.
Developer’s Be aware: Flurry will fail to solid when the participant has neither sufficient power or well being accessible.
Sorcerer
Ophidian Iris (Distinctive Amulet):
Affixes:
Inherent: +30% Resistance to all Parts
Inherent: Casted Hydras Have +2 Heads
+11.5-15.7% Intelligence
+10.5%-15.0% Assault Velocity Vital Strike Probability
+77.5-100% Pyromancy Injury
+1-2 to Primordial Binding Devouring Blaze
Distinctive Energy:
Hydra is now a Core Talent and all the time Summons a 3-headed Hydra whose assaults explode on impression.
For every head above 3 that it could have had, the Hydra as a substitute grows bigger and offers 50-100%[x] elevated harm.
Spiritborn
Balazan’s Maxtlatl (Distinctive Pants):
Affixes:
+107-121 Dexterity
+424-457 Most Life
+268-373 Thorns
+2-3 Ranks to Bastion
Distinctive Powers:
Every assault damages Shut enemies for 100-150% 200-300% of your Thorns and likewise offers 100% of this harm as Poisoning over 3 seconds.
Every time you have retaliated with Thorns, for five seconds the Poisoning harm is elevated by 100%, as much as 300%.
New Distinctive Drop Areas
There’s an elevated likelihood to search out these Distinctive gadgets on the following boss places:
The Beast in Ice
Hooves of the Mountain God
Deathmask of Nirmitruq
Varshan
Rotting Lightbringer
Balazan’s Maxtlatl
Andariel
The Hand of Naz
Ophidian Iris
Duriel
The Hand of Naz
Ophidian Iris
Urivar
Hooves of the Mountain God
Rotting Lightbringer
Deathmask of Nirmitruq
Balazan’s Maxtlatl
Harbinger of Hatred
The Hand of Naz
Ophidian Iris
Again to Prime
Carve By the Sins of the Horadrim Reliquary
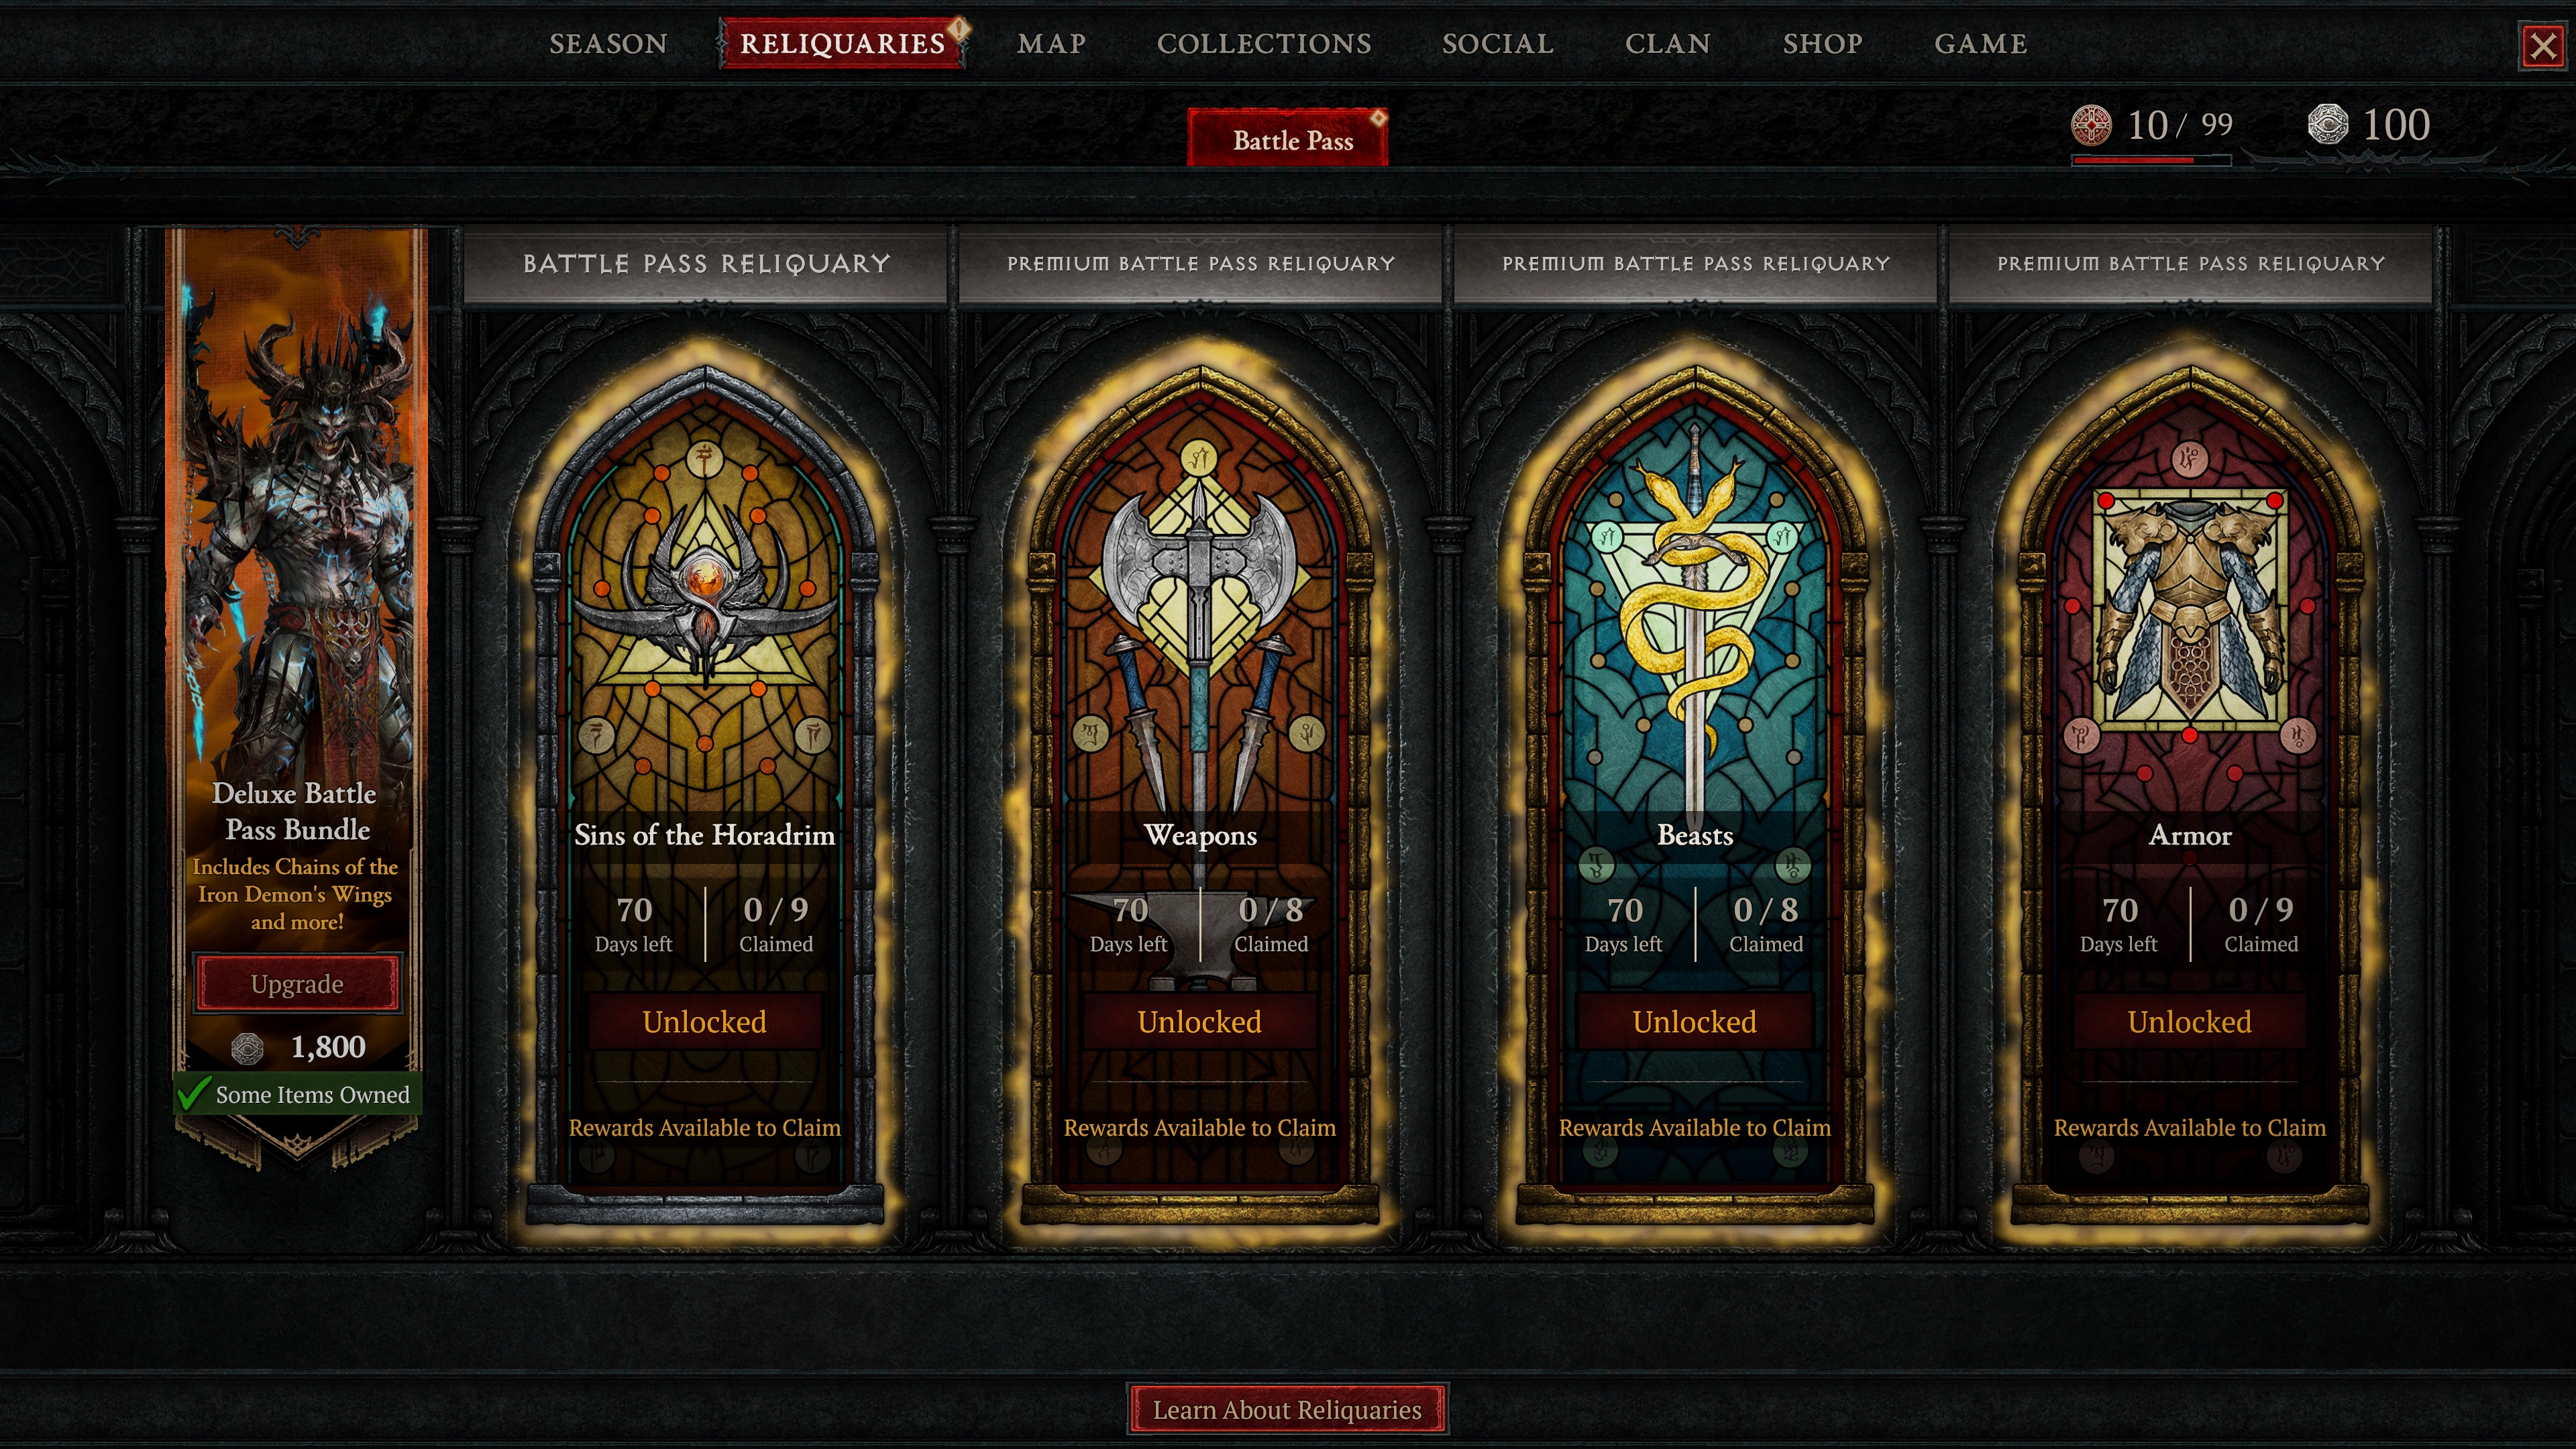
This Season brings an all-new Battle Move Reliquary and several other Premium Battle Move reliquaries to sink your enamel into.
The Sins of the Horadrim Battle Move Reliquary—accessible to all—presents resplendent rewards such because the Eventine Mount, Nightslayer’s Barding Mount Armor, and the Door of the iron Demon City Portal.
Buy the Premium Battle Move Bundle 1,000 Platinum for fast entry to all 3 Premium Reliquaries which incorporates the Weapons, Beats and Armor Reliquaries. Bear in mind, this Bundle will not be accessible if you are going to buy any of the Premium Reliquaries individually.
Deluxe Battle Move Bundle
Chains that bind can even look devilishly sinister, particularly as a set of wings. Buy the Chains of the Iron Demon wings and extra if you buy the Deluxe Battle Move for two,800 Platinum. This bundle consists of:
The Iron Demon armor set* fast unlock for every Class
Chains of the Iron Demon Wings for every Class
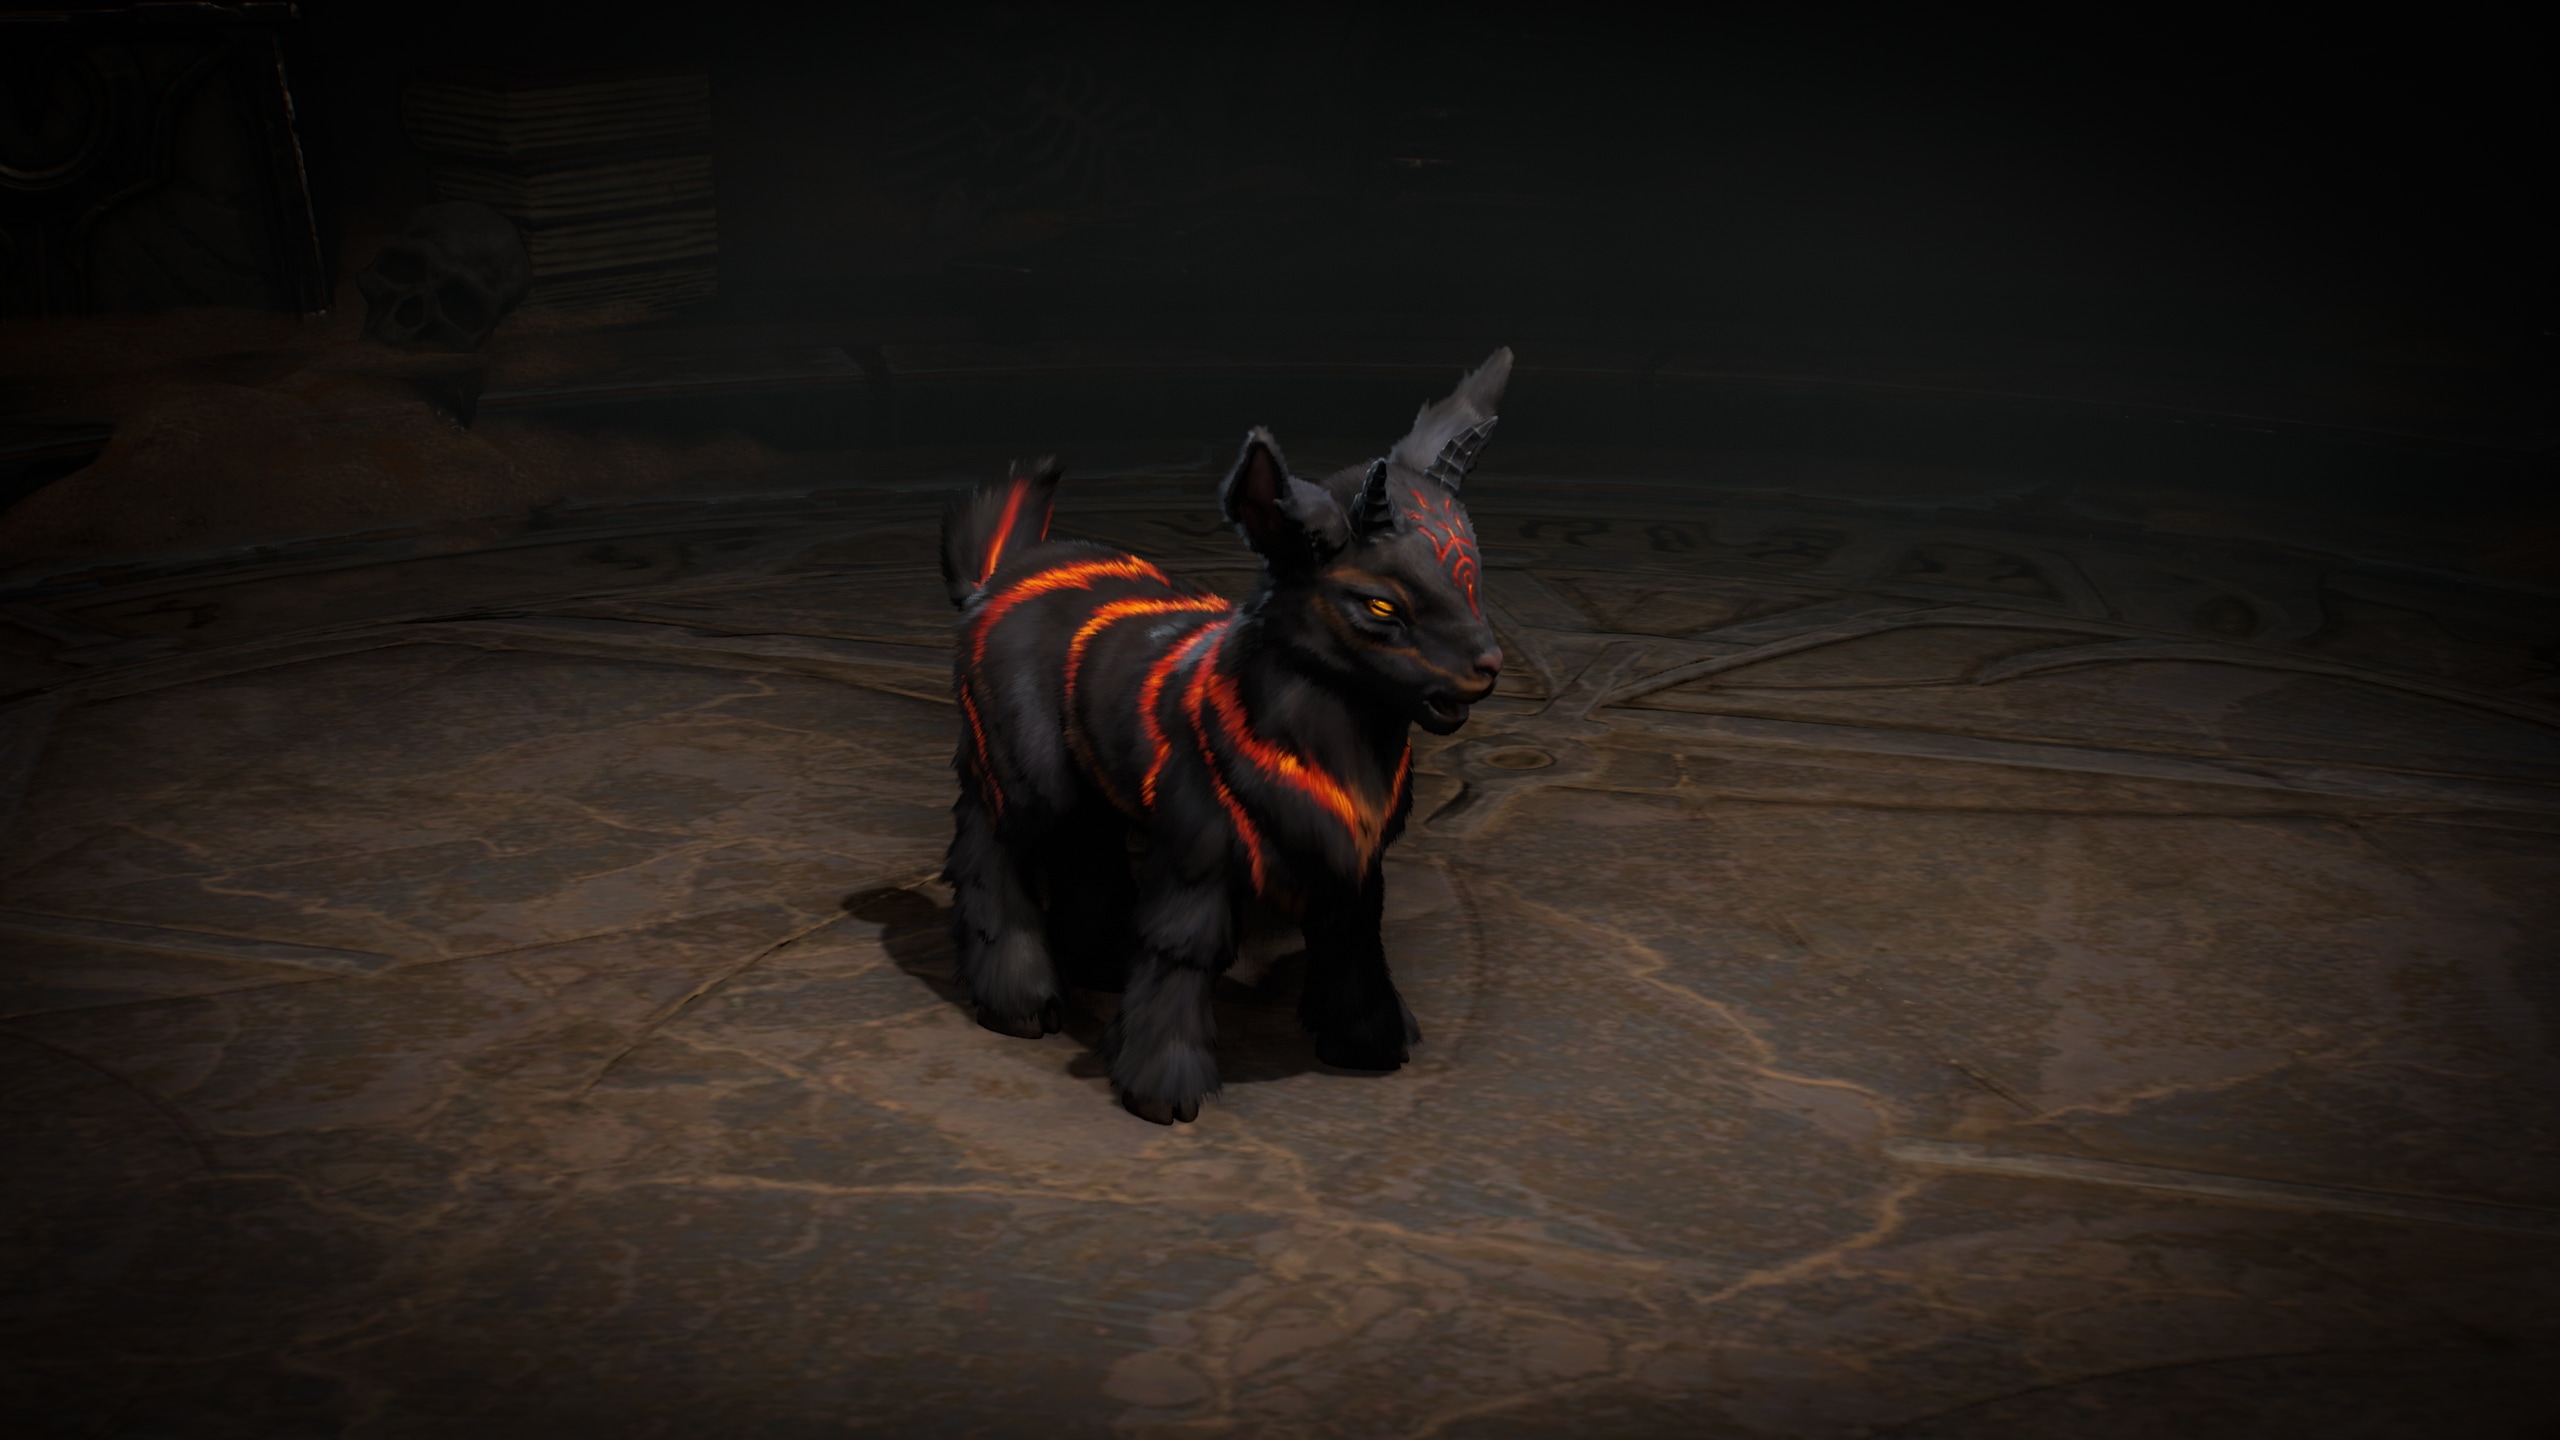
Scapegoat Pet
Entry to the Weapons, Beast, and Armor Reliquaries
*Different Reliquary gadgets should be unlocked utilizing Favor Tokens.
Again to Prime
Unlock Rewards from the Season Journey
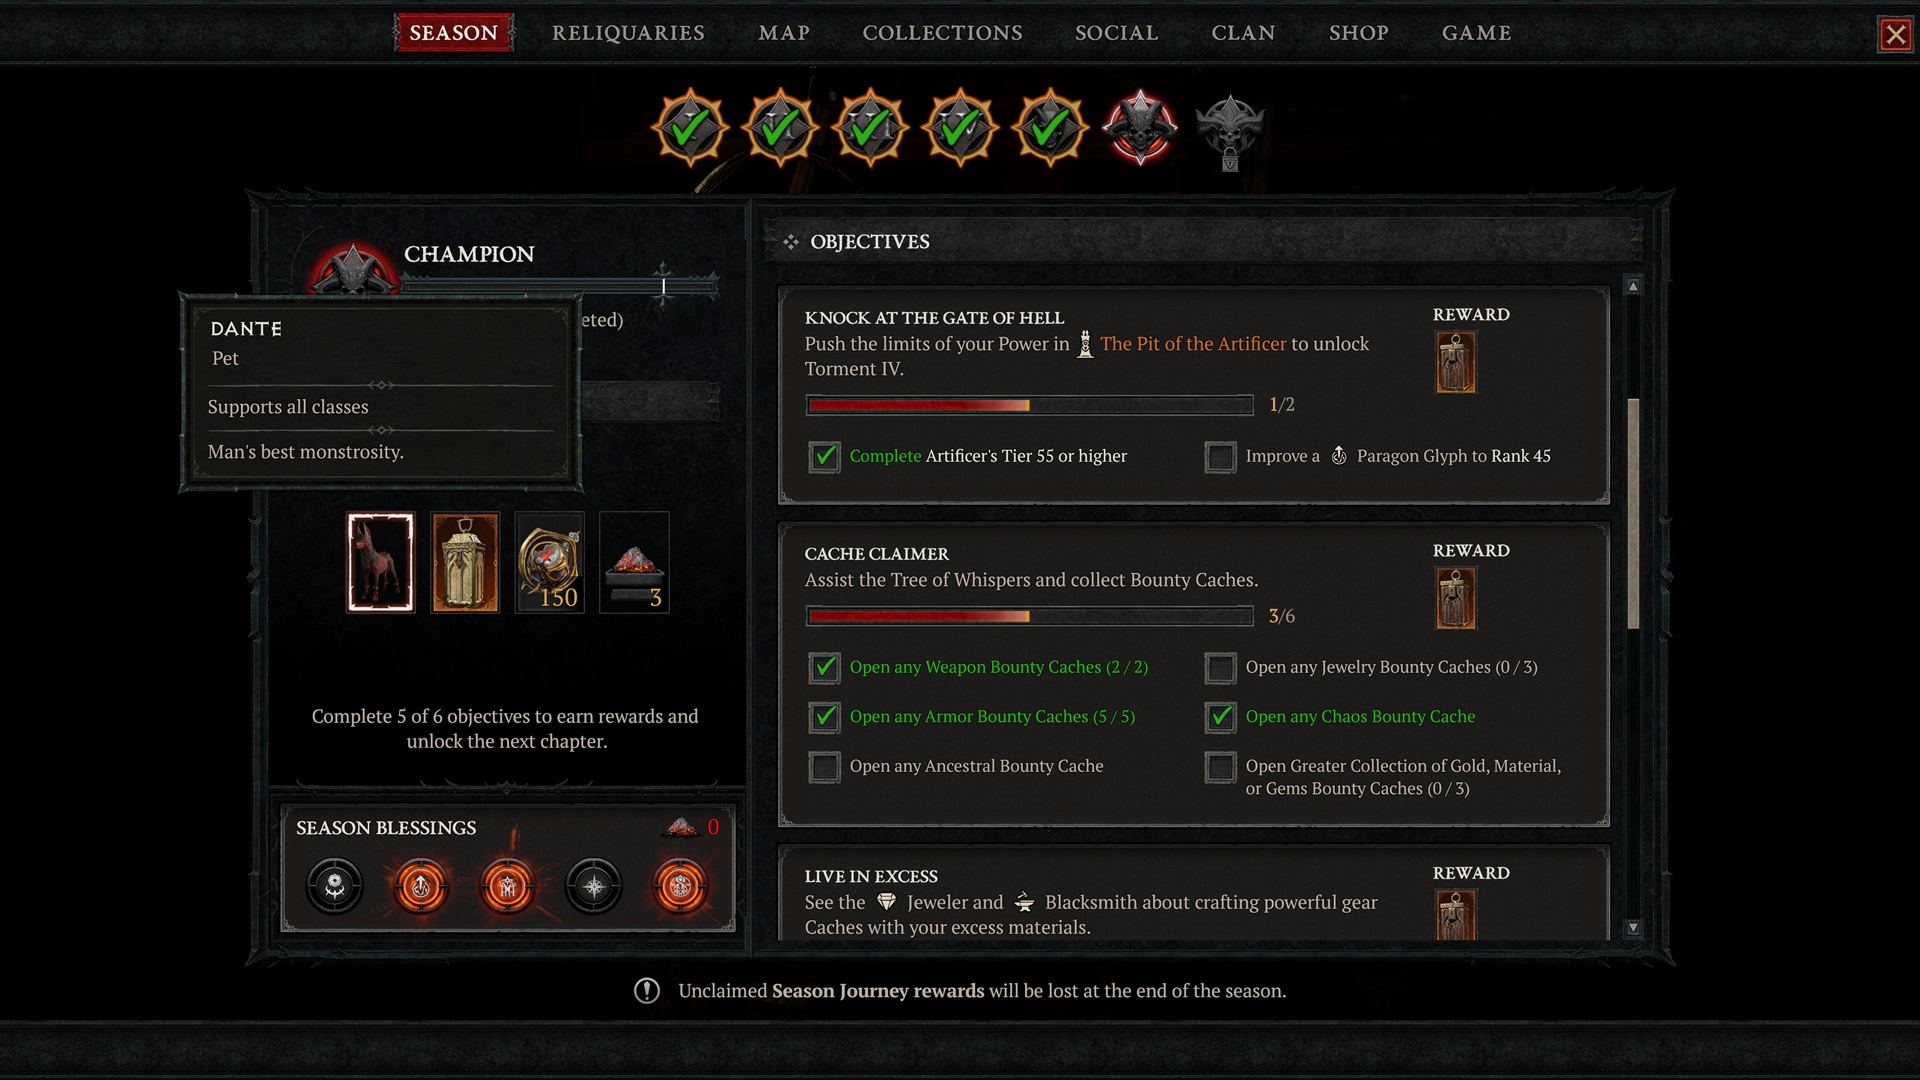
As you cleanse Sanctuary’s soil with the fixed circulate of demon blood, you’ll earn rewards from the Season Journey.
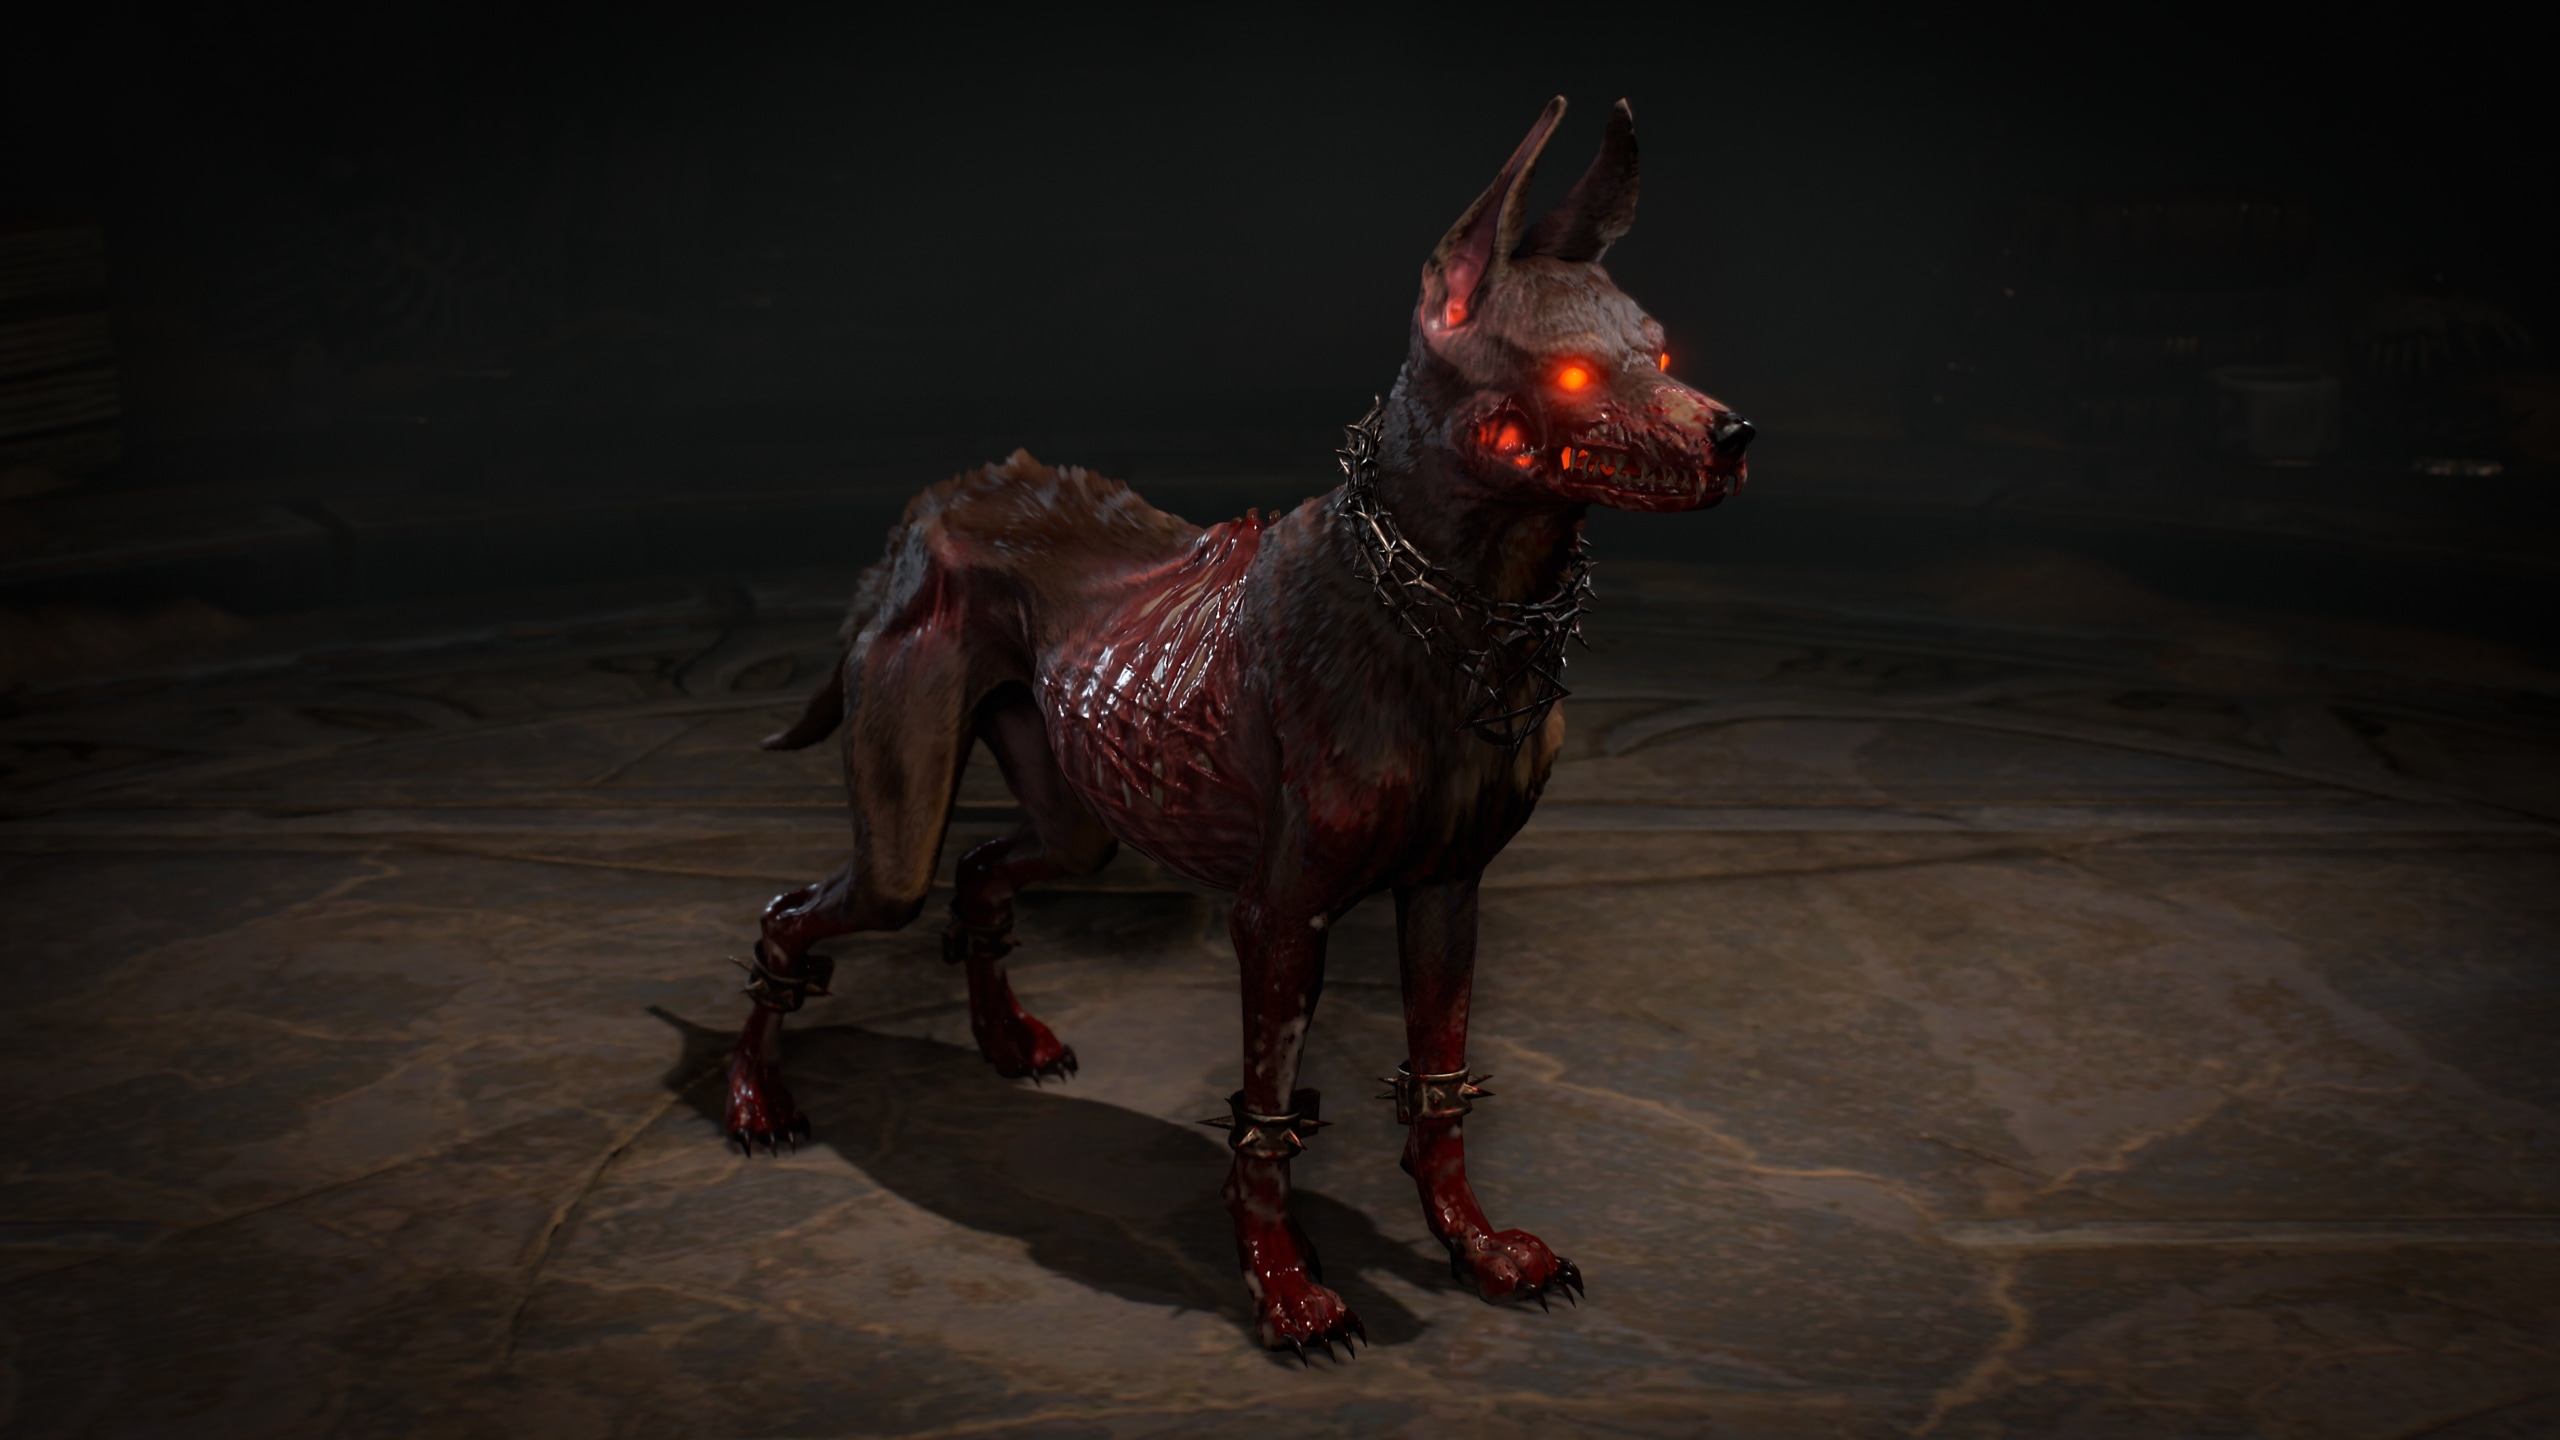
Progress by means of to earn rewards befitting a defender of Sanctuary, resembling a Resplendent Spark. Finishing Chapter 6 of the Season Journey will reward you with Dante the Canine as a Pet to make use of in-game. His barks match his hellish chew, you’d do effectively to maintain this wanderer’s greatest buddy by your aspect.
Do not forget that you do not want to finish all aims in every Chapter of the Season Journey to earn the rewards.

Season 9: Sins of the Horadrim Season Blessings
Inside the Season Journey, you’ll have the flexibility to unlock Season Blessings and Smoldering Ashes. Smoldering Ashes might be earned as Chapter Rewards for finishing aims within the Season Journey. When you’ve earned Ashes, they are often spent on these Seasonal Blessings:
Urn of Curiosities: Enhance the prospect of receiving a second merchandise when buying from the Purveyor of Curiosities.
Urn of Glyphs: Grants an opportunity to earn an additional improve when bettering glyphs.
Urn of Escalation: Boosts the possibilities of discovering further Gear gadgets in Astaroth’s rewards.
Urn of Remnants: Boosts the variety of Horadric Phials present in a Horadrim’s Locket.
Urn of Strongrooms: Boosts the prospect of discovering an extra Escalation Sigil in Horadric Strongrooms.
Again to Prime
Purchase Fabled Threads from Tejal’s Store
A chill has descended on the Store with new Tools, Armor, Equipment, Mounts, and Mount Armor bundles that may have you ever slaying in model. Beginning on July 1 at 12 p.m. PDT, go to Tejal to browse her wares—bear in mind to test again typically, as she’ll replace her inventory all through Season 9: Sins of the Horadrim.
One such rarefied discover from the far reaches of Sanctuary is the Azul Status Pet Bundle, which comprises the Azul Pet, Azul’s Crest Mount Trophy, and His Slyness Emblem. This may be bought from Tejal’s Store for 3,000 Platinum.
Again to Prime
Improve the Carnage with NVIDIA DLSS 4
The battle for Sanctuary accelerates, NVIDIA DLSS 4 with Multi Body Era Native Assist coming in Season 9: Sins of the Horadrim.
DLSS Body Era and NVIDIA Reflex was accessible for Diablo IV on launch, providing you with the flexibility to max out body charges and scale back PC latency, for a quicker, extra responsive demon slaying expertise. Final yr, Sanctuary was up to date with ray-traced results, making your superb adventures extra dynamic and spectacular.
On July 1, 2.3.0 will add native assist for the efficiency multiplying DLSS 4 with Multi Body Era, a characteristic beforehand enabled within the NVIDIA app.
We hope you possibly can take pleasure in these new visible enhancements when carving by means of Hellspawn in Diablo IV!
Again to Prime
Neighborhood Guides for Sins of the Horadrim
In the event you want professional steering in your character’s journey all through the season, look to our group guides for ideas and insights on builds for each class. From early recreation levelling, all the best way to end-game builds, they’ve bought you coated!
Go to our trusted Neighborhood sources right here:
After you’ve checked out these useful recreation guides, head to Sanctuary, the Diablo IV Neighborhood Discord server, to have interaction within the dialog round this season.
It’s excessive time for sinning.
-The Diablo IV Group
Again to Prime

